


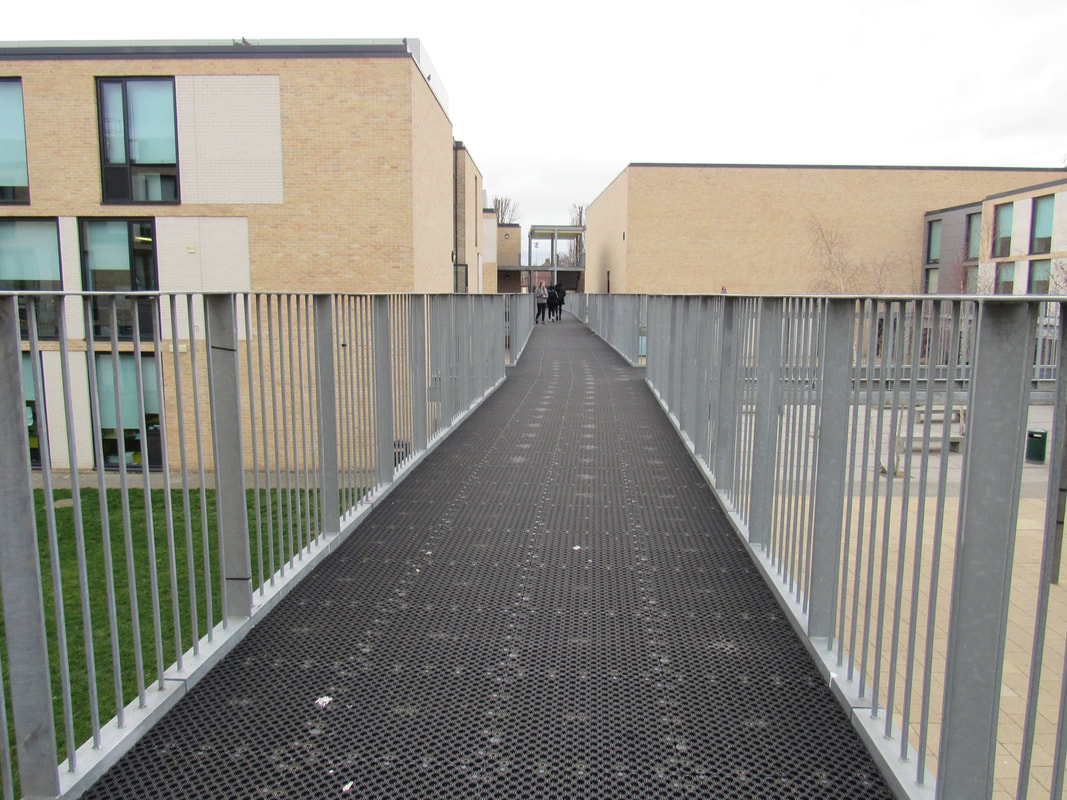
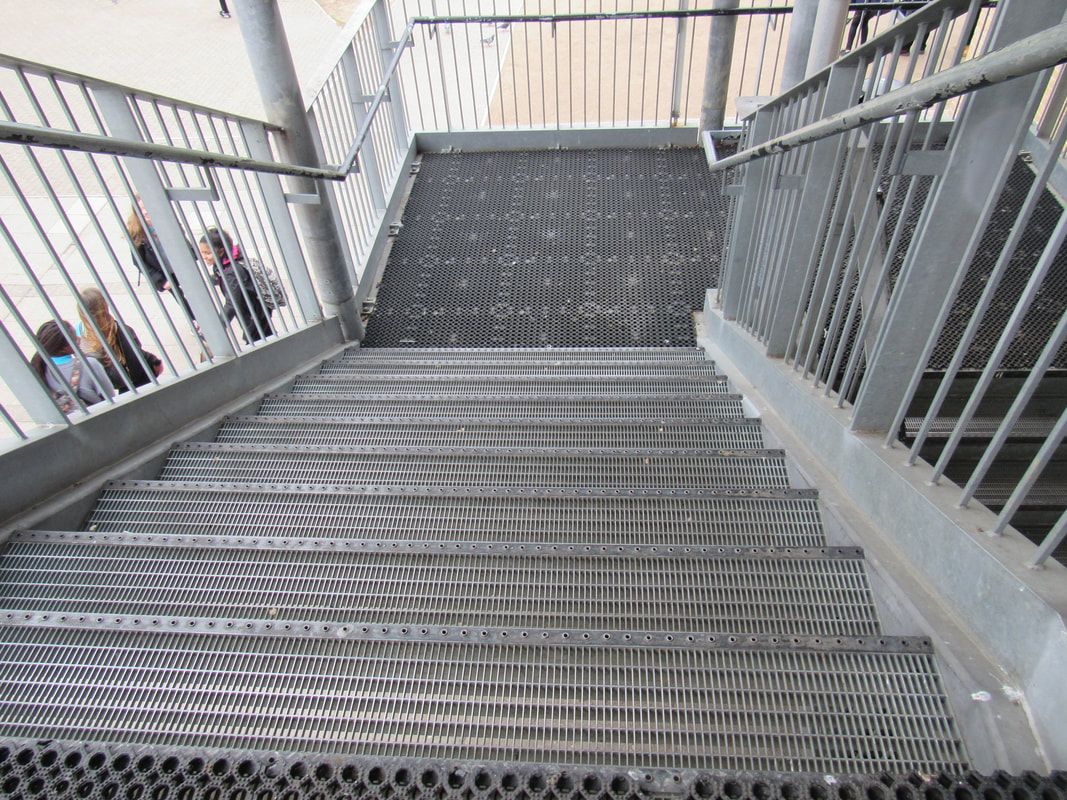
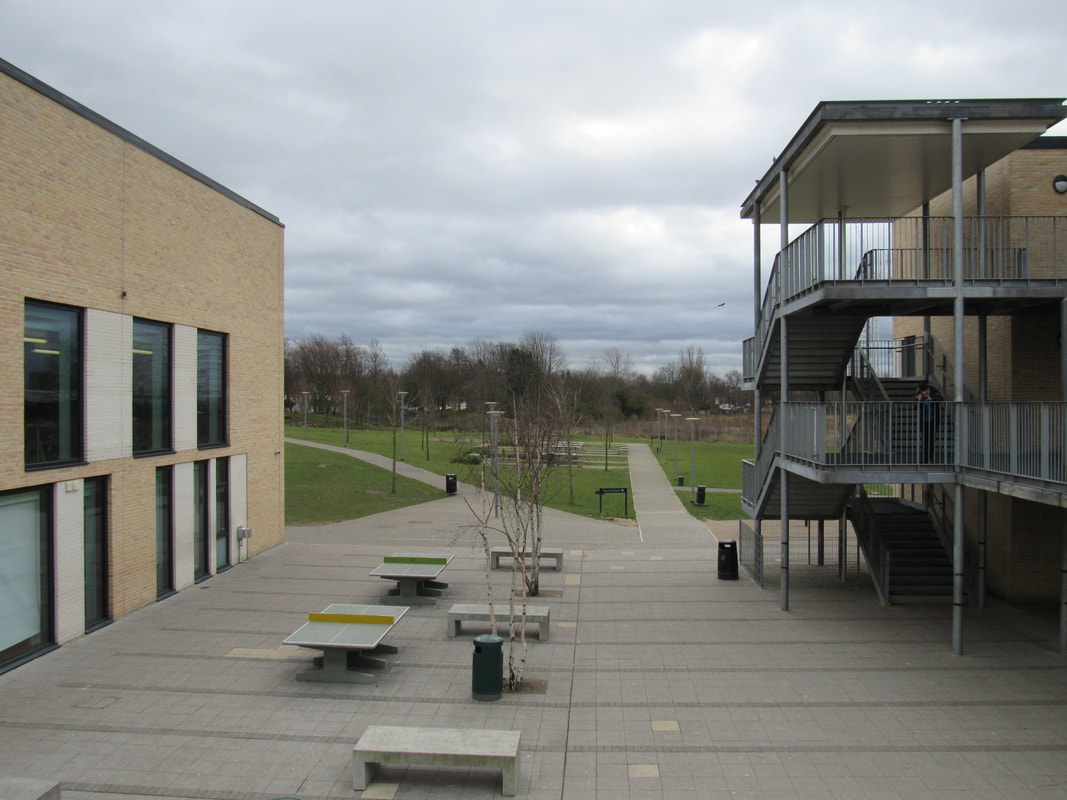
INTRODUCTION:
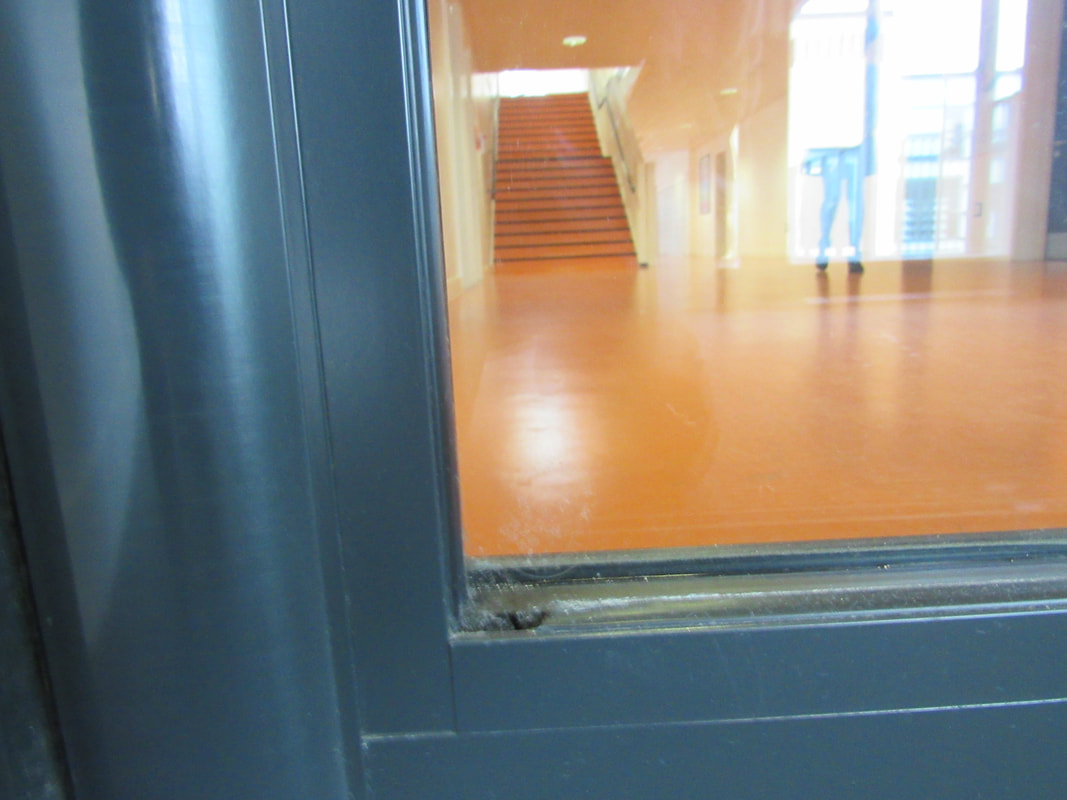
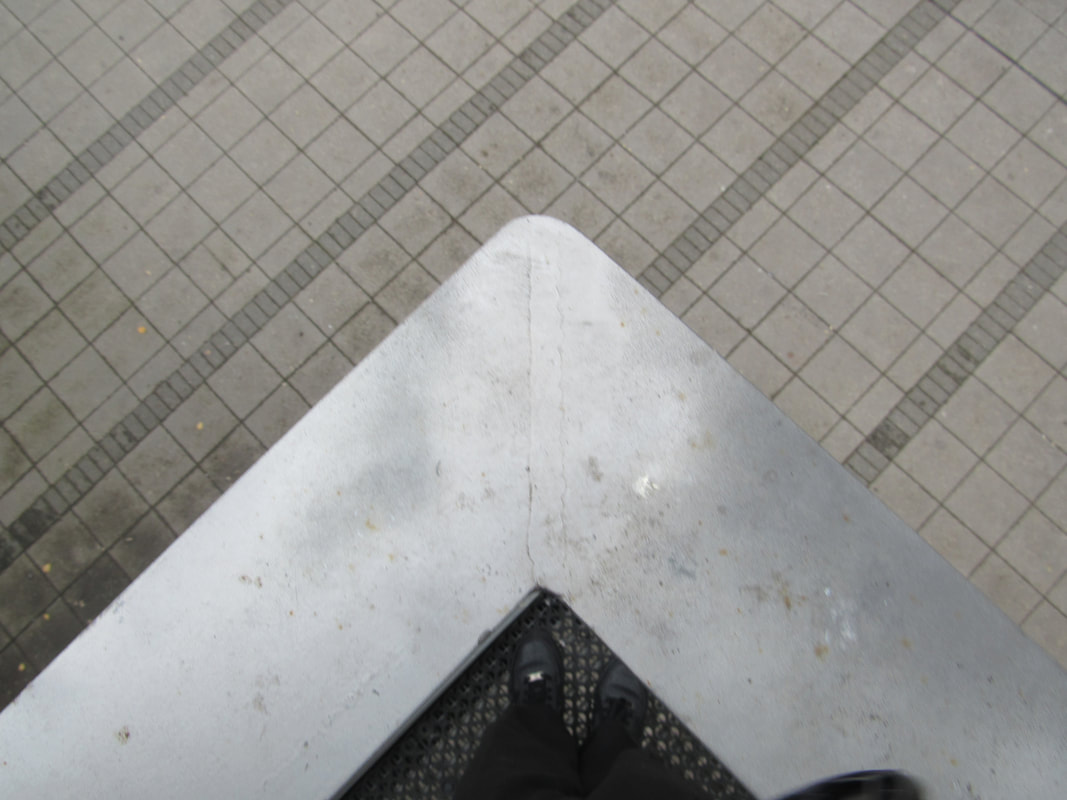
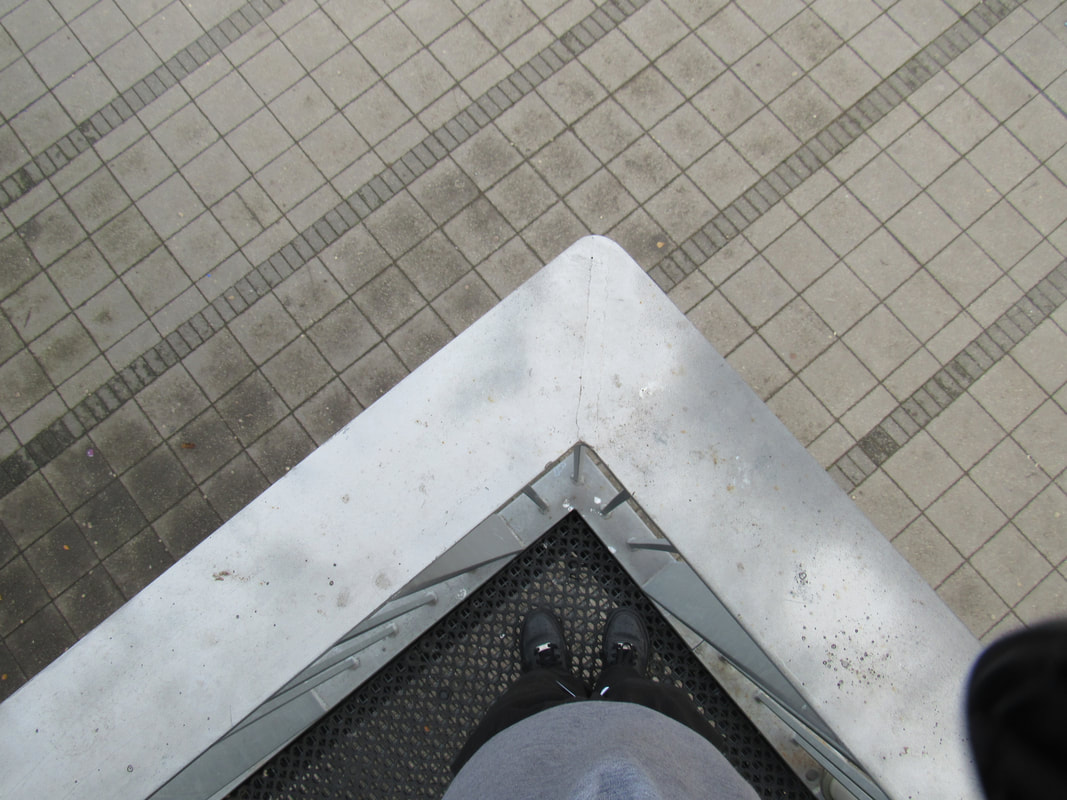
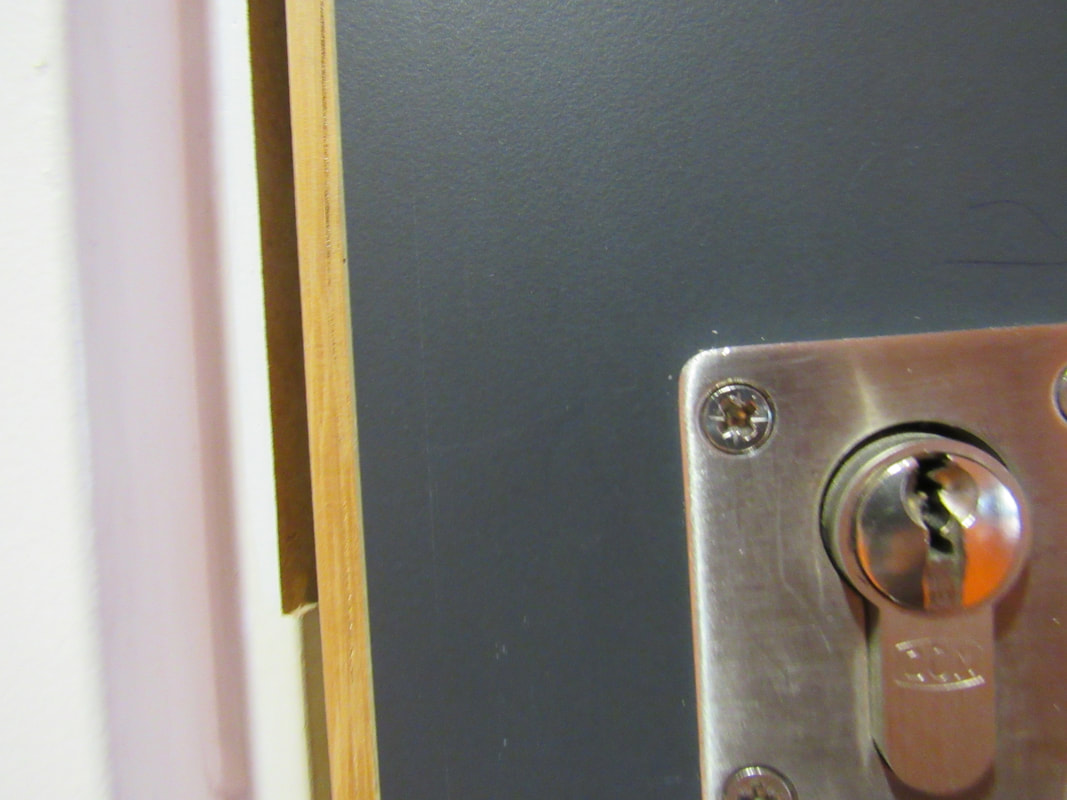
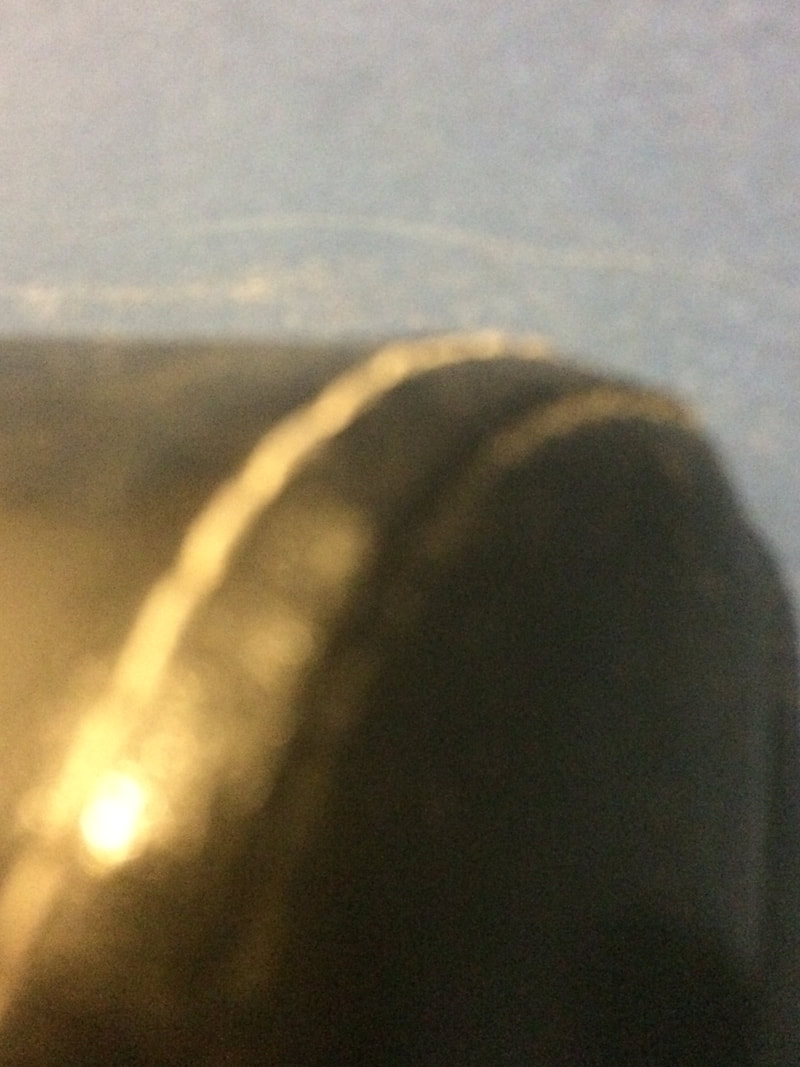
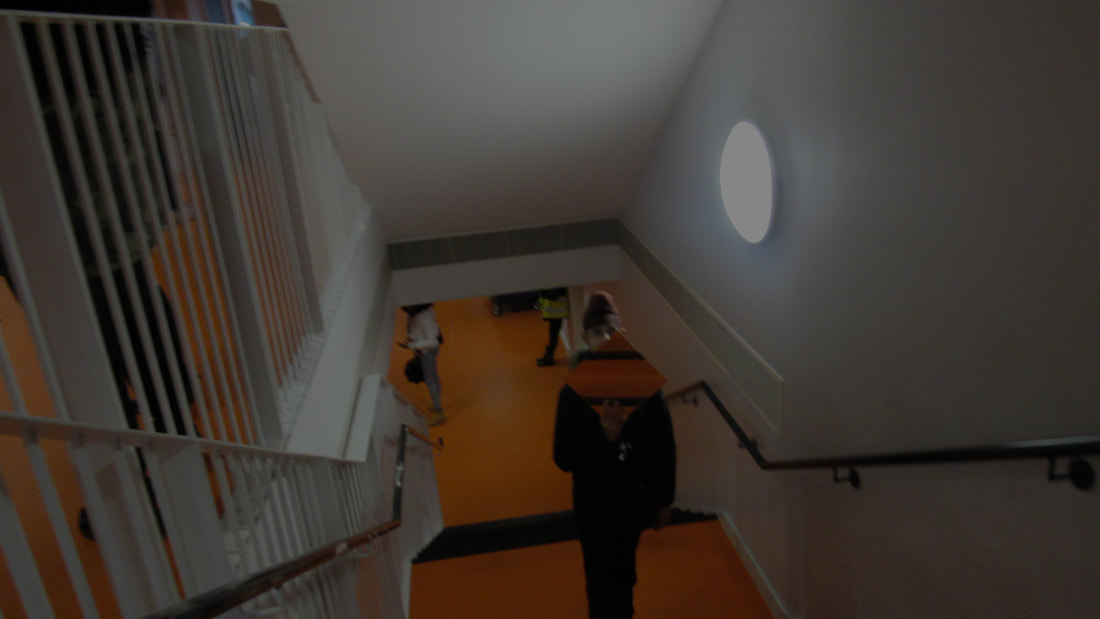
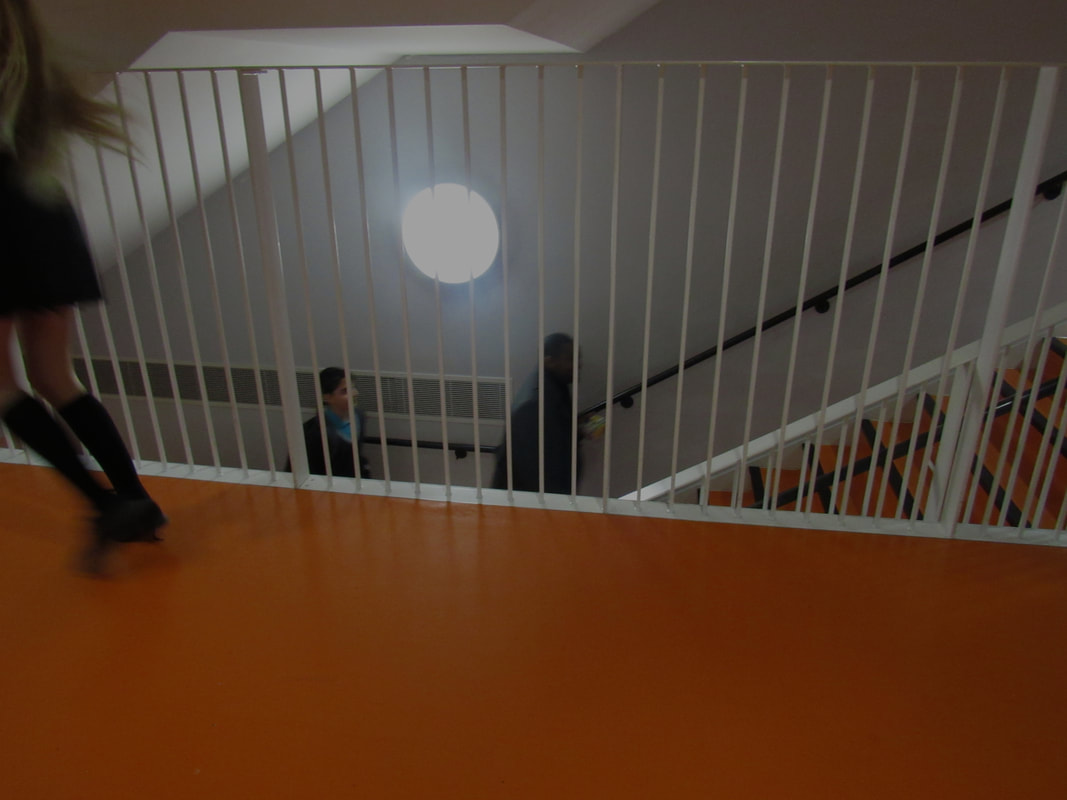
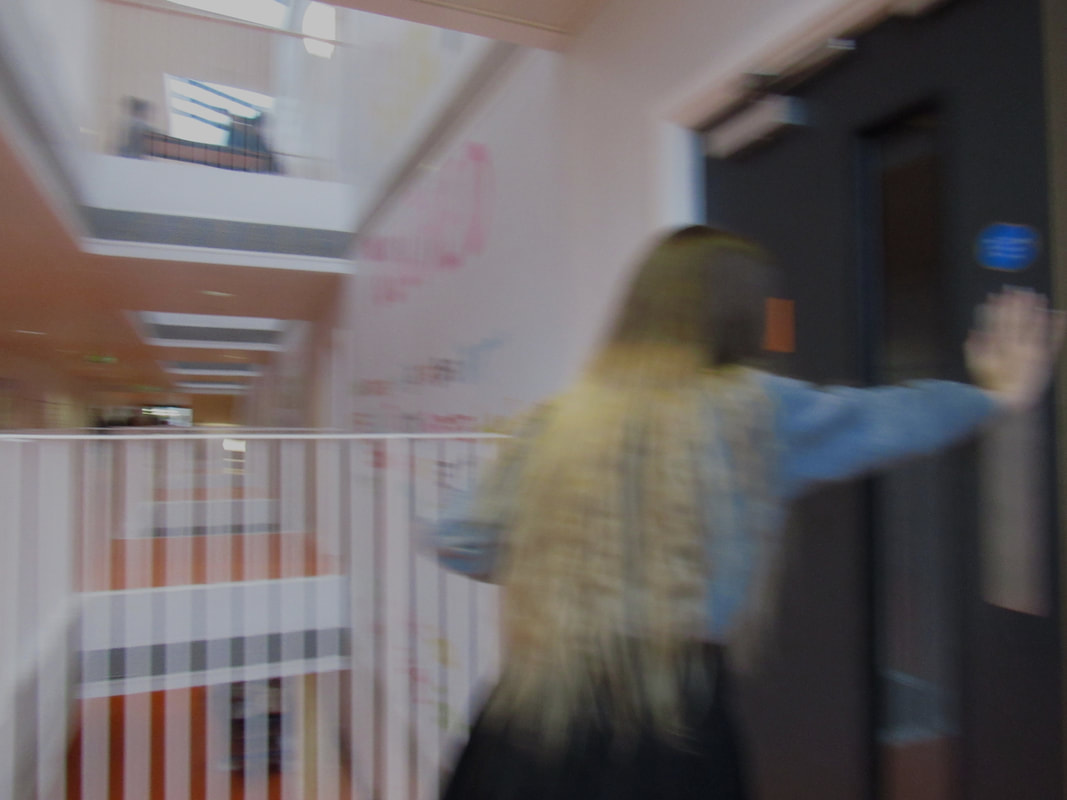
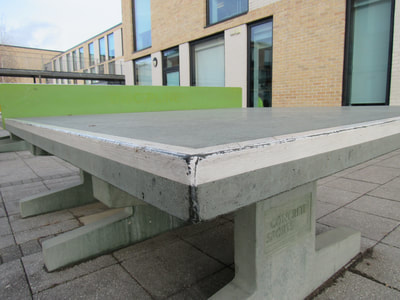
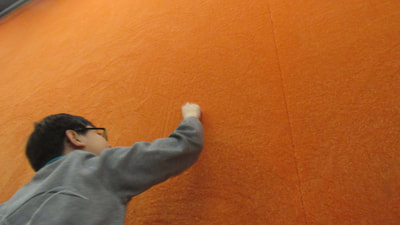
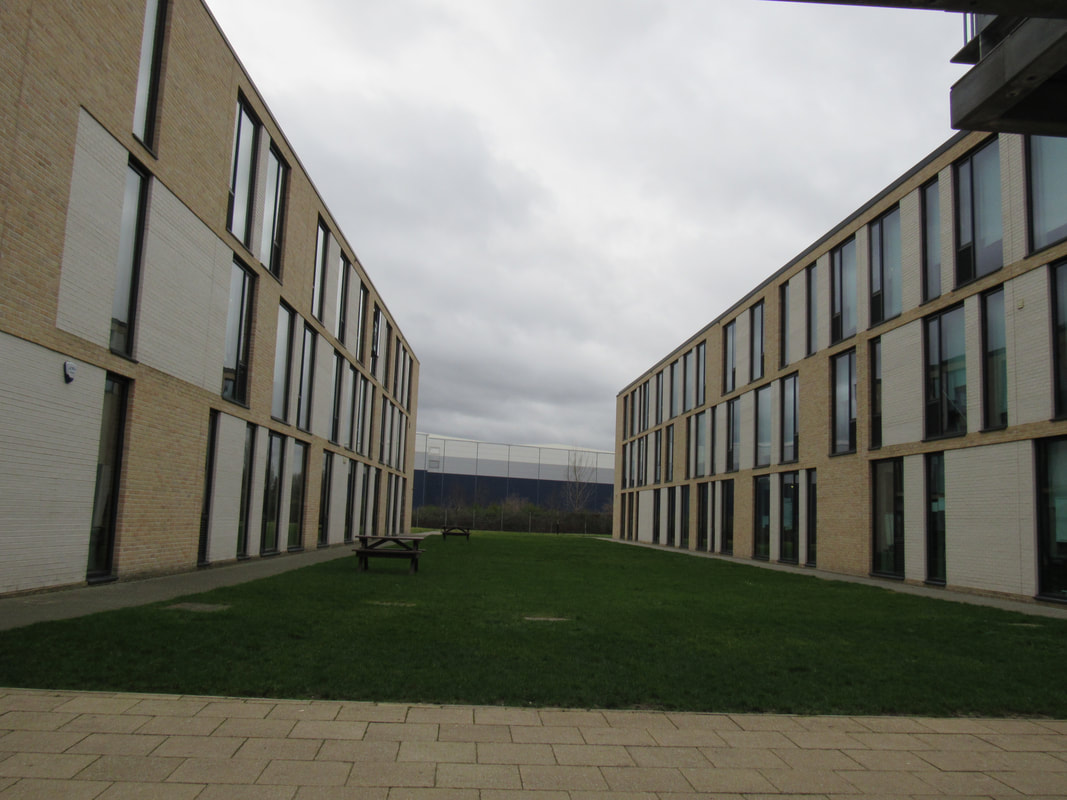
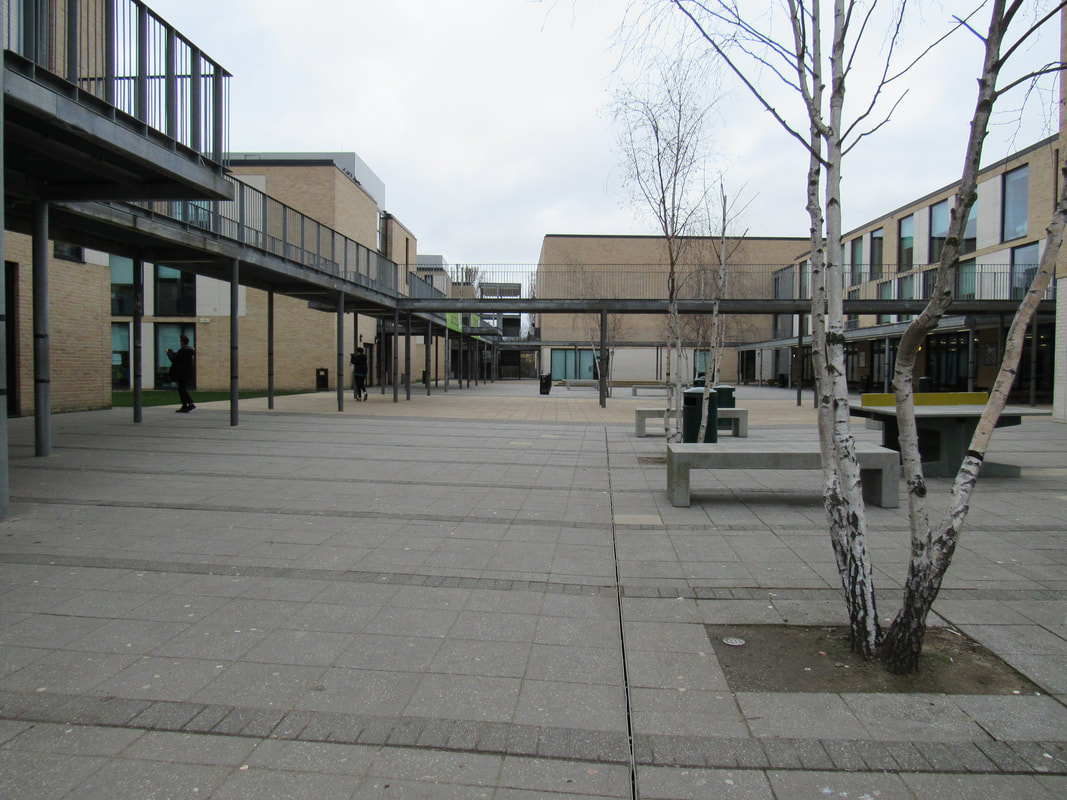
In this task the focus was on edges but it wasn't all about taking pictures of corners.
We have to consider the composition,angle,shape and positive and negative space in the image.
We had a post it note and we had to write types of edges e.g. edge of a door or a window (20 maximum)
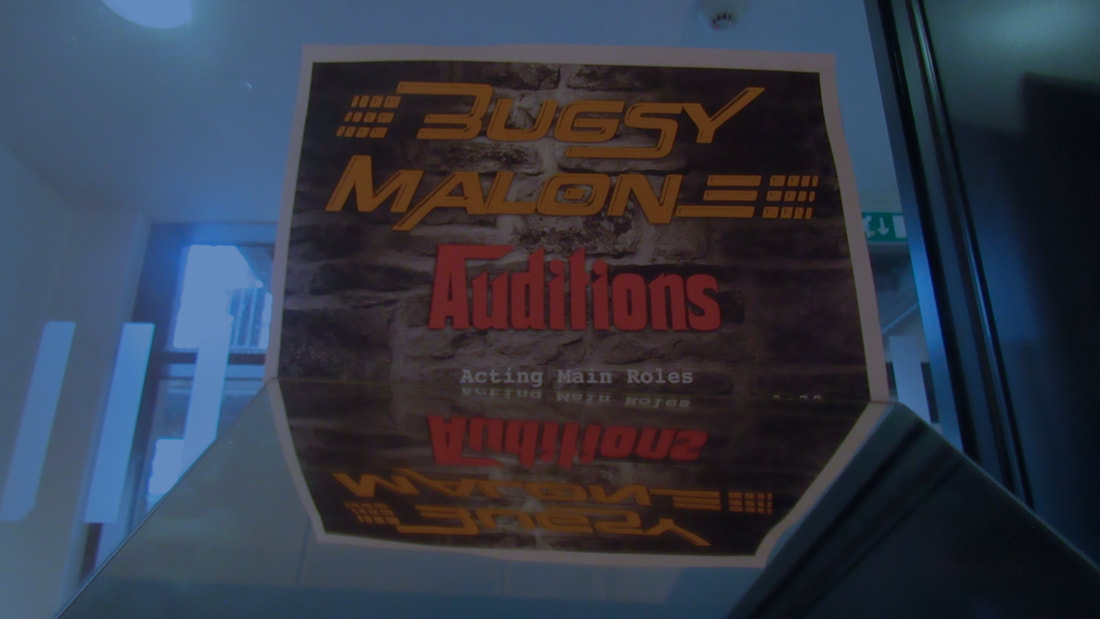
I then set off around the school and i could already see many edges around that caught my interest.
But if i took a picture of an edge i would have to add an interesting angle and make sure there is positive and negative space.
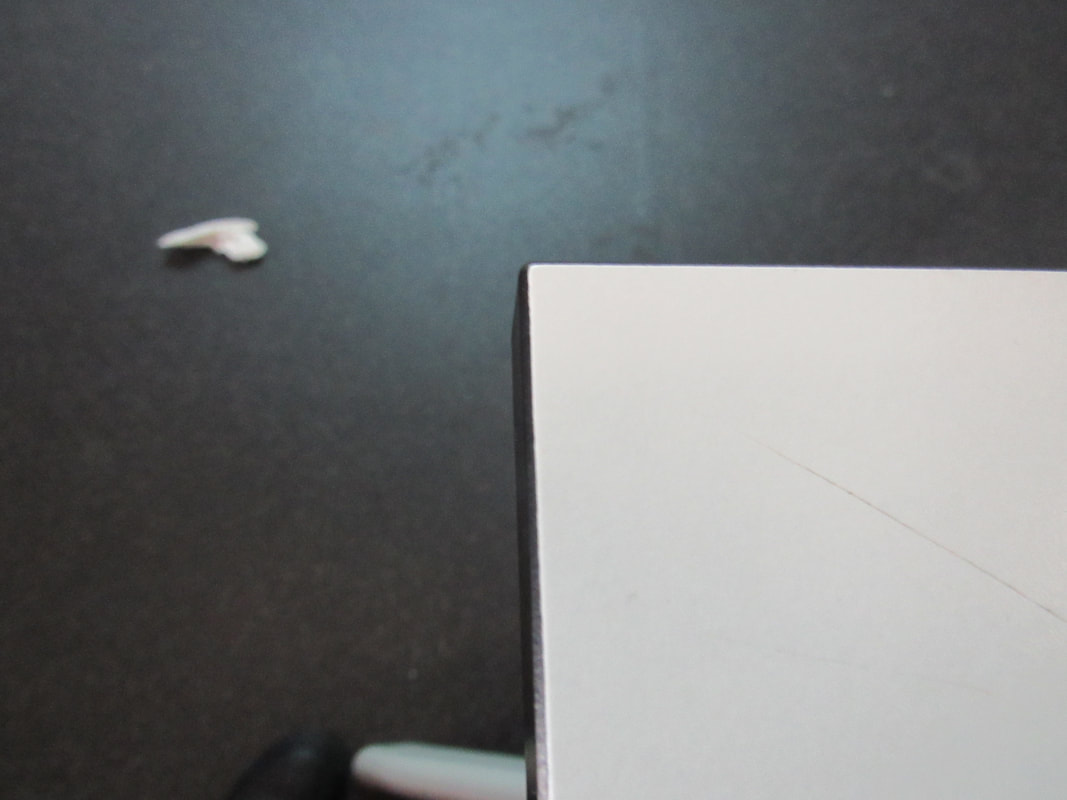
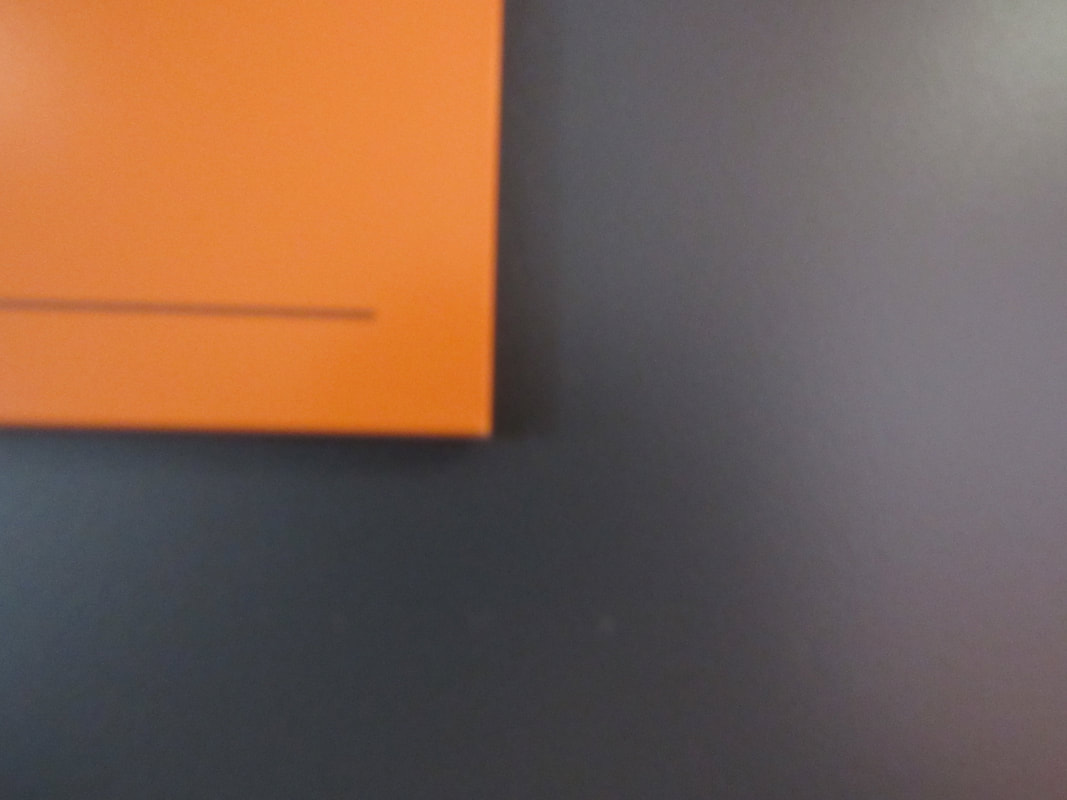
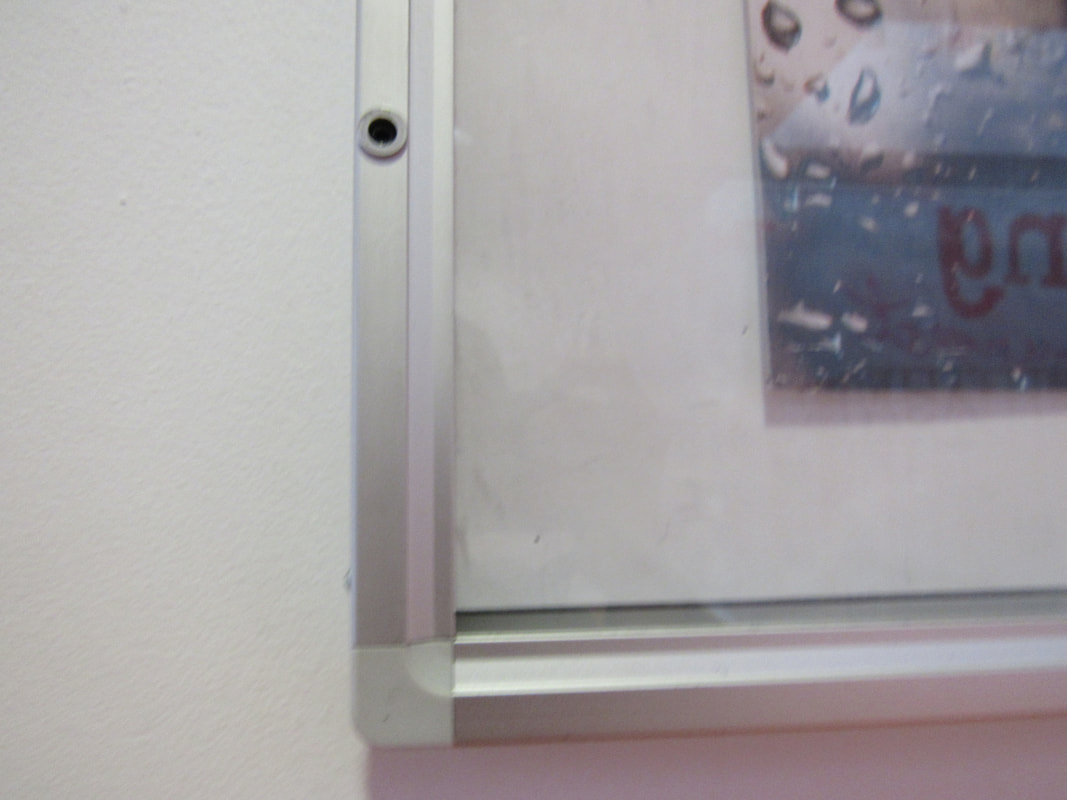
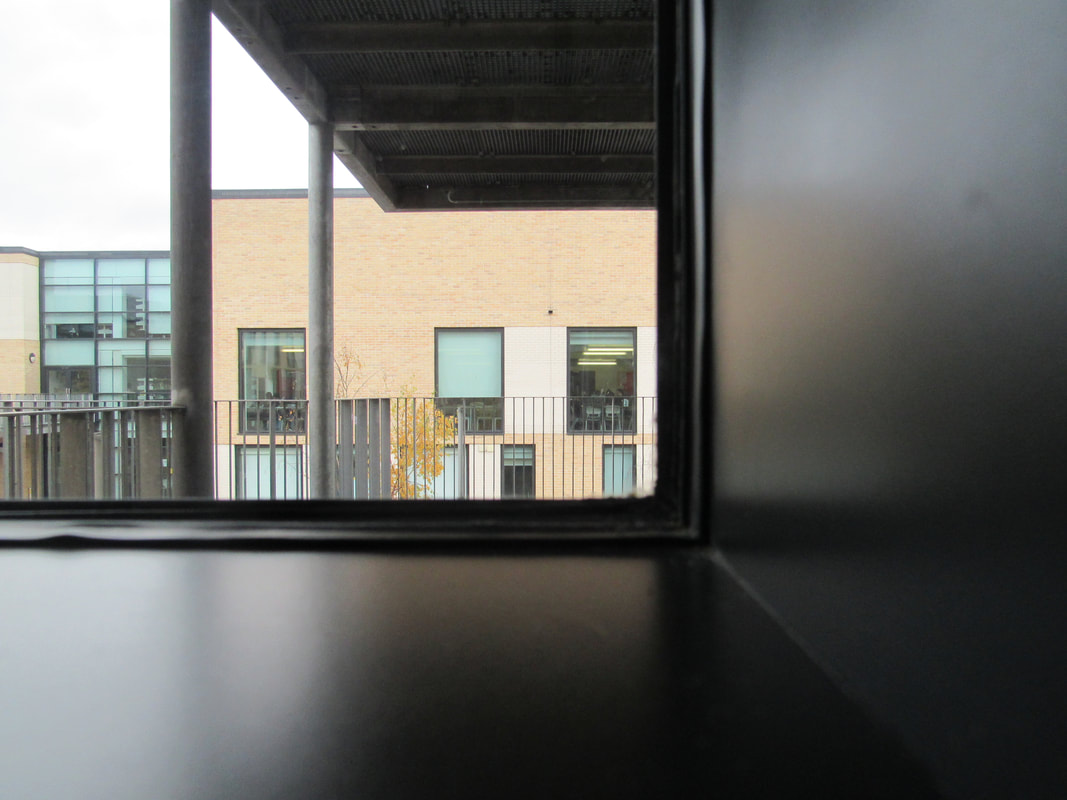
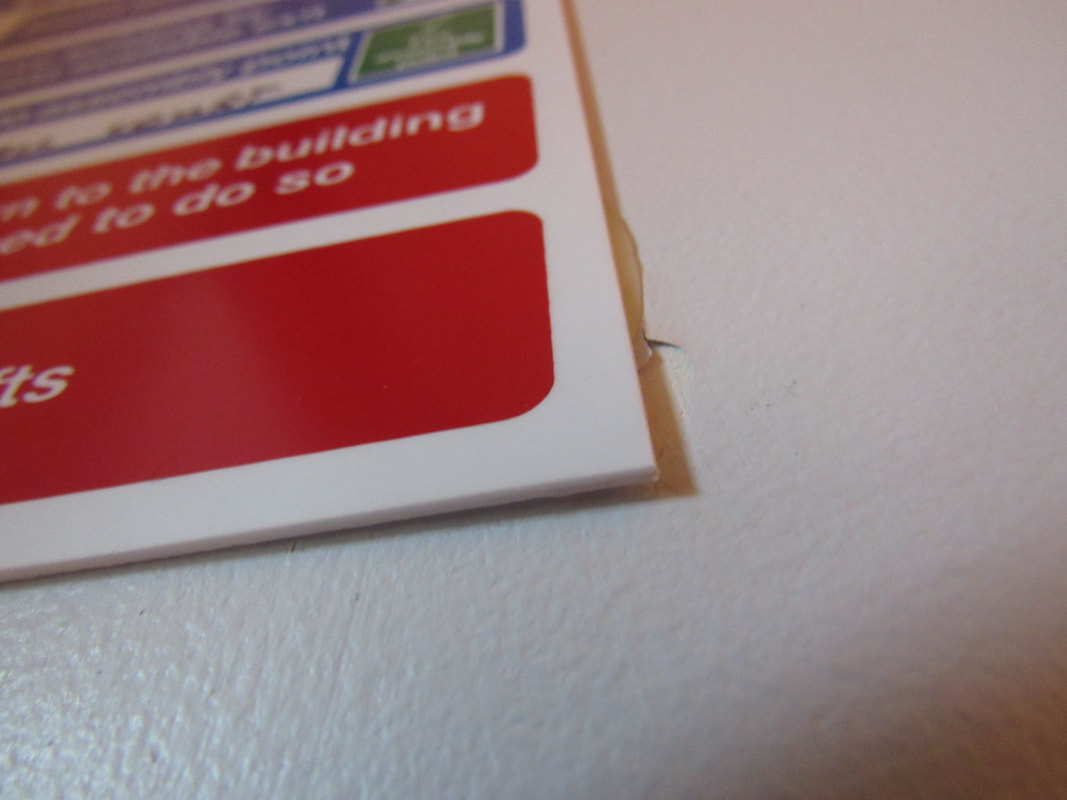
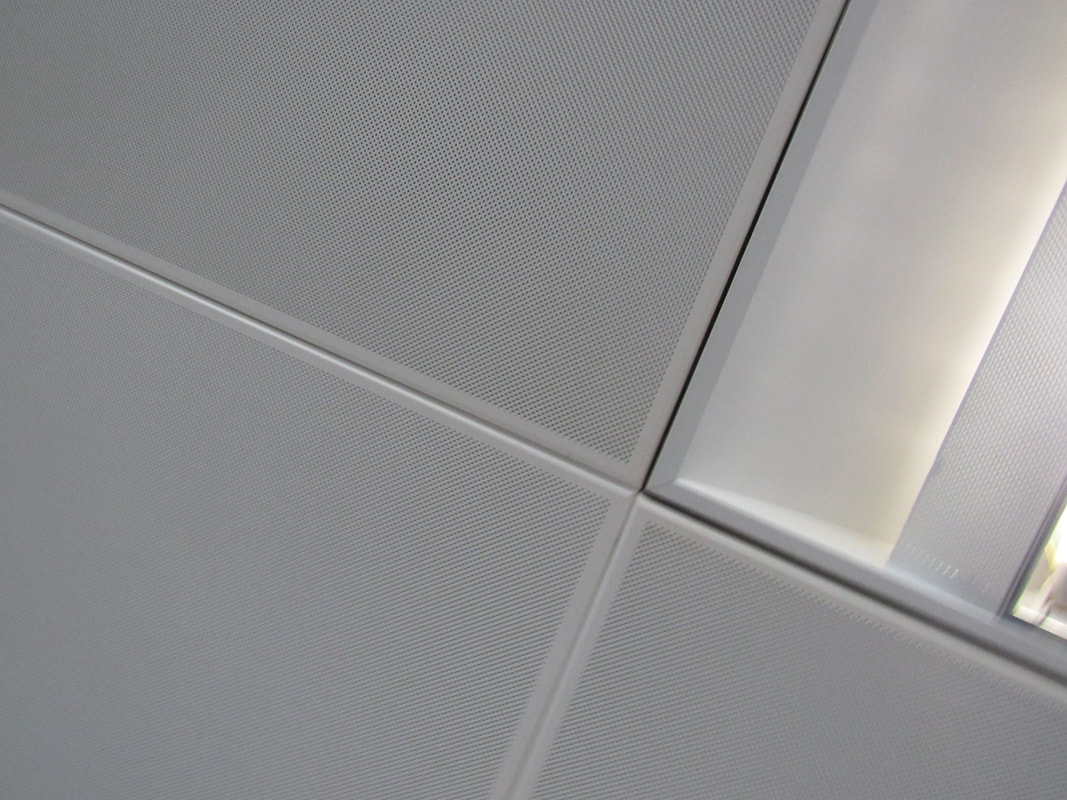
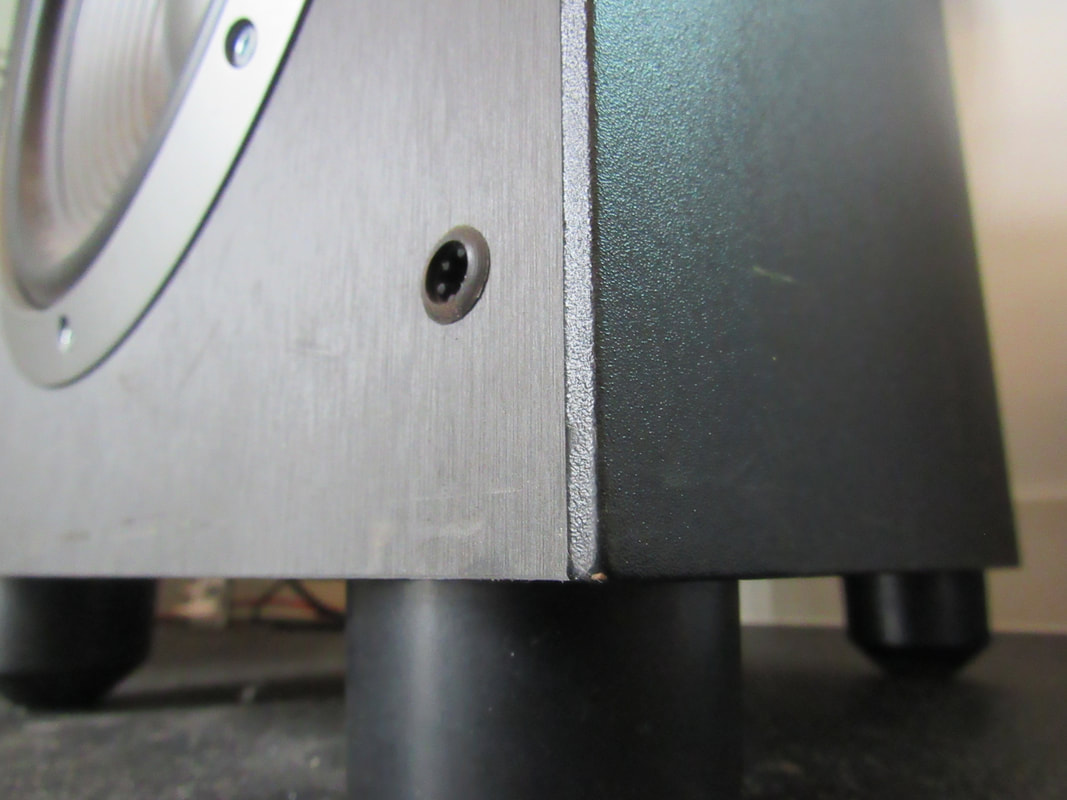
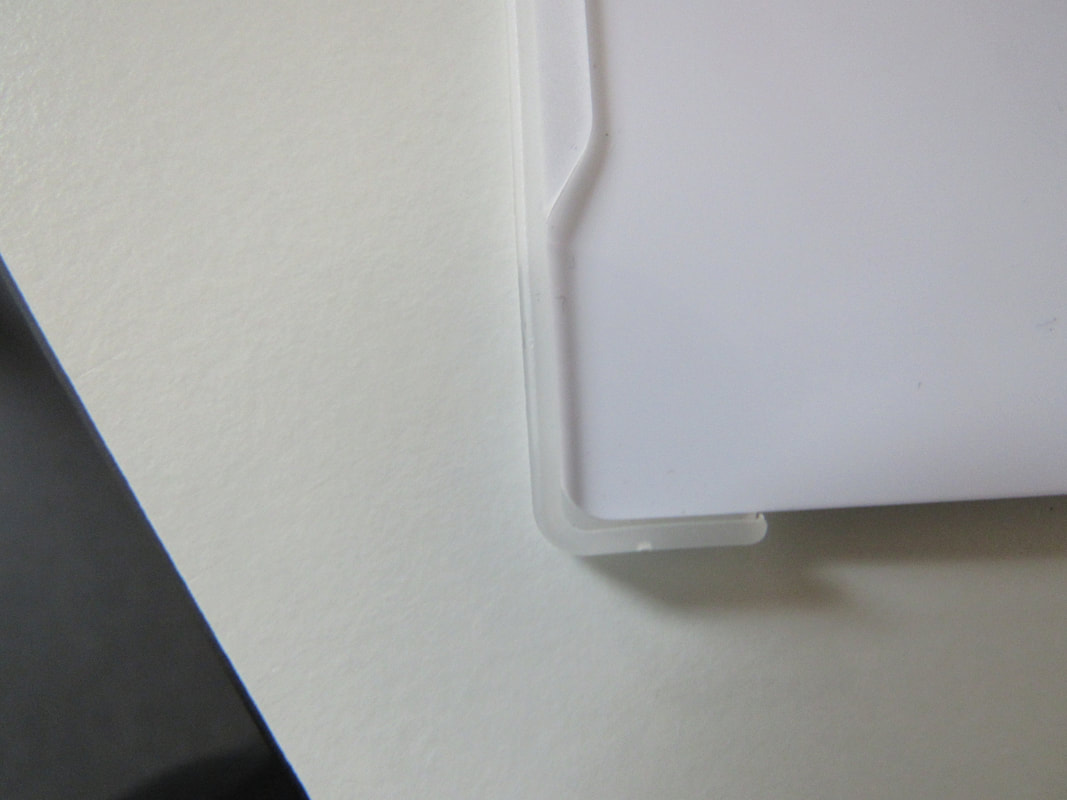
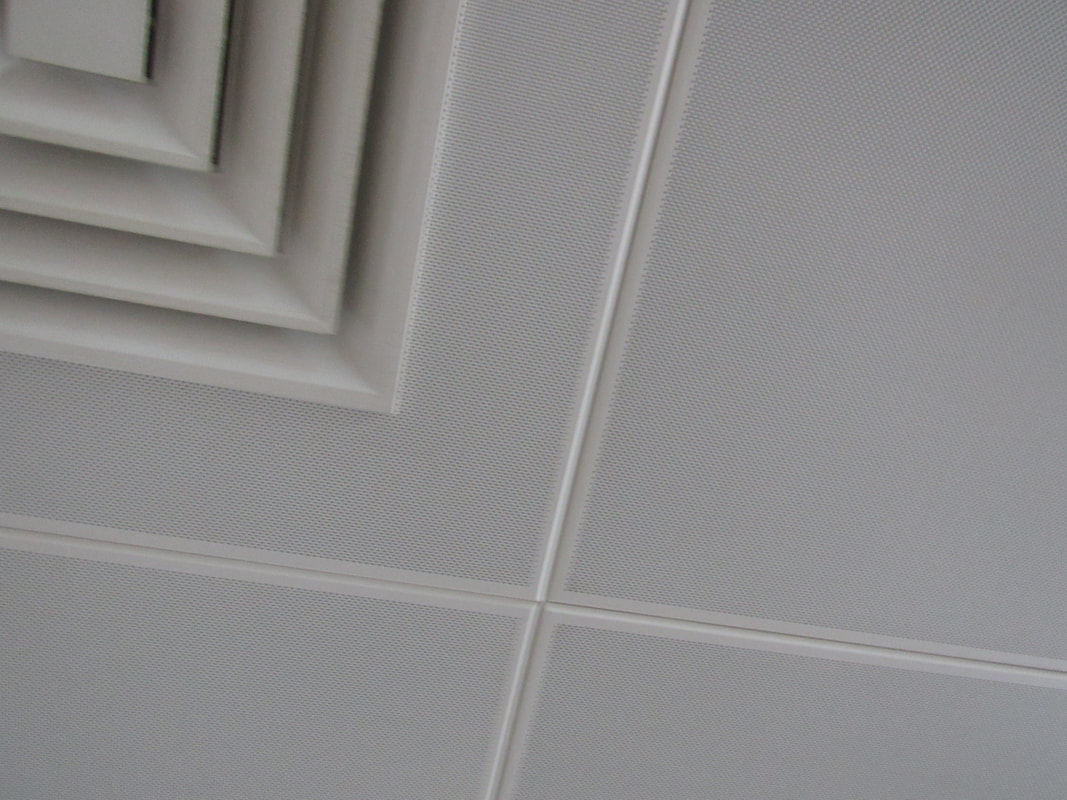
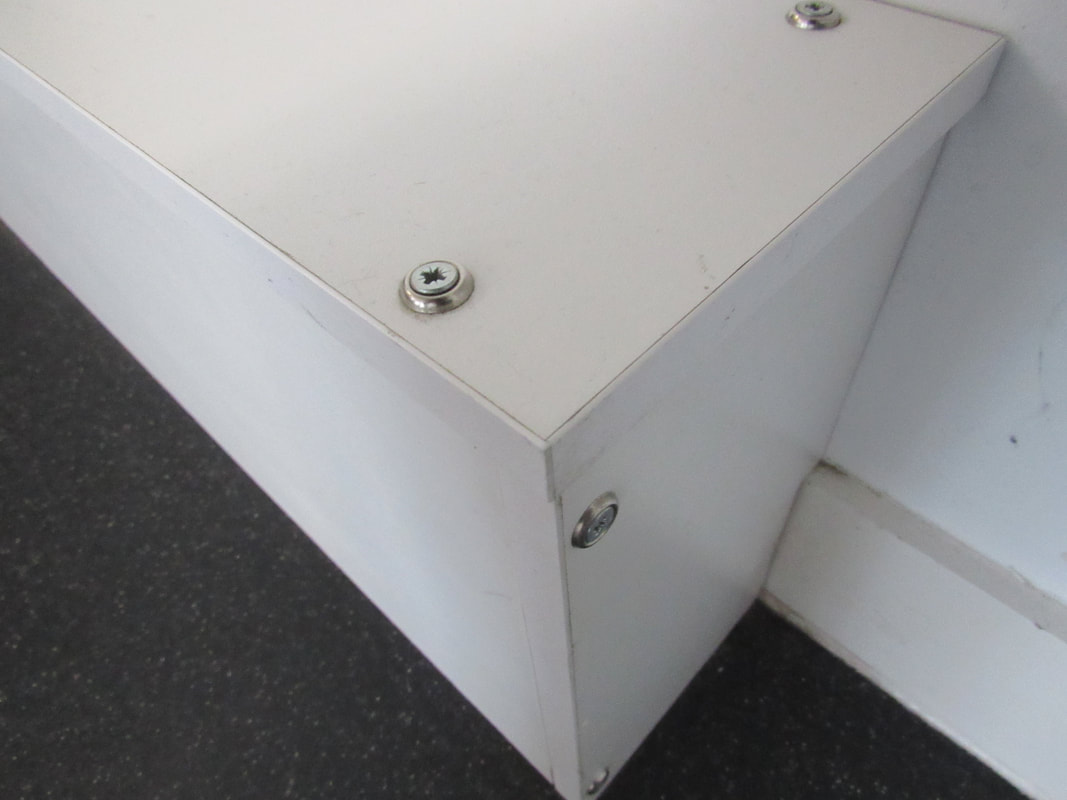
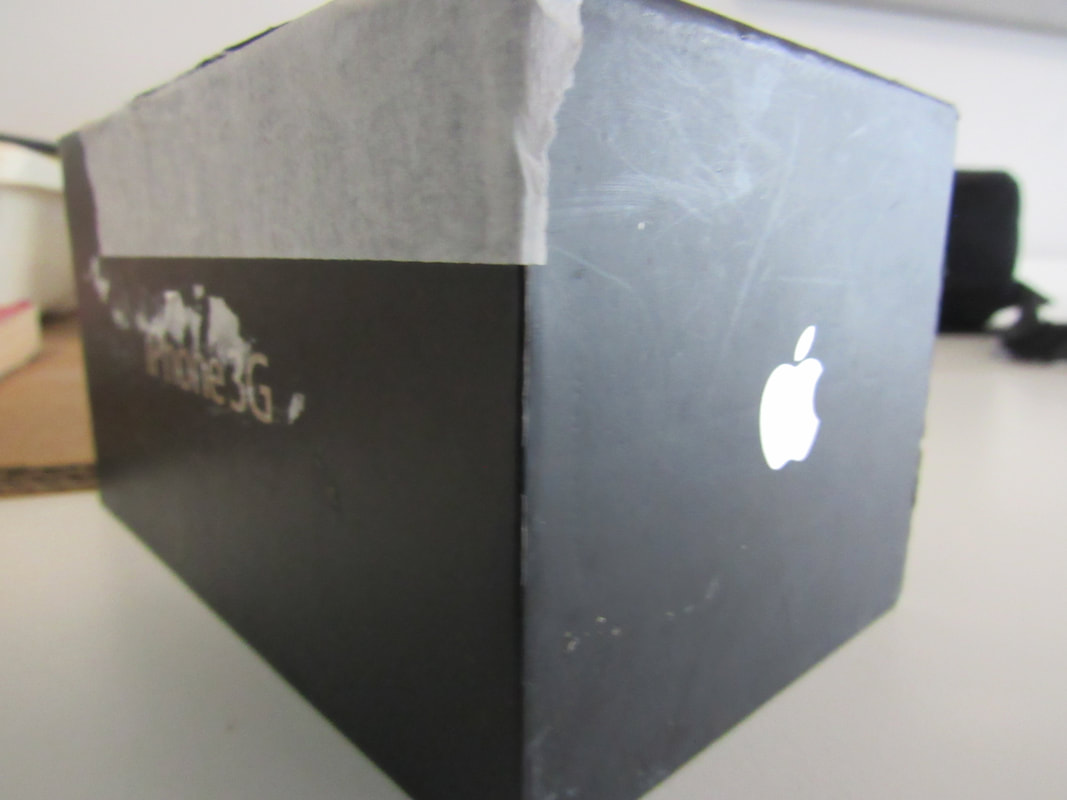
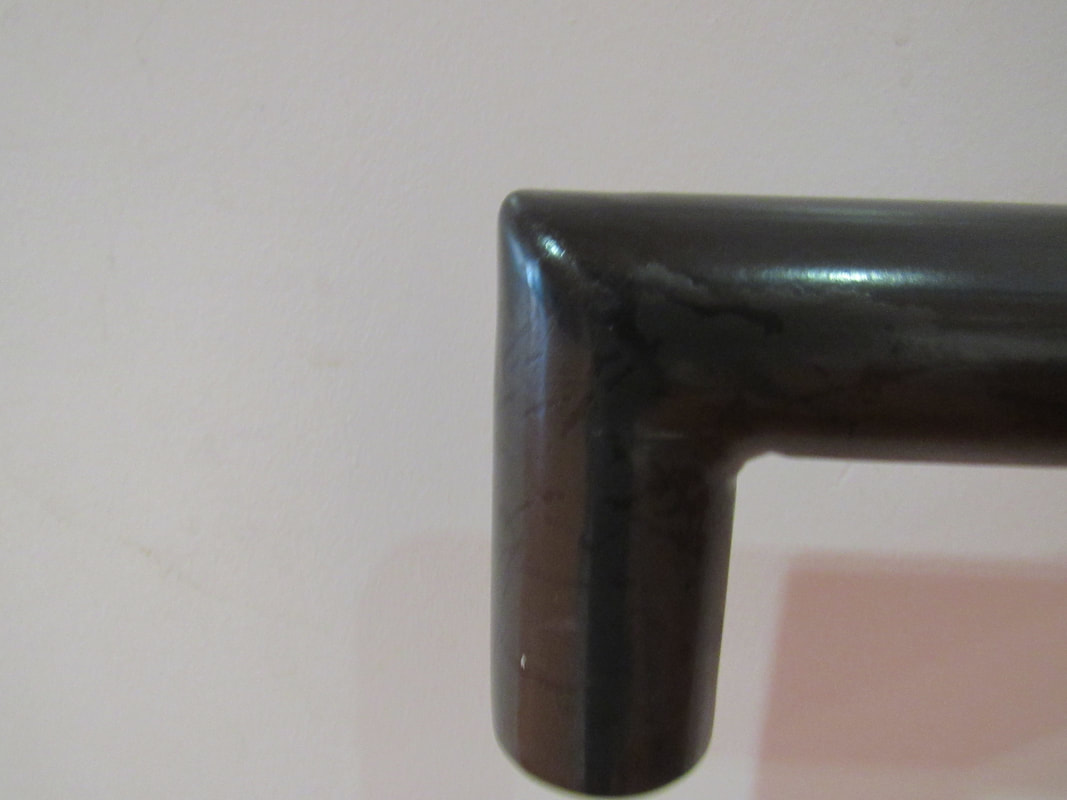
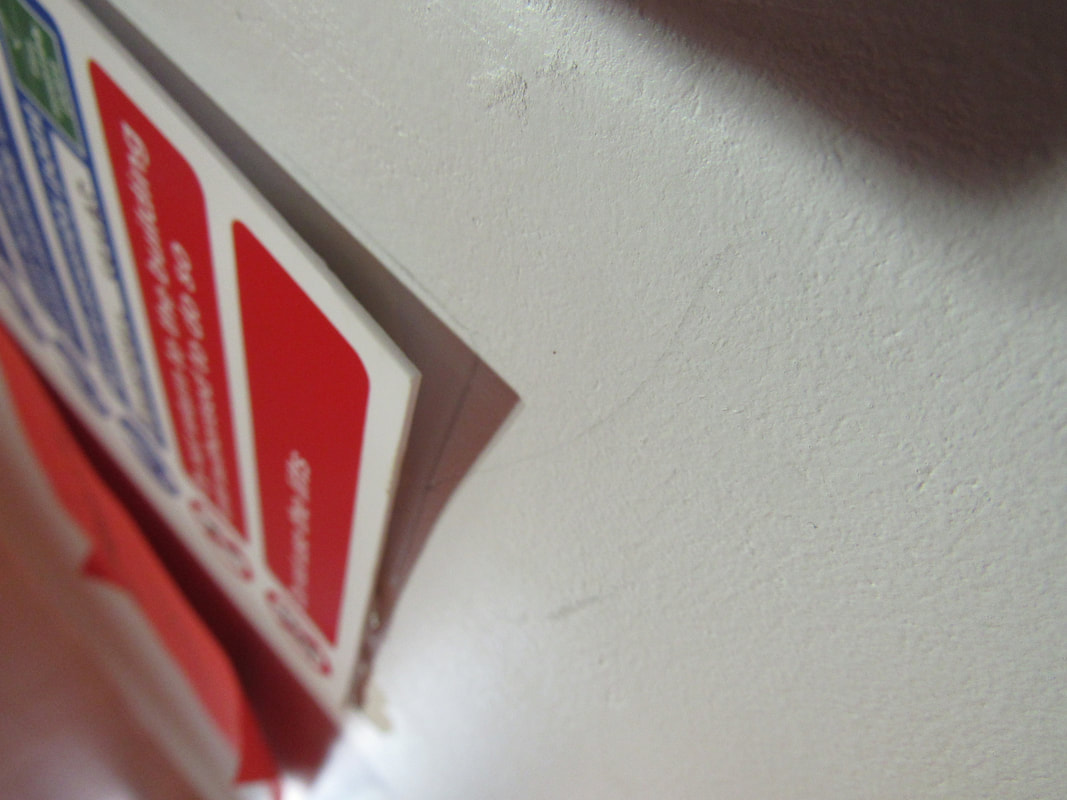
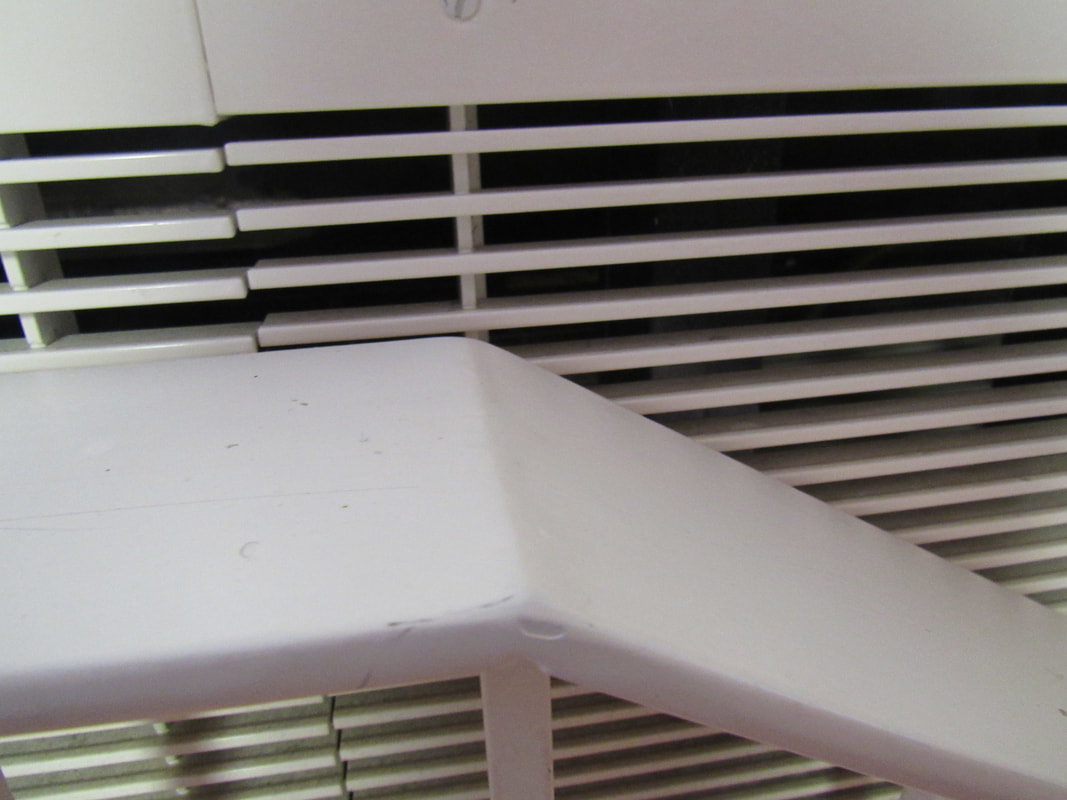
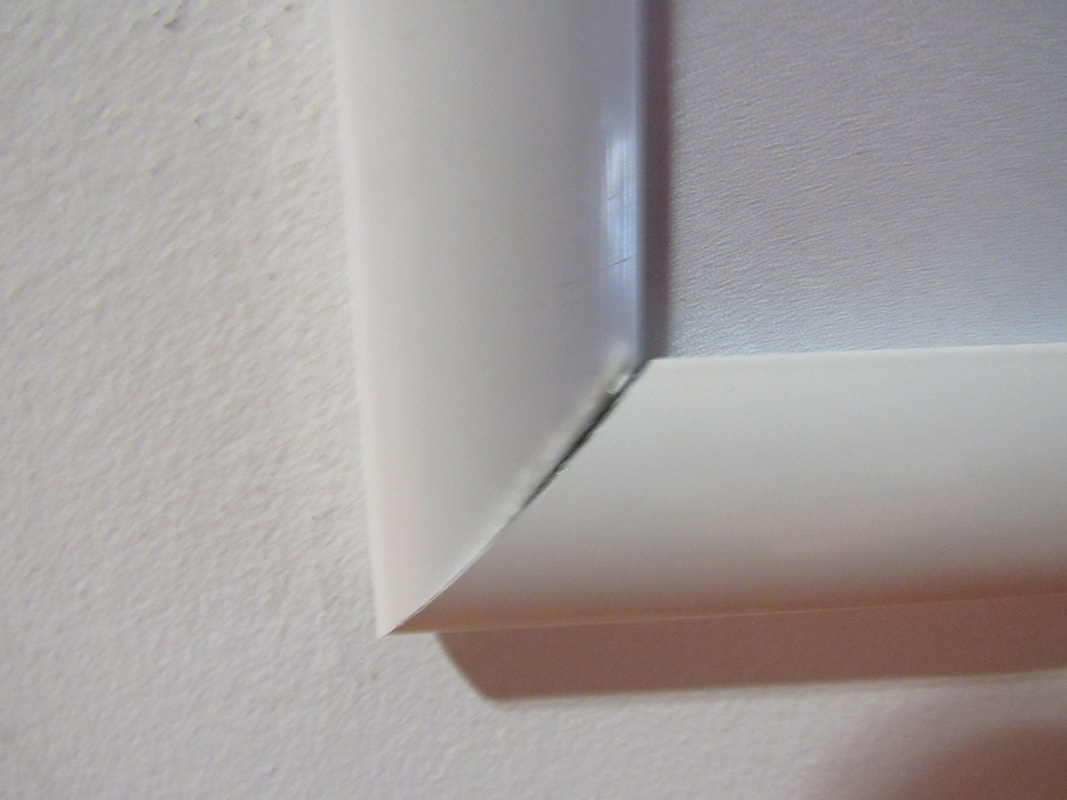
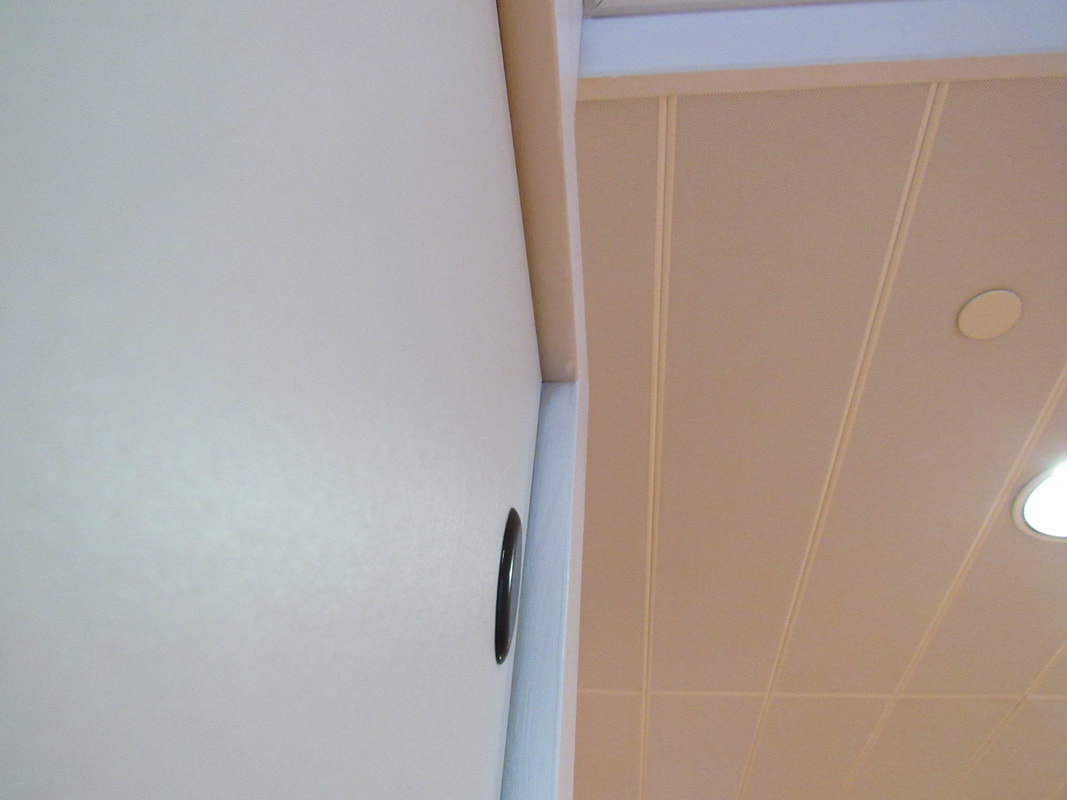
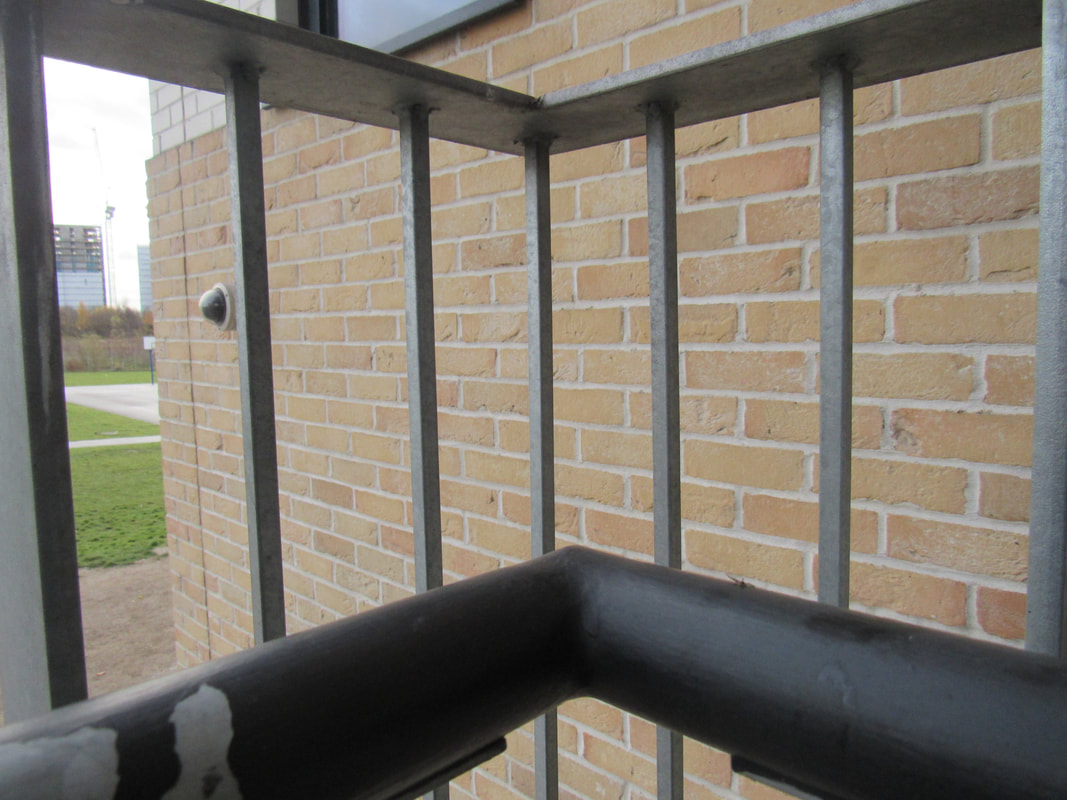
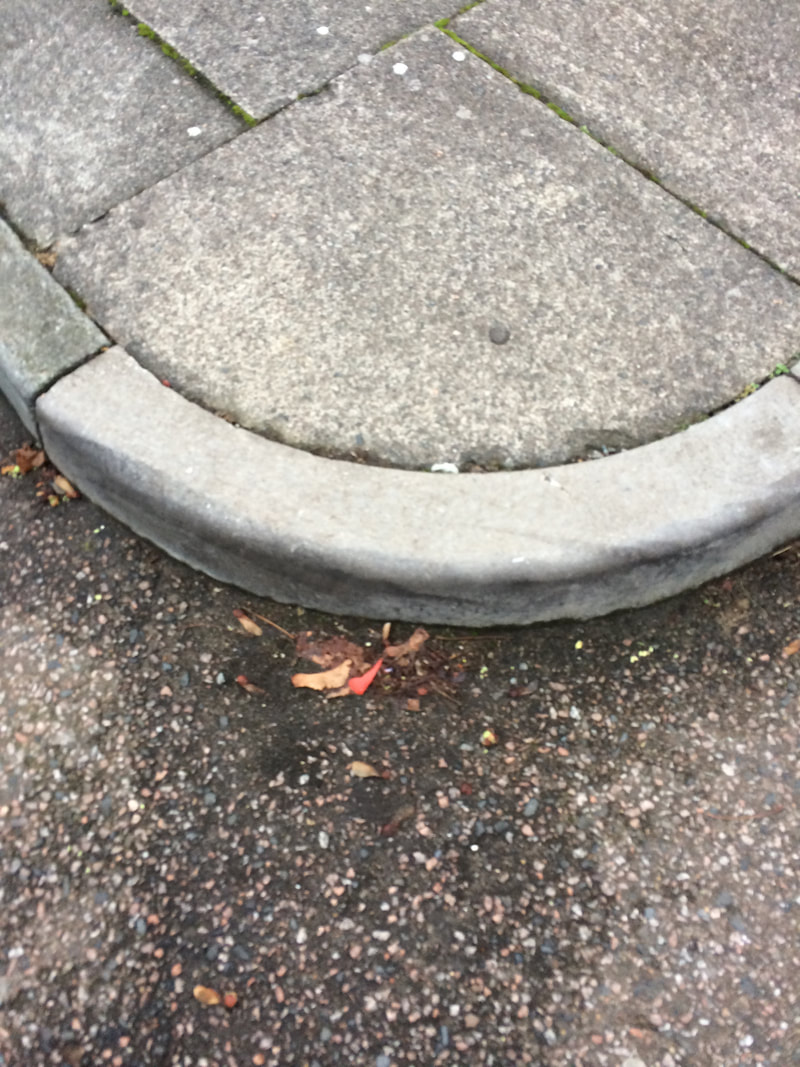
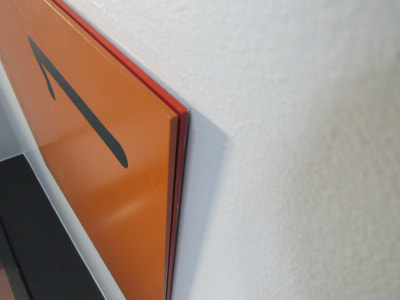
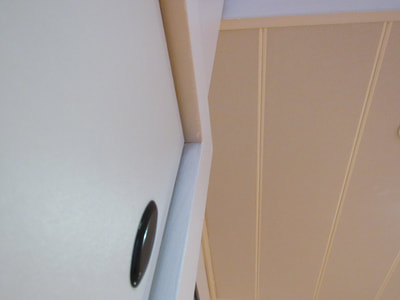
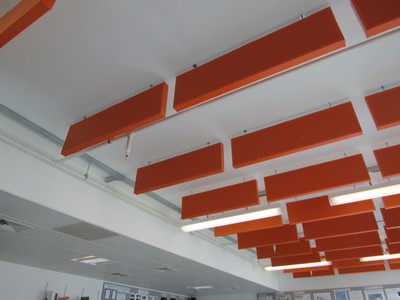
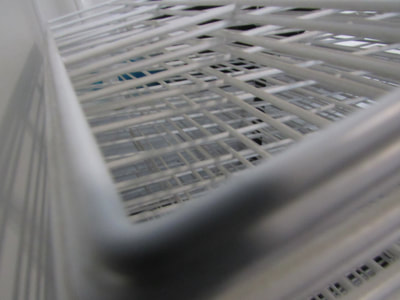
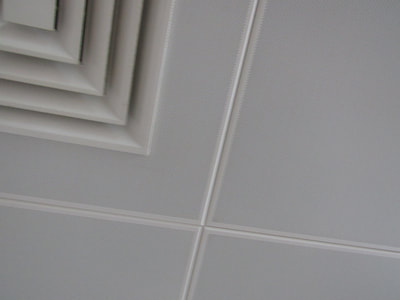
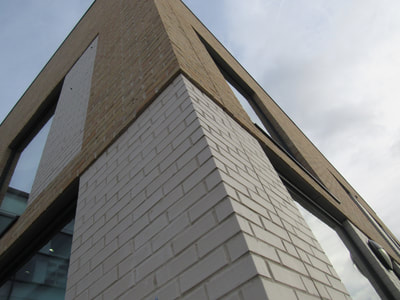
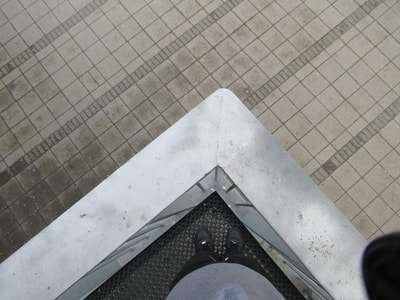
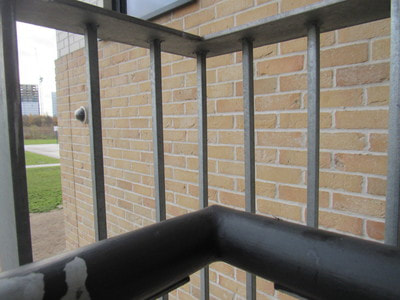
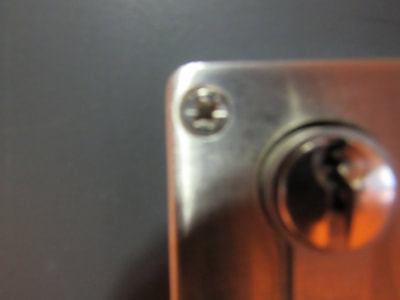
Here are examples of edges:
- Edge of a table
-Edge of a door
-Edge of building
-Edge of a sign
In this task the focus was on edges but it wasn't all about taking pictures of corners.
We have to consider the composition,angle,shape and positive and negative space in the image.
We had a post it note and we had to write types of edges e.g. edge of a door or a window (20 maximum)
I then set off around the school and i could already see many edges around that caught my interest.
But if i took a picture of an edge i would have to add an interesting angle and make sure there is positive and negative space.
Here are examples of edges:
- Edge of a table
-Edge of a door
-Edge of building
-Edge of a sign


Evaluation:
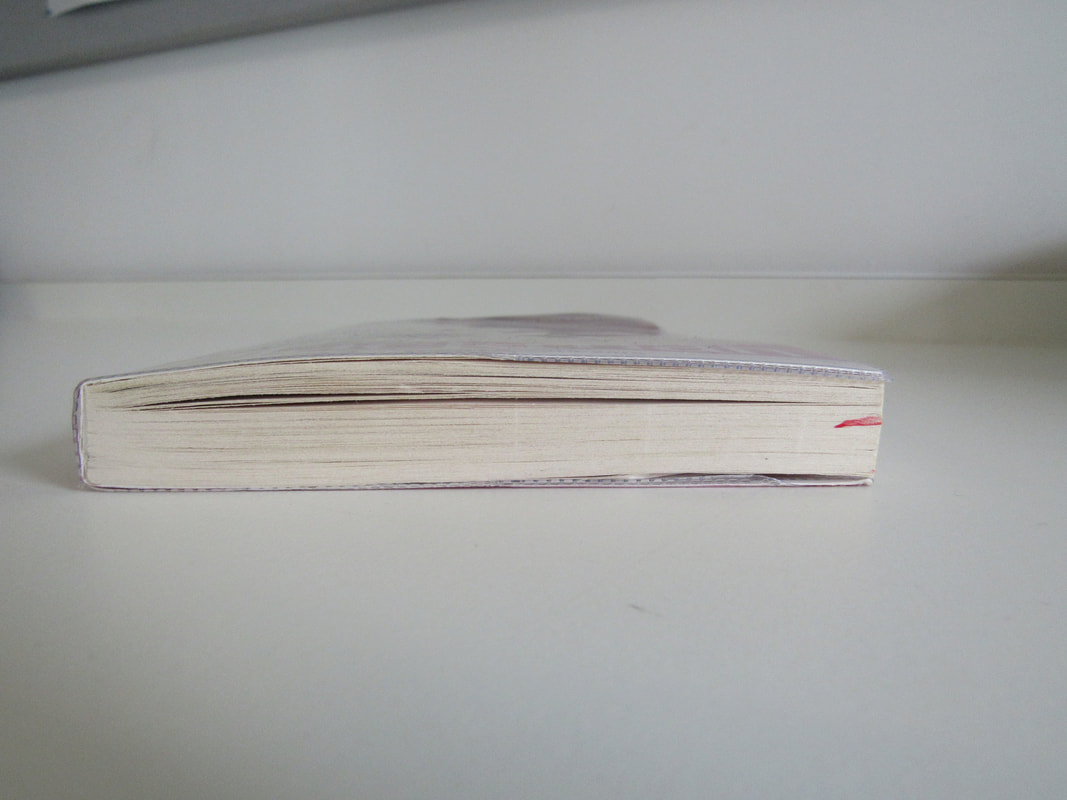
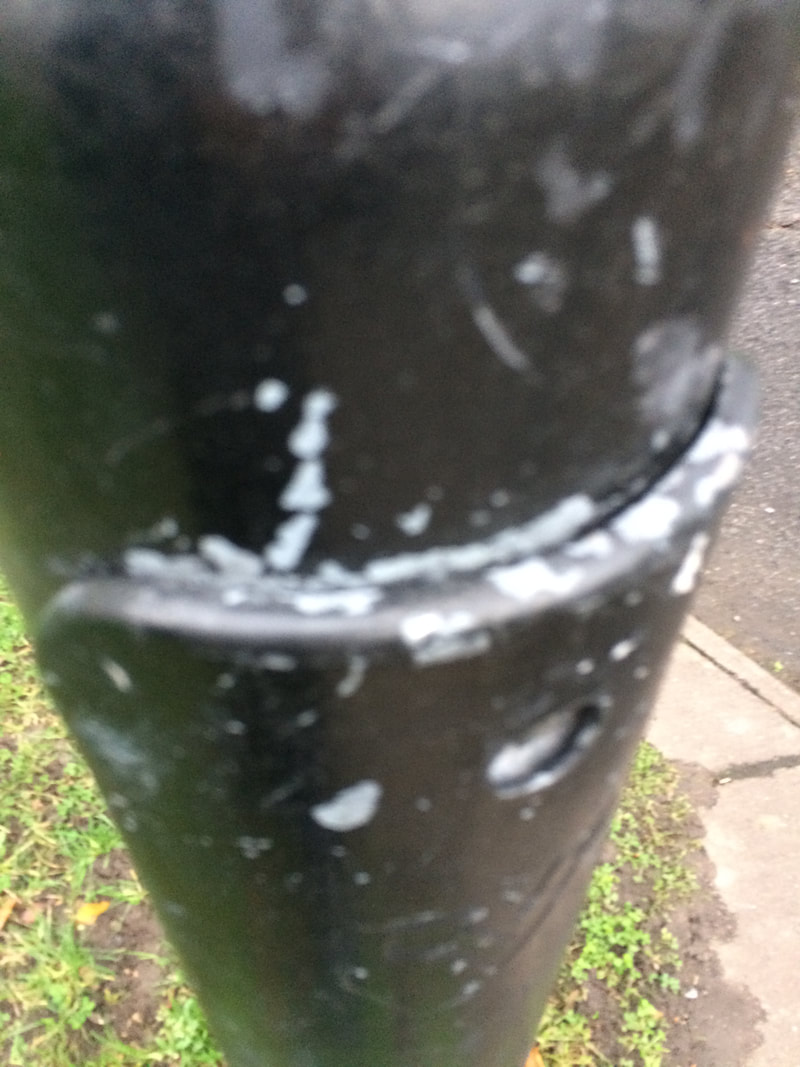
The pictures of edges above are the ones i thought where the most successful.
The reason i chose these images is because there are some positive and negative colours present. Some images had an angle i liked. Compared to some other images i took where there was too many edges and it looked messy.
Why are we looking at edges:
It is to help with framing and looking at images from a different angles.
This helped me because in the gallery there is an image of a bottom of a book that had i nice edge, but i could of taken an image from above the book or the side. I had to choose the best angle.
This is key in photography as you can't take loads of images and give up.
You have to keep trying and keep improving.


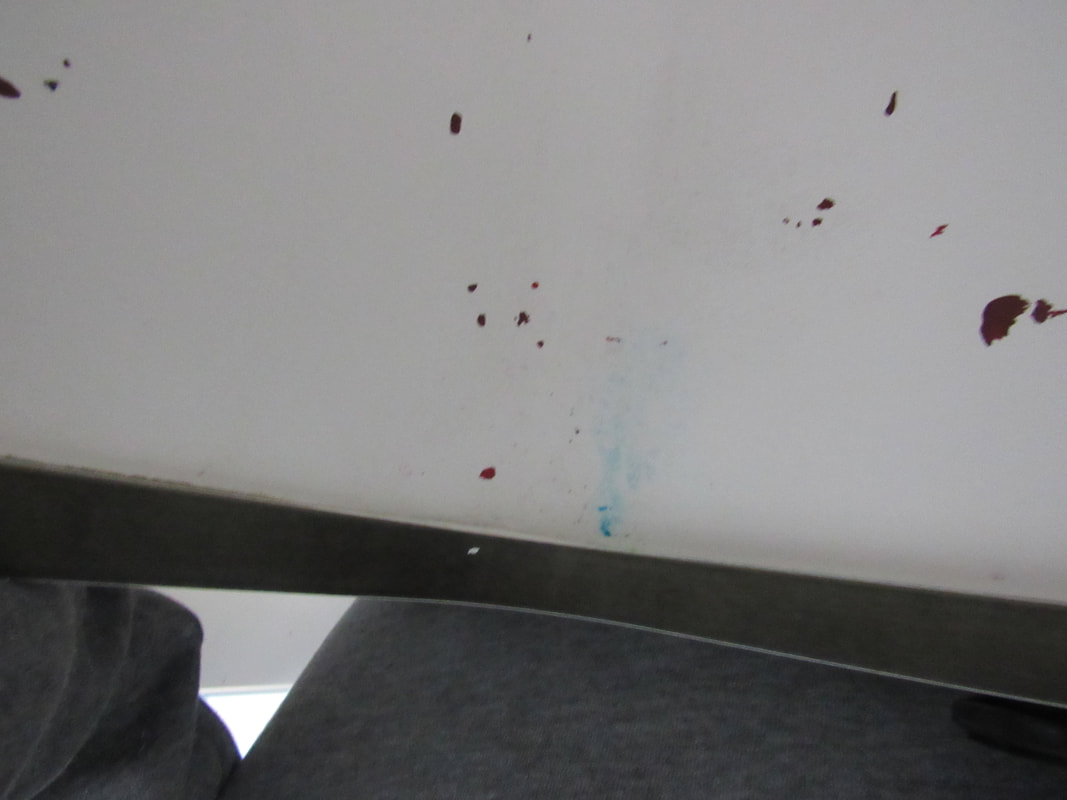
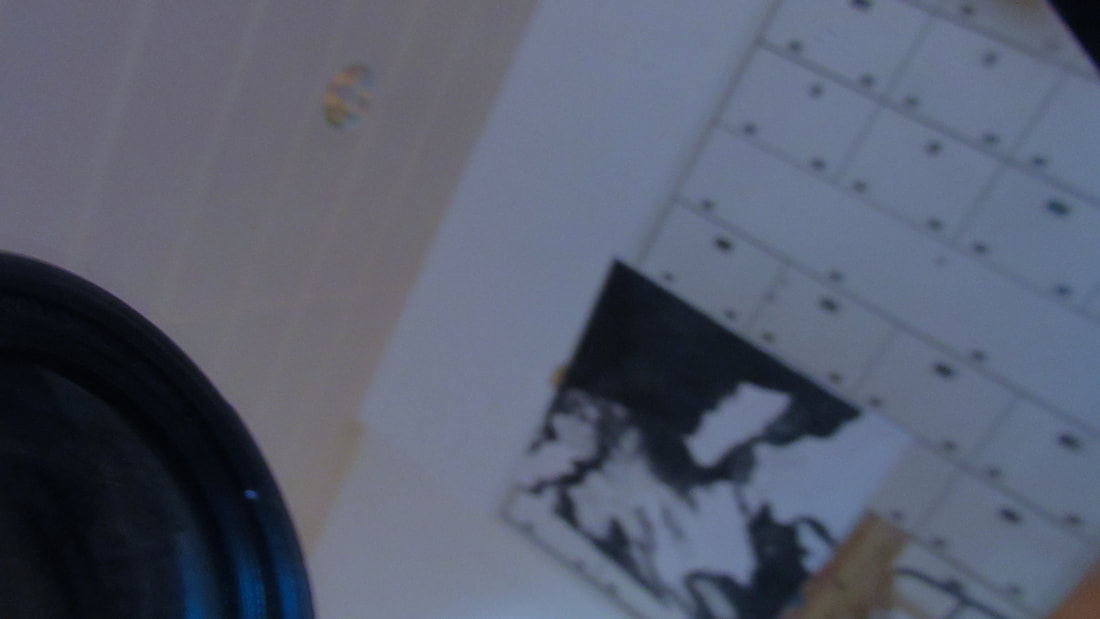
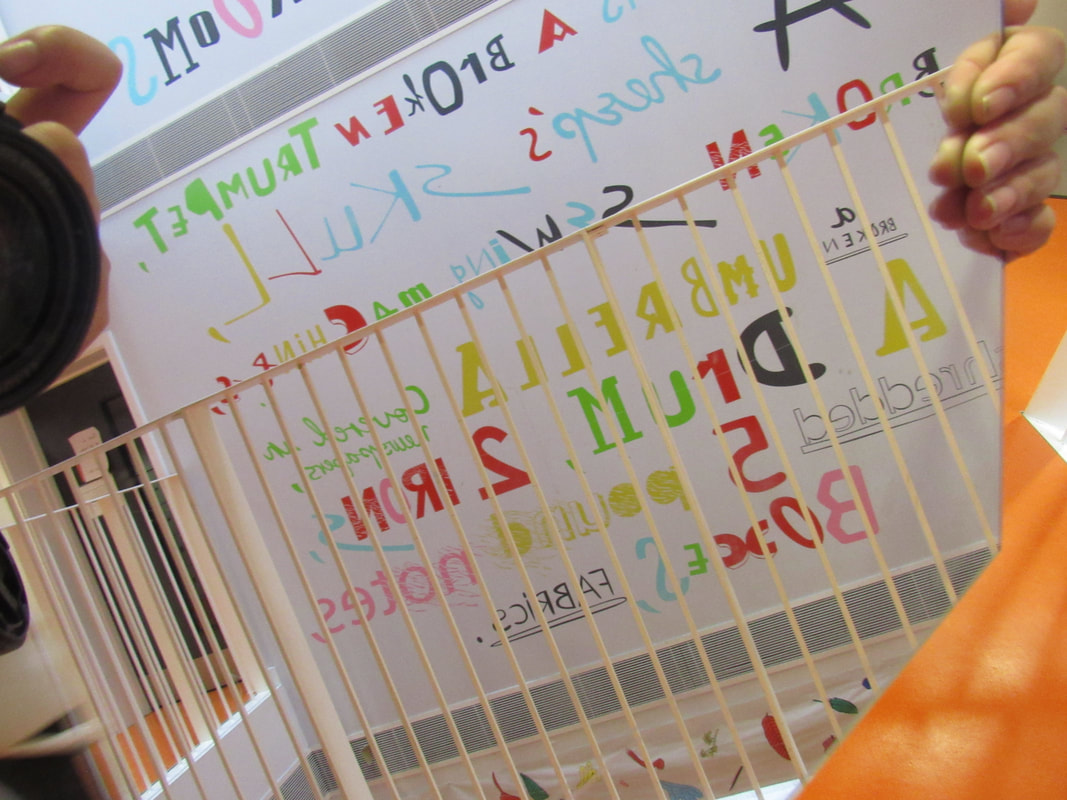
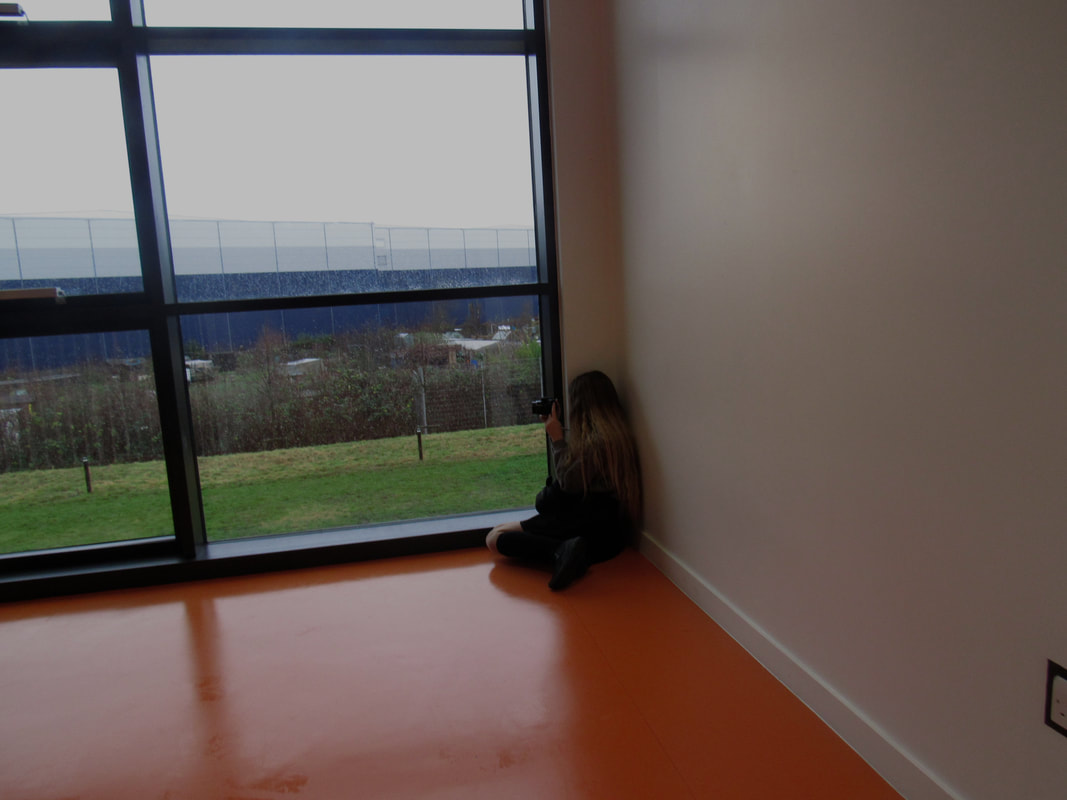
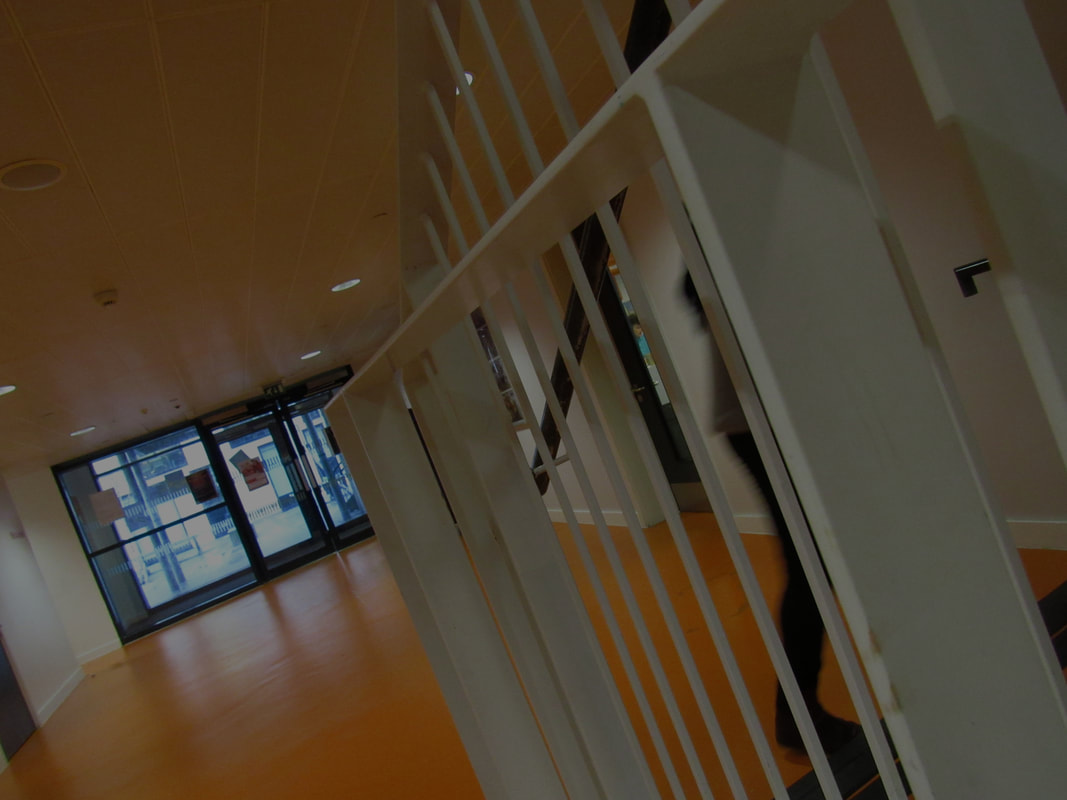
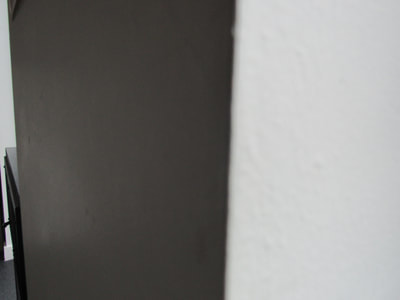
Todays task was the same as last lesson but this time we had keywords and a viewfinder.
I found this task easier than last time as i now had resources to help me find more interesting edges.
Objects i found easy to photograph were the ones that already had an edge because it saves me time in finding one.
Objects with edges that i found challenging to photograph were the images that were outside as there is so much around it is hard to focus on just one.
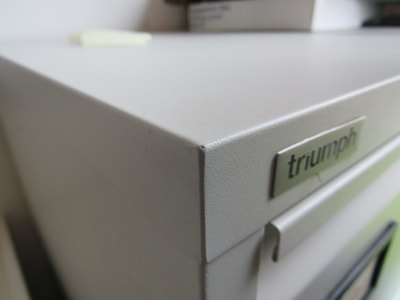
HOMEWORK

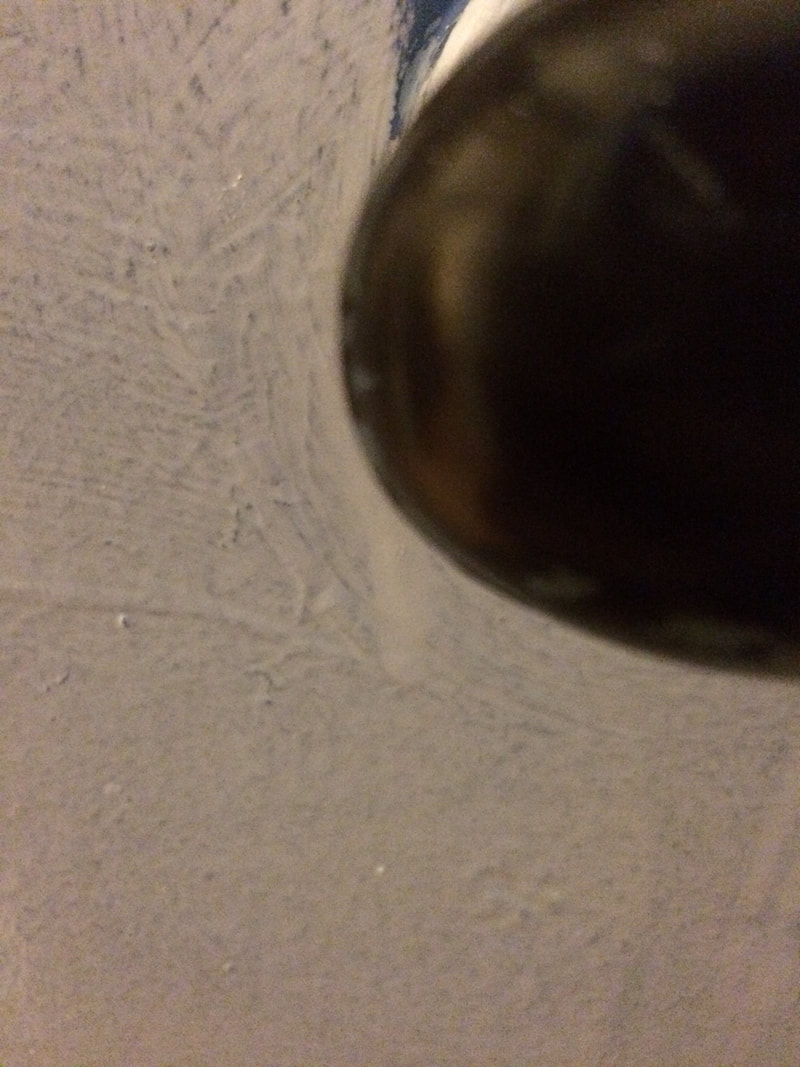
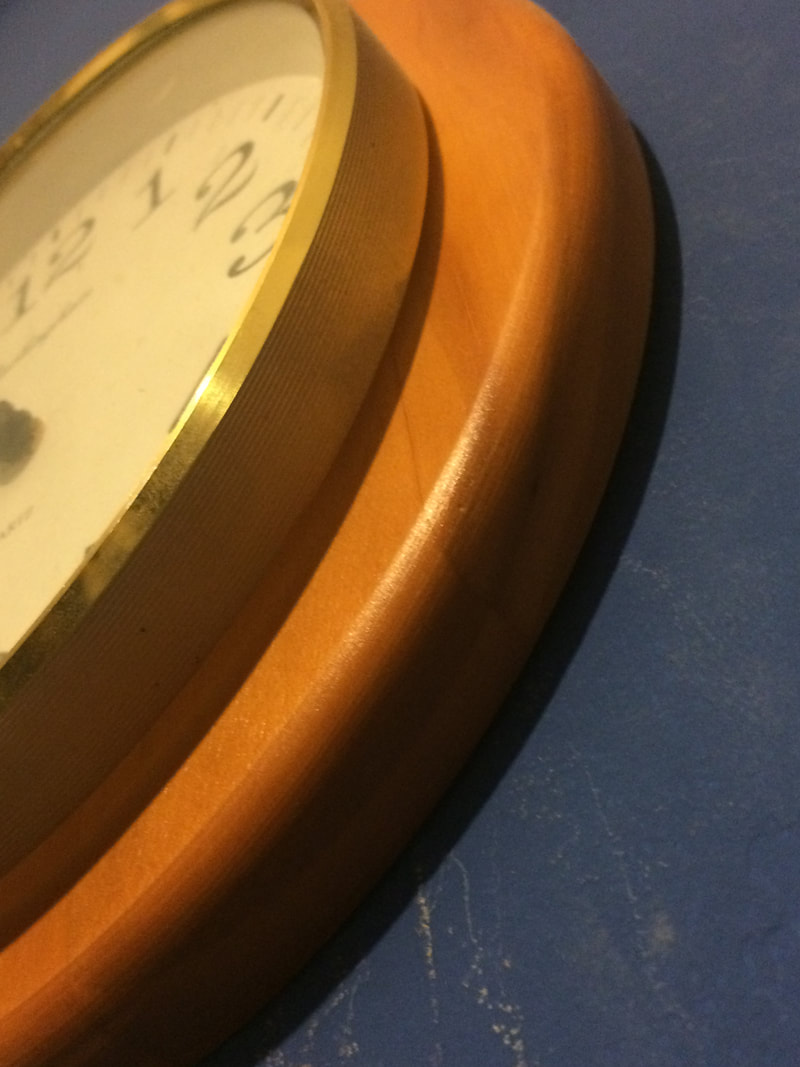
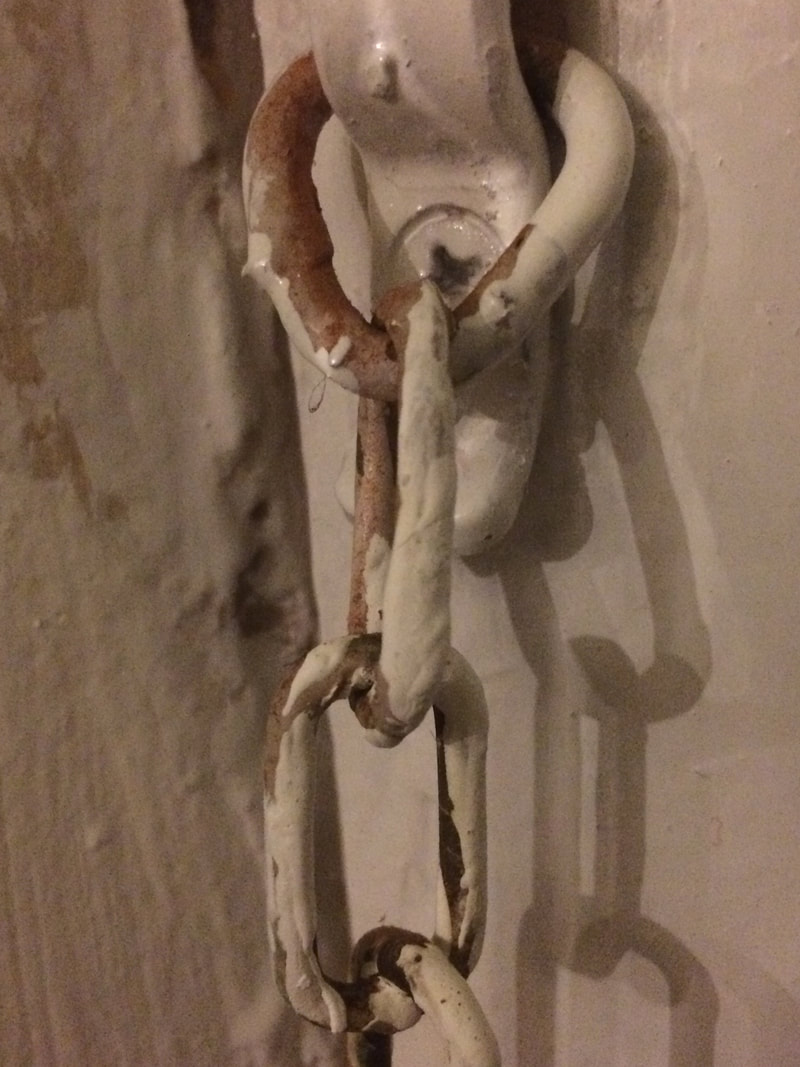
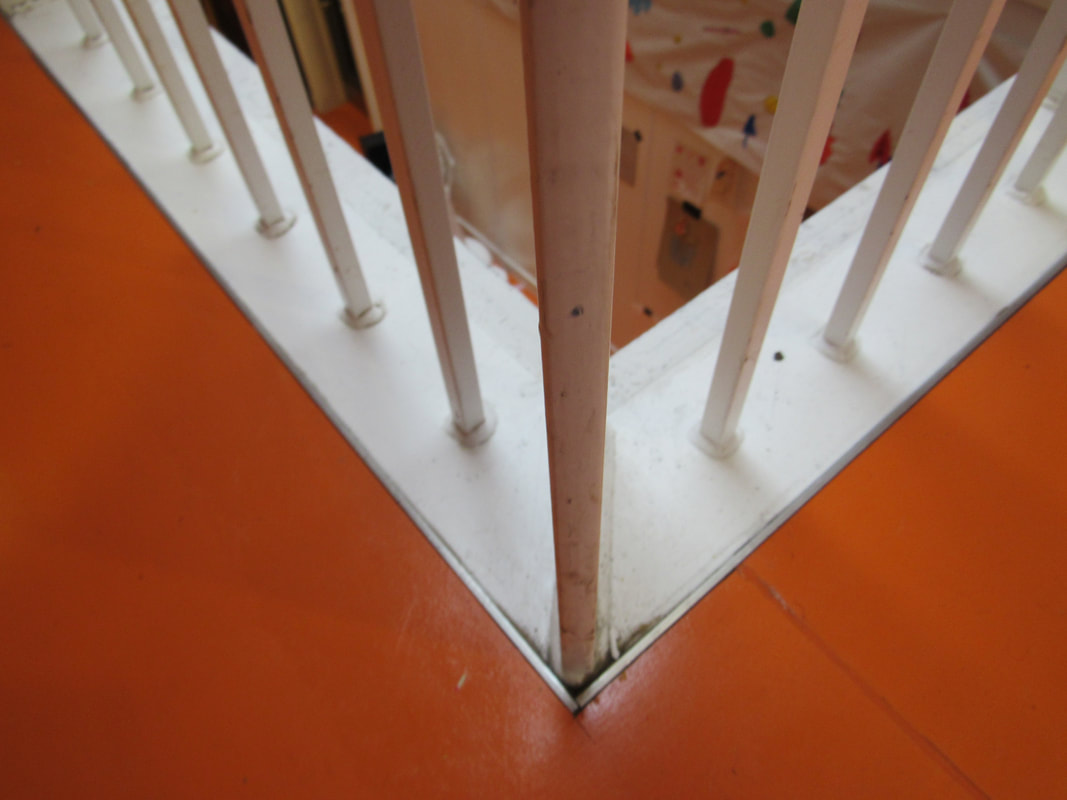
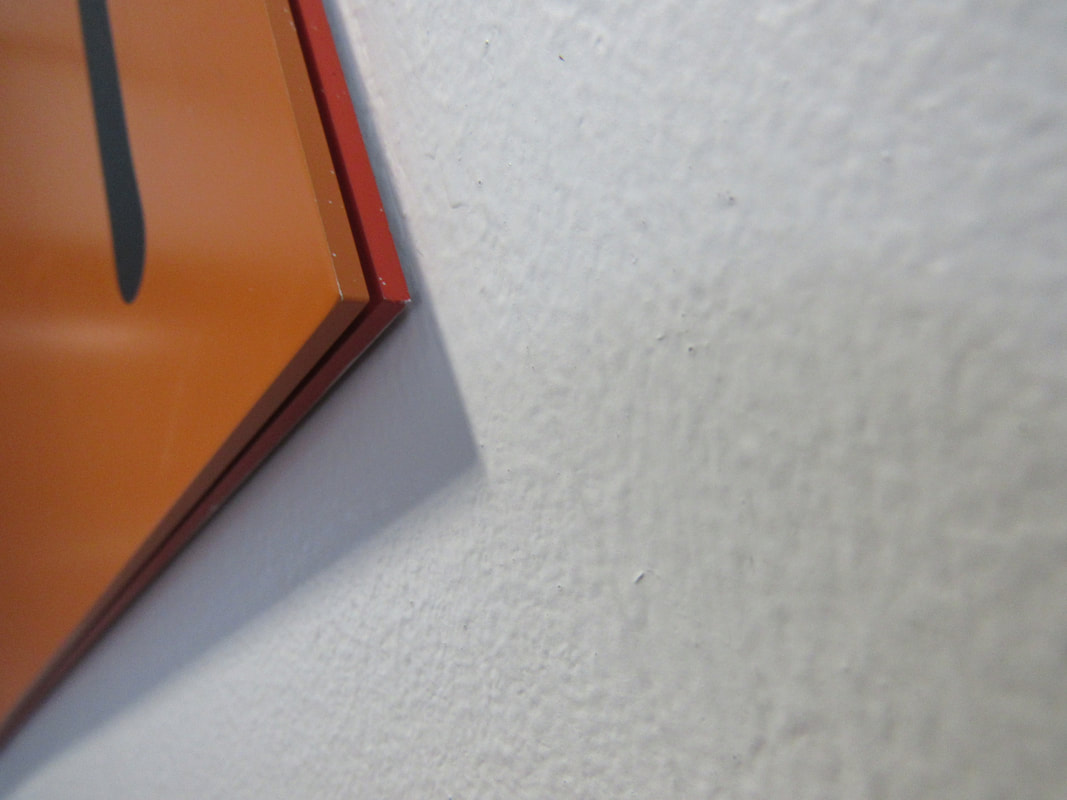
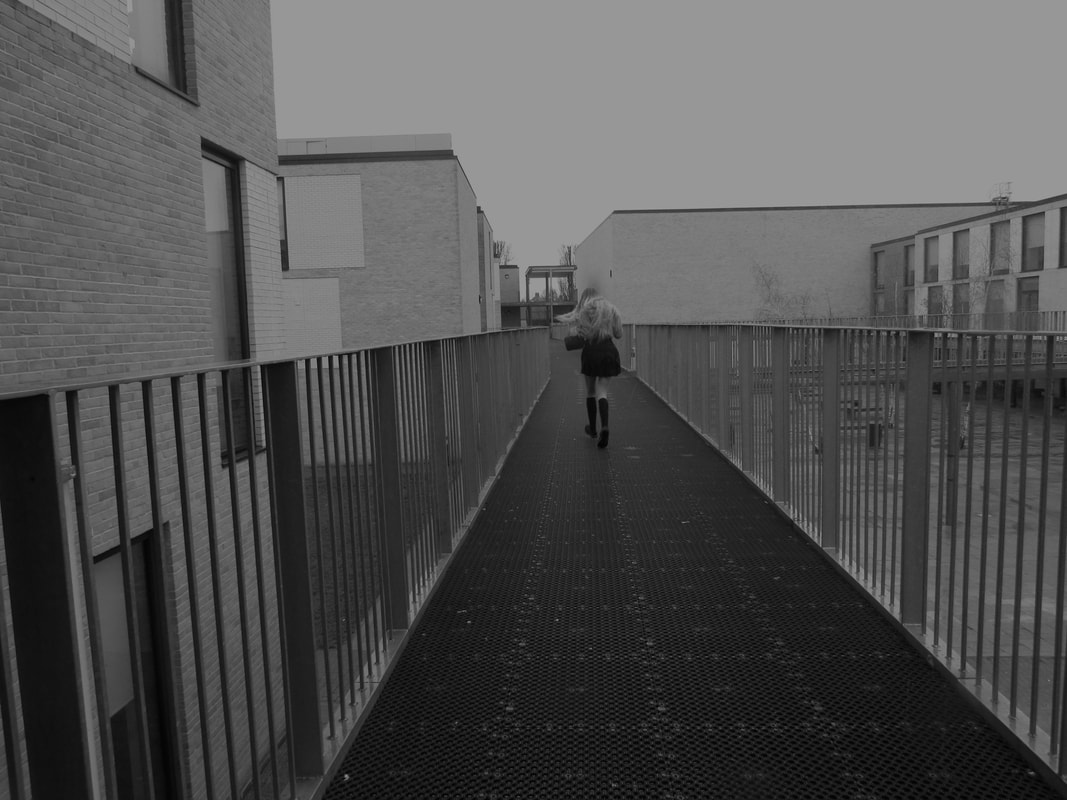
My task was to take some pictures on edges but this time with a theme so mine was around the house and area.
I thought these images were successful because they were angled correctly,space (positive and negative),framing and colour.
You could do any type of edges like straight,curved,patterned.
But i chose to do curved.
i found this task okay because now that i have more experience i just know what to do.
The objects i photographed that i thought were interesting were the ones where you could clearly the edges straight away.
objects i found challenging to photograph were the objects around the household because i didn't know if i should hold the object then take a picture or just place it down.
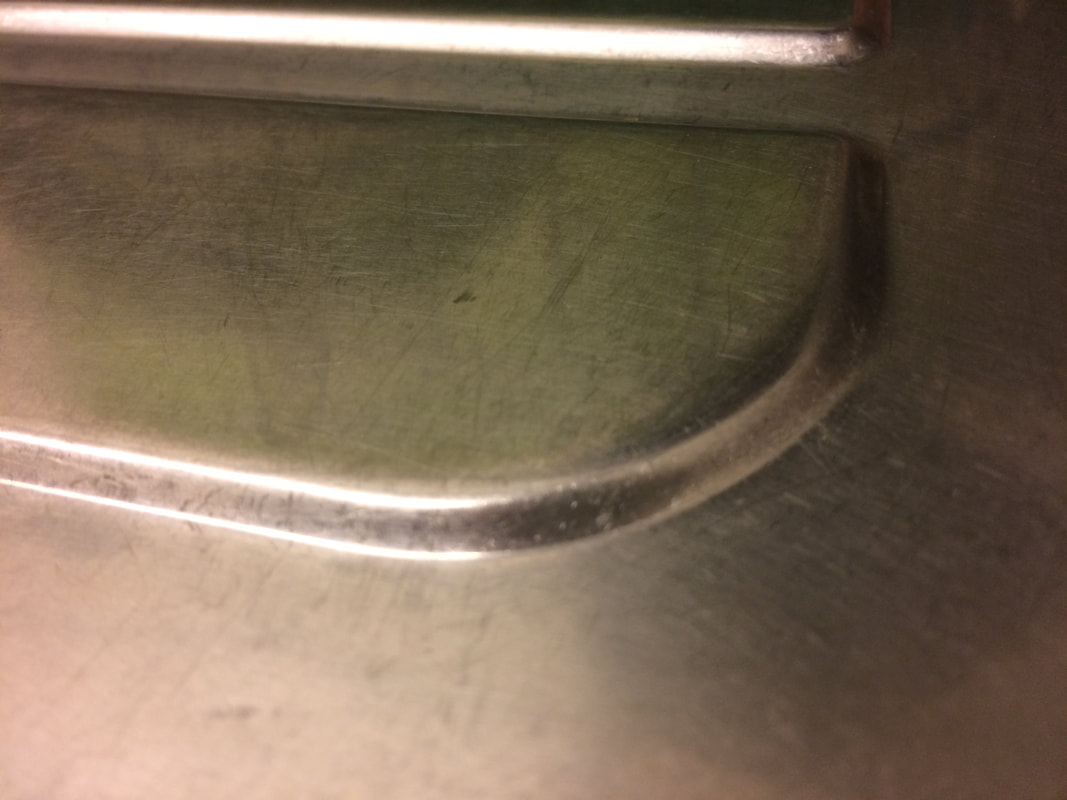
WWW: I managed take all 10 edges and thought about the 6 keywords
>Composition
>Angle
>Shape
>Space (positive negative)
>Framing
>Colour
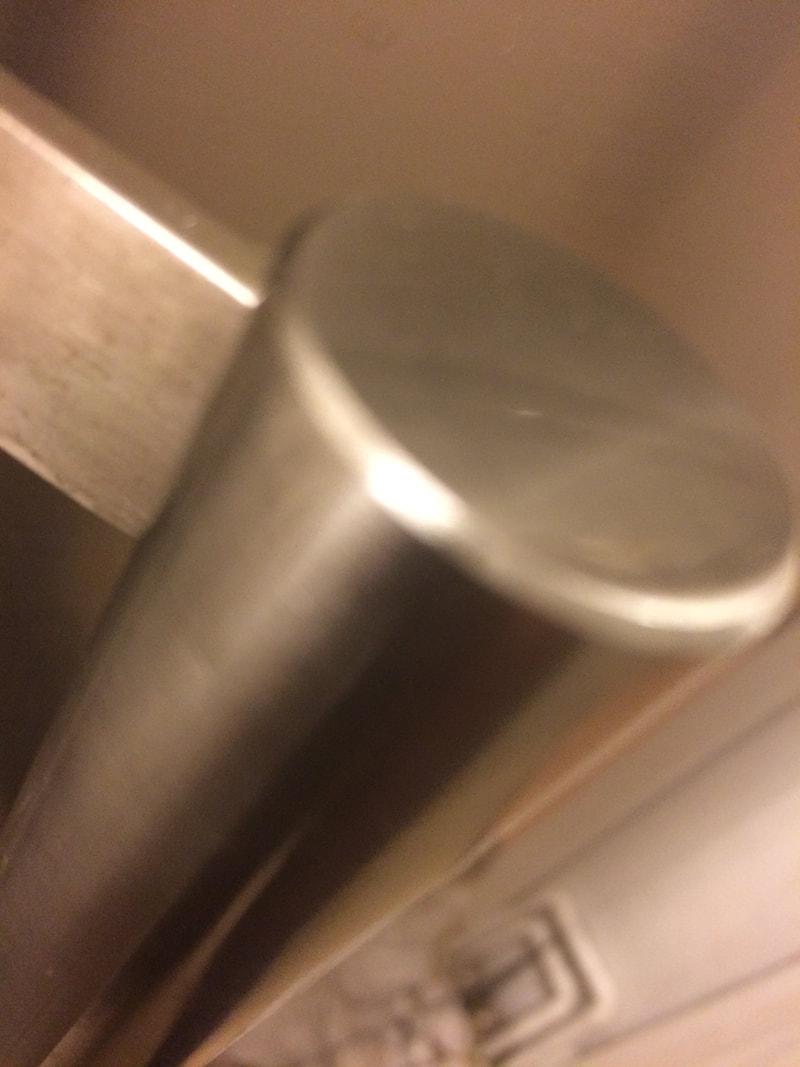
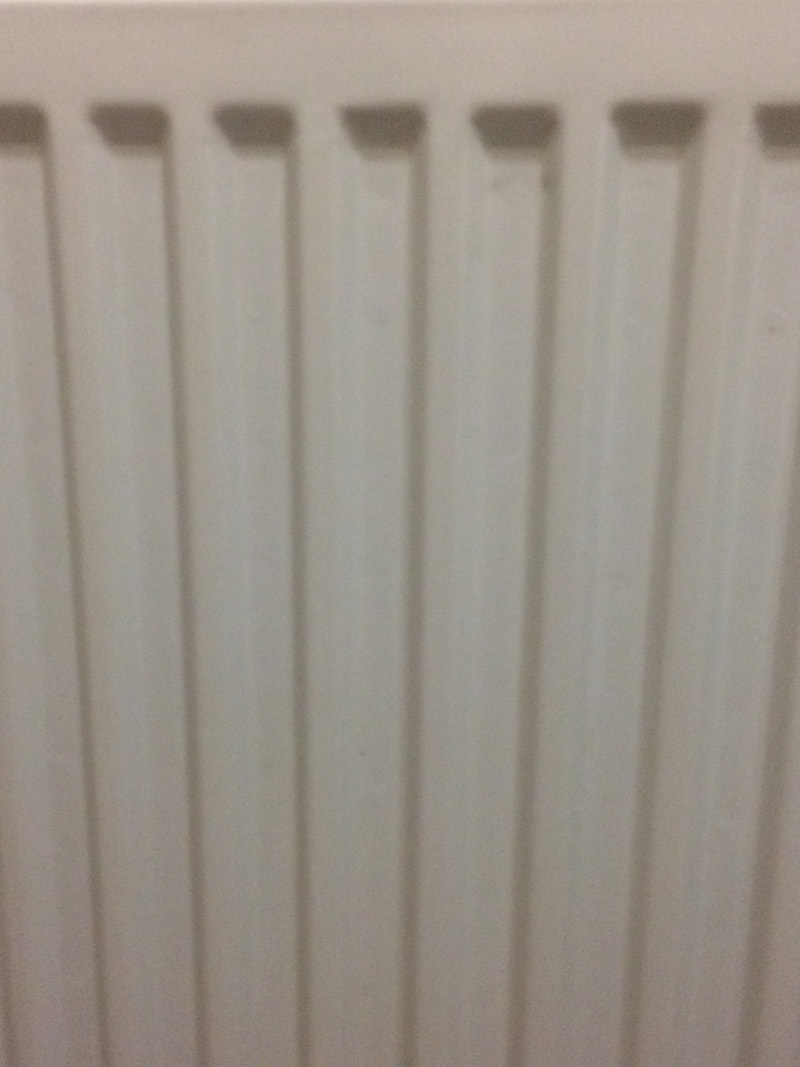
EBI: if my photos taken from my phone came out not blurry.
Also if my image of the radiator as angled better as people could not see the edges on the side.
I thought these images were successful because they were angled correctly,space (positive and negative),framing and colour.
You could do any type of edges like straight,curved,patterned.
But i chose to do curved.
i found this task okay because now that i have more experience i just know what to do.
The objects i photographed that i thought were interesting were the ones where you could clearly the edges straight away.
objects i found challenging to photograph were the objects around the household because i didn't know if i should hold the object then take a picture or just place it down.
WWW: I managed take all 10 edges and thought about the 6 keywords
>Composition
>Angle
>Shape
>Space (positive negative)
>Framing
>Colour
EBI: if my photos taken from my phone came out not blurry.
Also if my image of the radiator as angled better as people could not see the edges on the side.
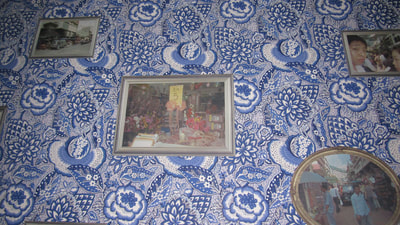
Dolores Marat

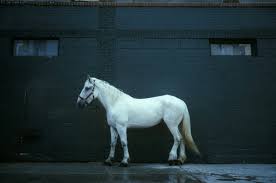
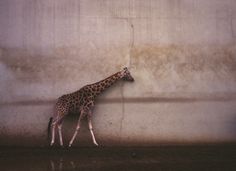
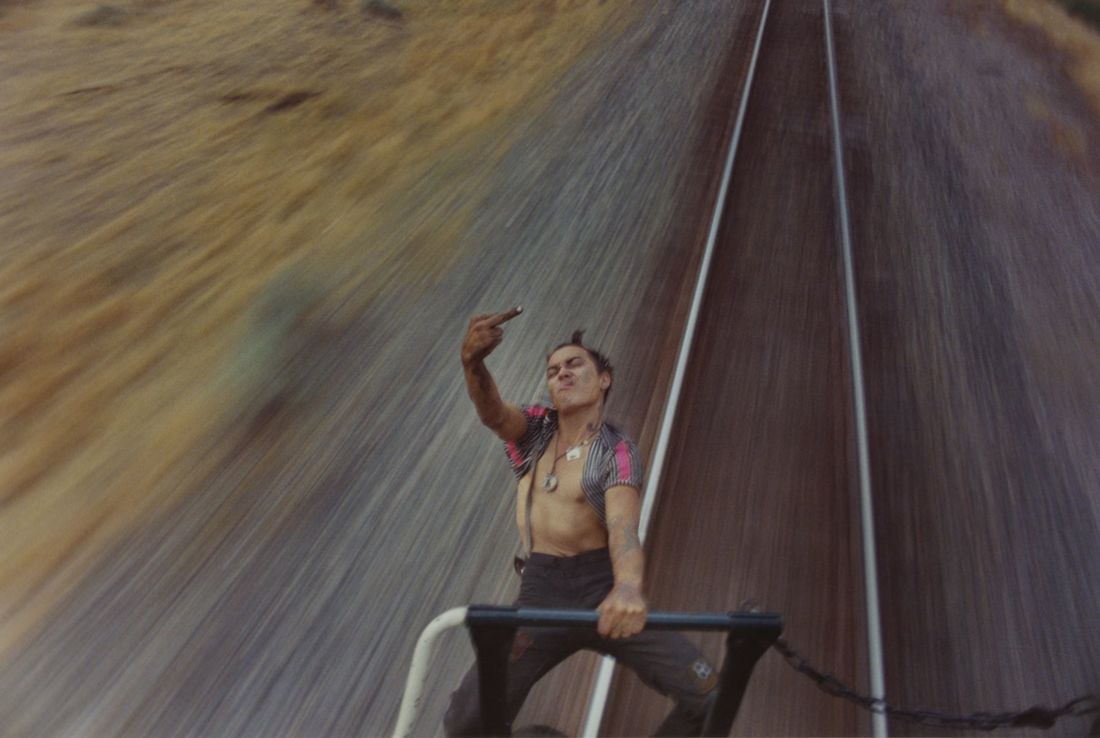
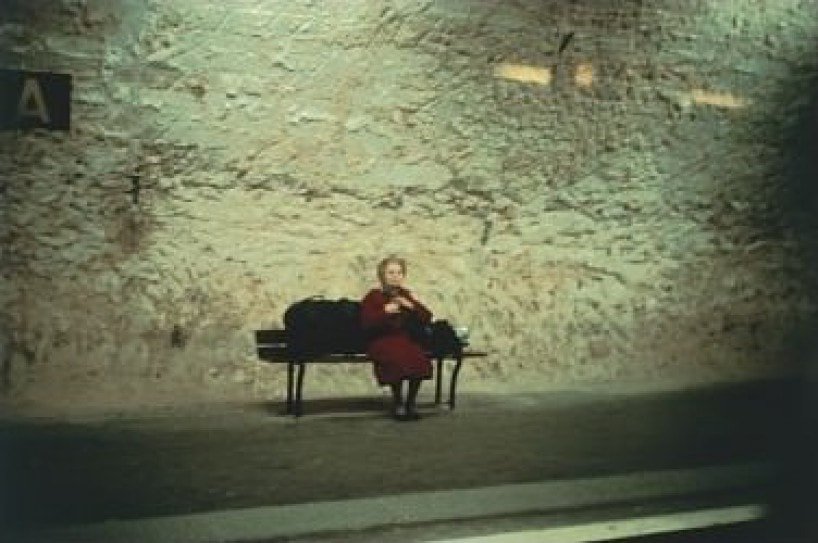
Image 1
Is an woman going down the escalator but her surroundings are going up, we can also see the dark brown coat blends in the black escalator with the blue patterned print making it visable
Image 2
This is a decisive moment as it was taken quickly but its very burred as the cat must of been moving around alot.
image 3
This image has really good positive and negative colours also there is a lot of lines and pattern.
image 4
In this picture there was a lot of pattern you can see it quite well on the giraffe and faintly on the wall .
image 5
There is a young man hanging off the of a train i like this image because its not everyday you see a person hang off a train you can tell it was a decisive moment as the train was moving a high speed and she might of been on top taking the picture there is also a good use of lines from the train tracks
image 6
In this image we see an elderly woman sitting on a bench in the middle of the road
11/12/17

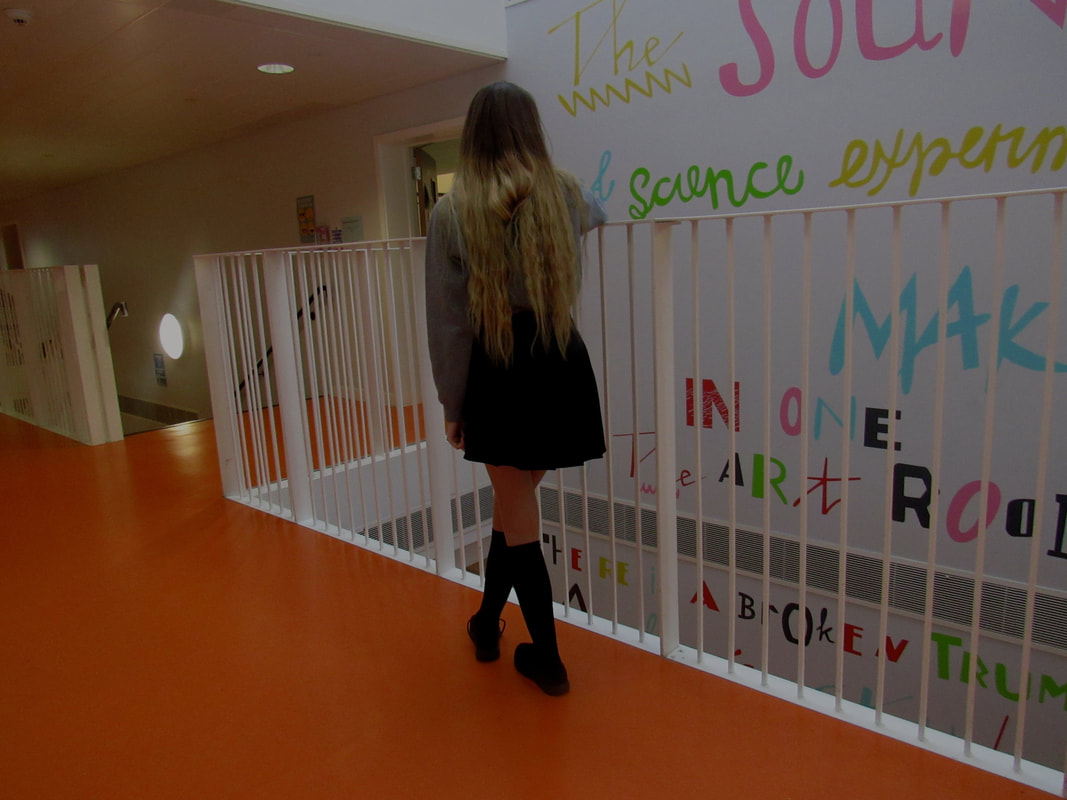
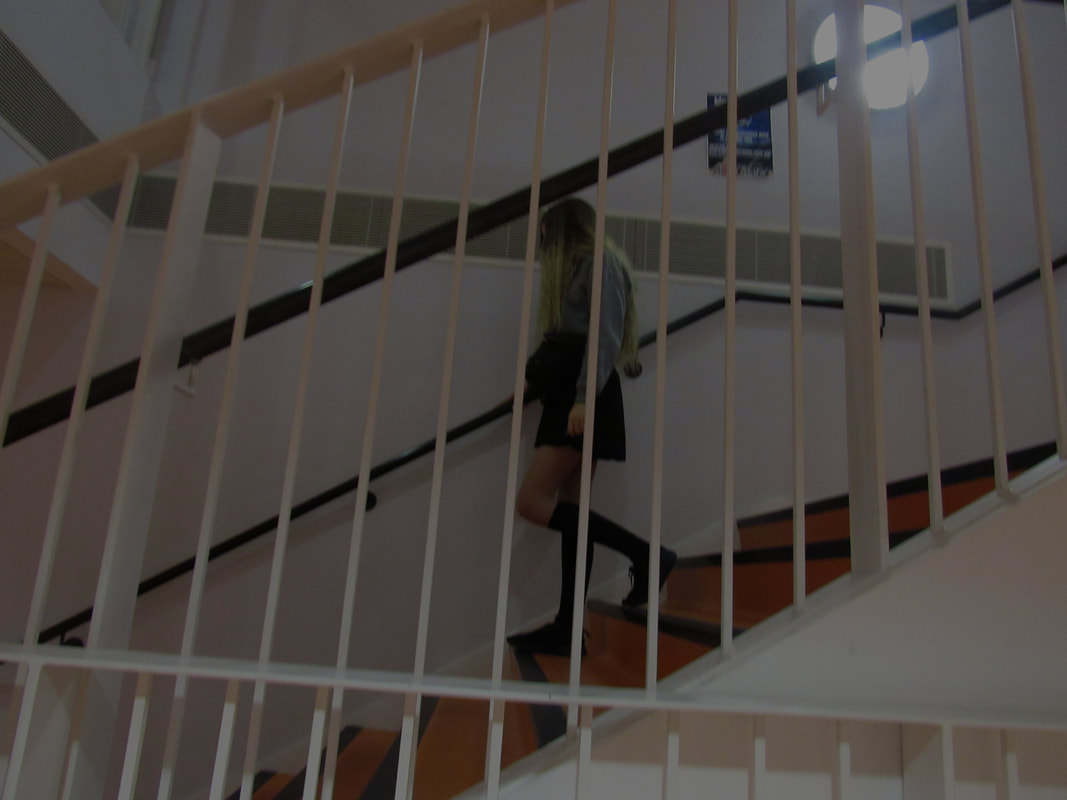
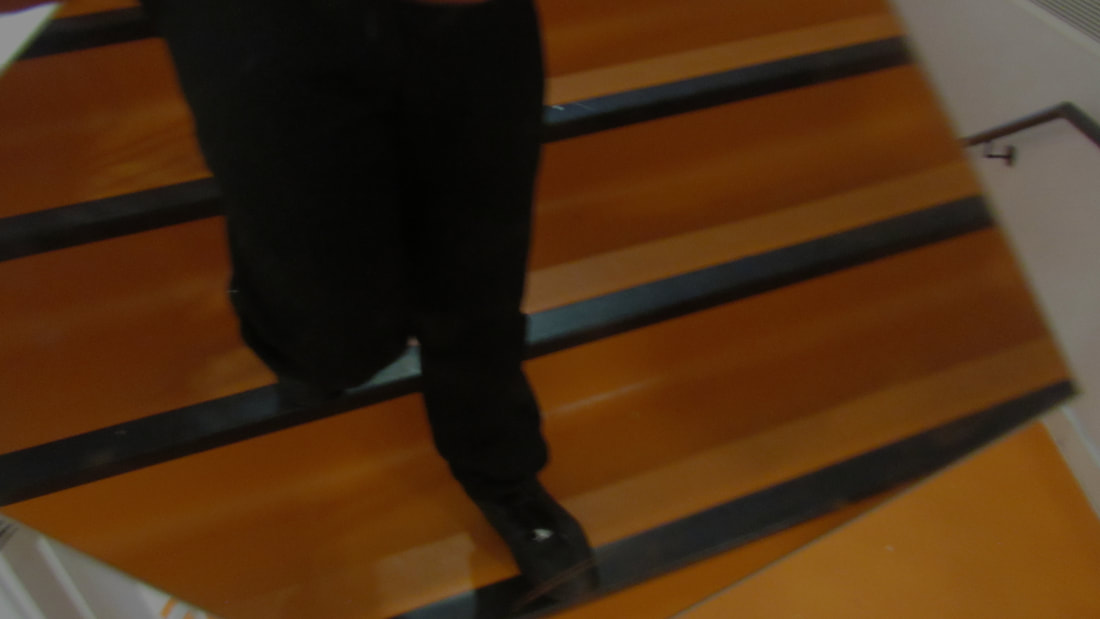
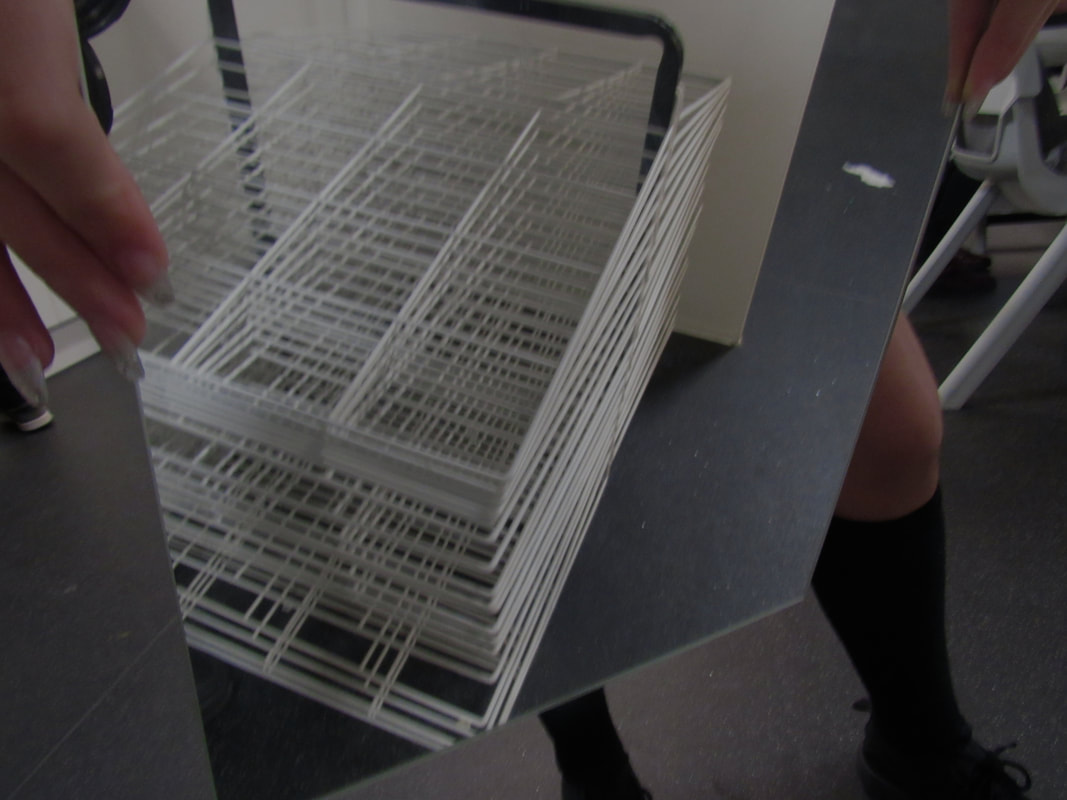
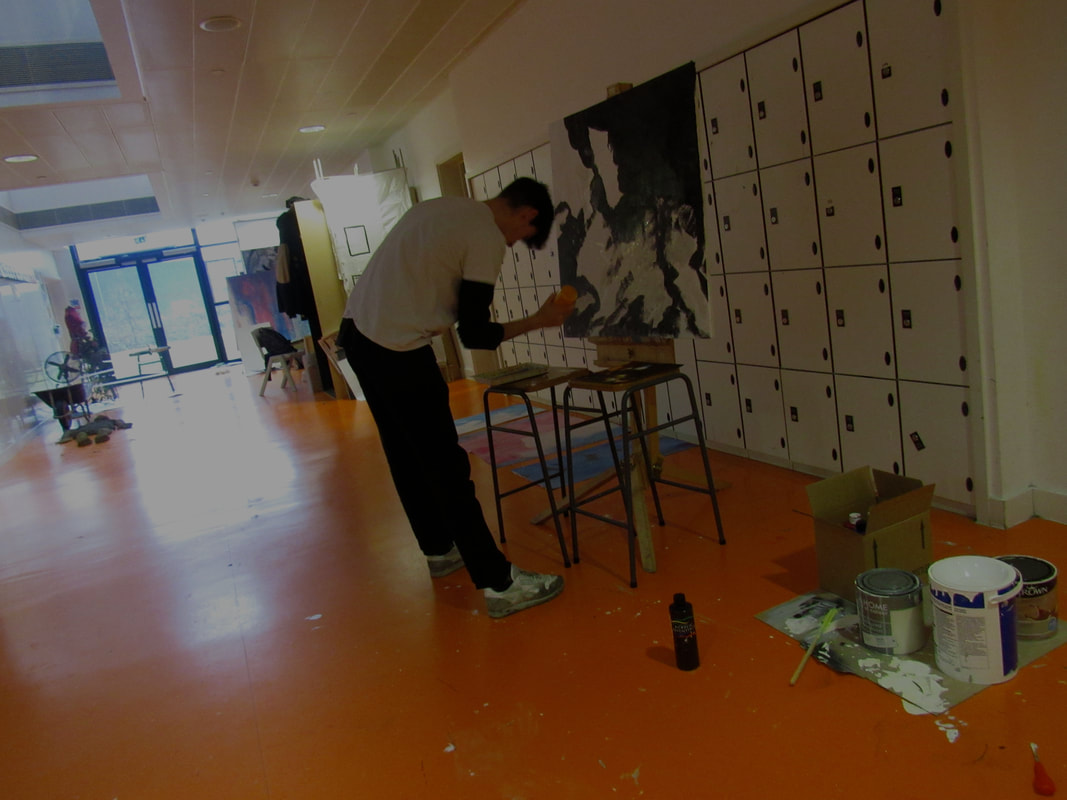
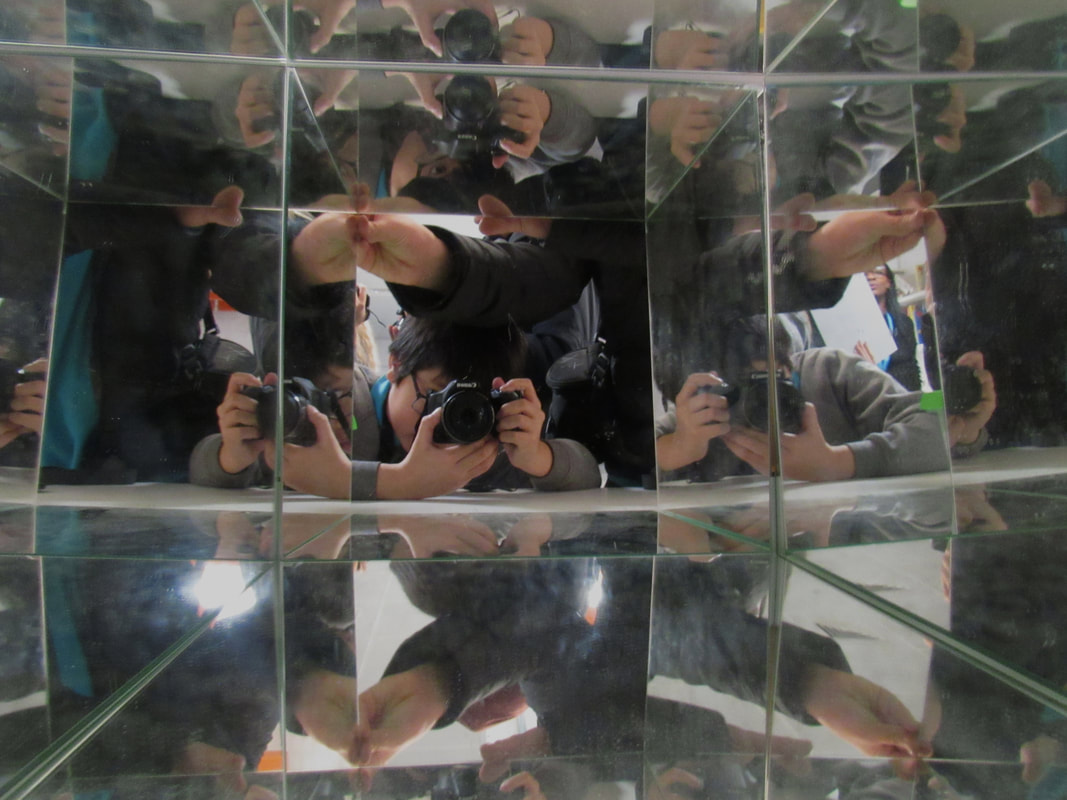
Today task was on Edges once again.
But this time we had to take images using the inspiration from Dolores Marat or William Eggleston.
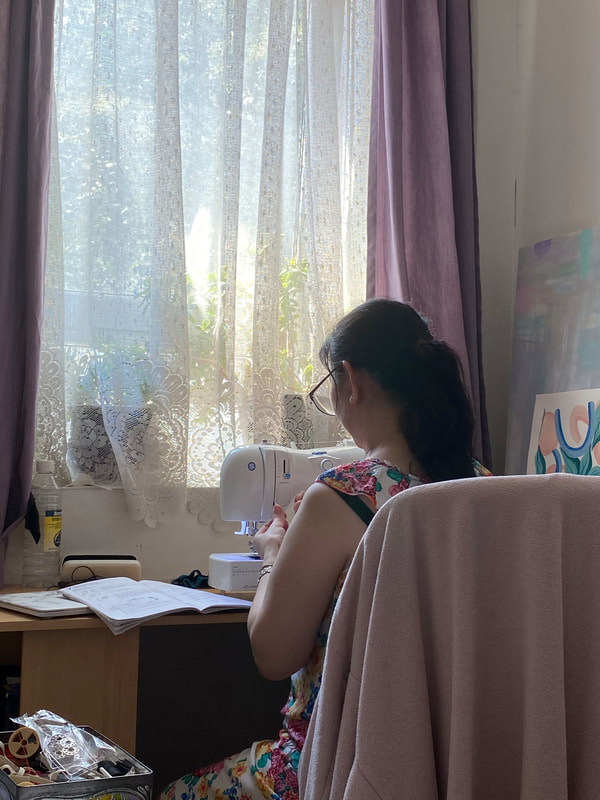
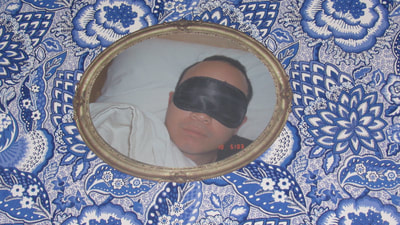
The Artist that has inspired my work was Dolores Marat as i was heavily influenced by her dark images as i tried to replicate in my own. I had two tasks, the first one and my second one was to do the same but with a mirror which i found more difficult.
What i found interesting is the use of the mirrors they gave the images a different perspective.
What i found difficult is also the mirror as it was harder to balance a mirror and take an image at the same time.
In my opinion i think my images turned out well even though i found editing the colours a bit confusing.
Elements i particularly focused on where colours on how they had to be dark and i also think editing helped a lot.
I think i framed the images well, i managed to fit an focus in most of images and i did think about framing a lot.
I would describe the composition in my images are very central based meaning most of the time the elements or focus are in the middle.
But this time we had to take images using the inspiration from Dolores Marat or William Eggleston.
The Artist that has inspired my work was Dolores Marat as i was heavily influenced by her dark images as i tried to replicate in my own. I had two tasks, the first one and my second one was to do the same but with a mirror which i found more difficult.
What i found interesting is the use of the mirrors they gave the images a different perspective.
What i found difficult is also the mirror as it was harder to balance a mirror and take an image at the same time.
In my opinion i think my images turned out well even though i found editing the colours a bit confusing.
Elements i particularly focused on where colours on how they had to be dark and i also think editing helped a lot.
I think i framed the images well, i managed to fit an focus in most of images and i did think about framing a lot.
I would describe the composition in my images are very central based meaning most of the time the elements or focus are in the middle.
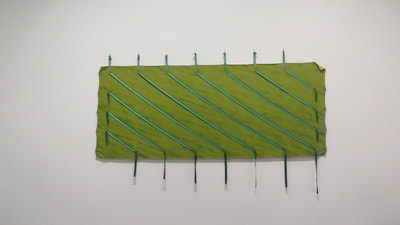
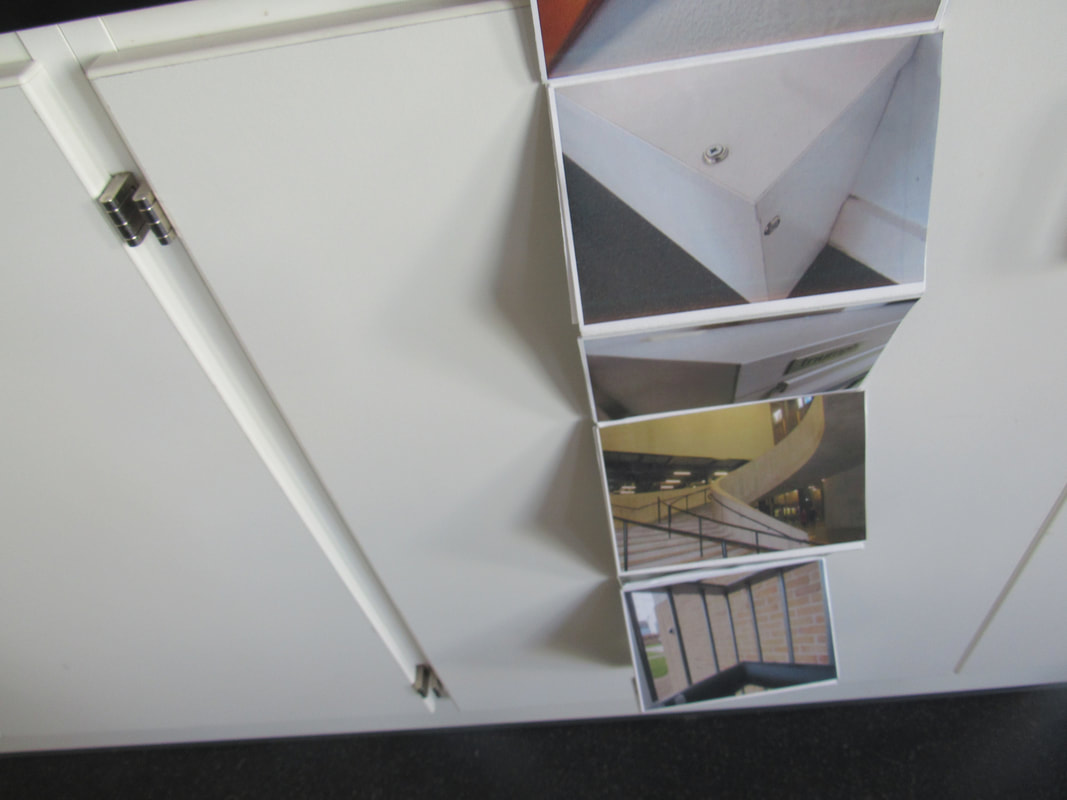
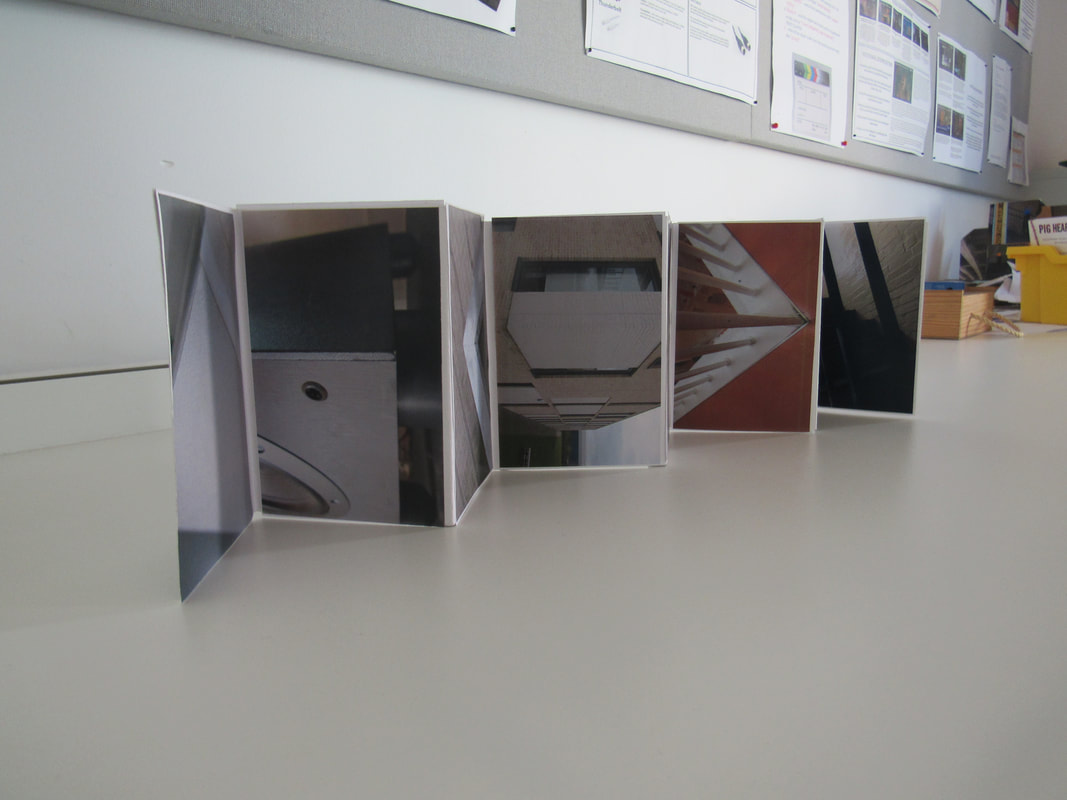
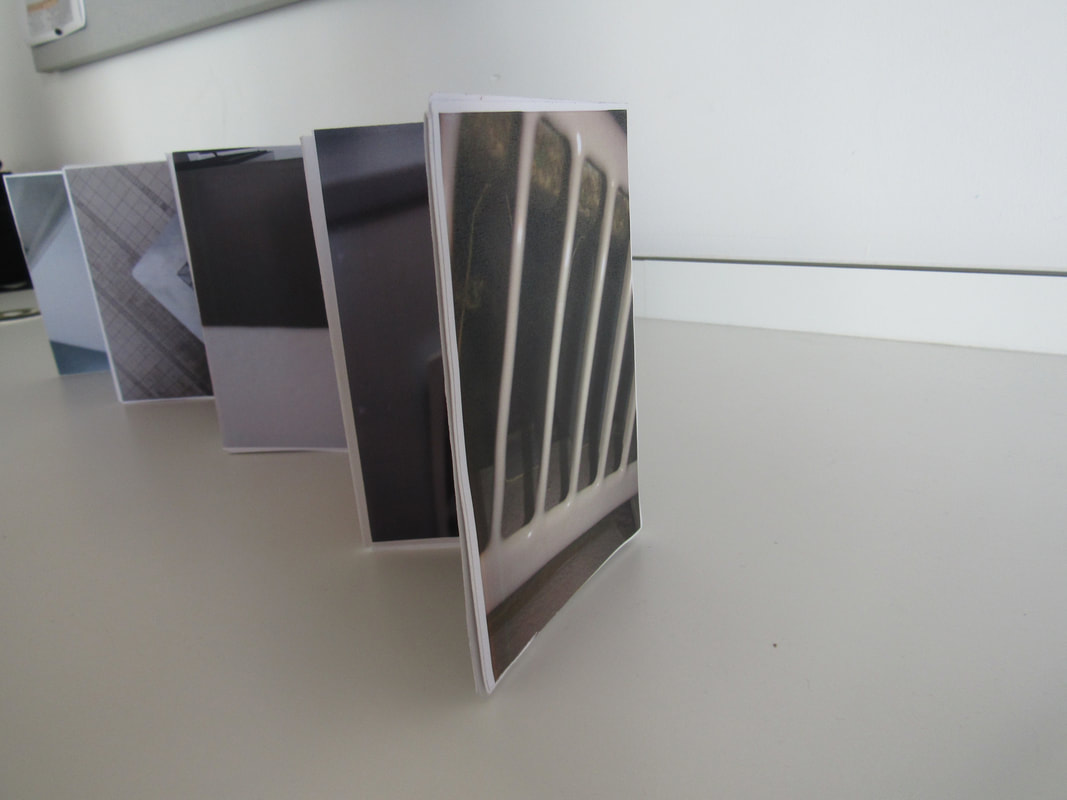
HOMEWORK PROJECT
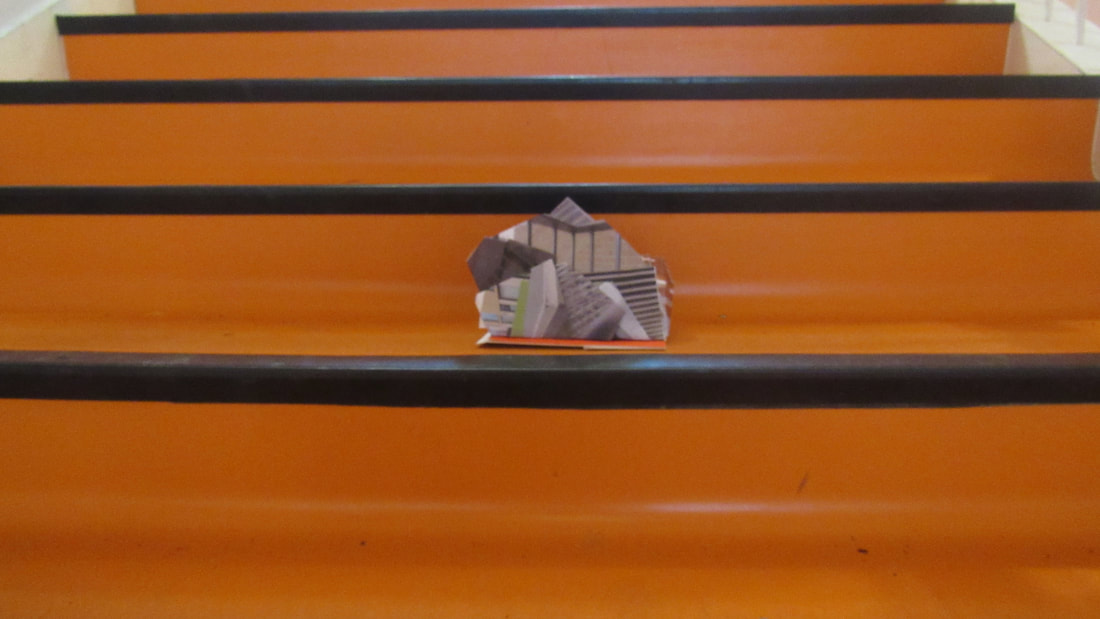
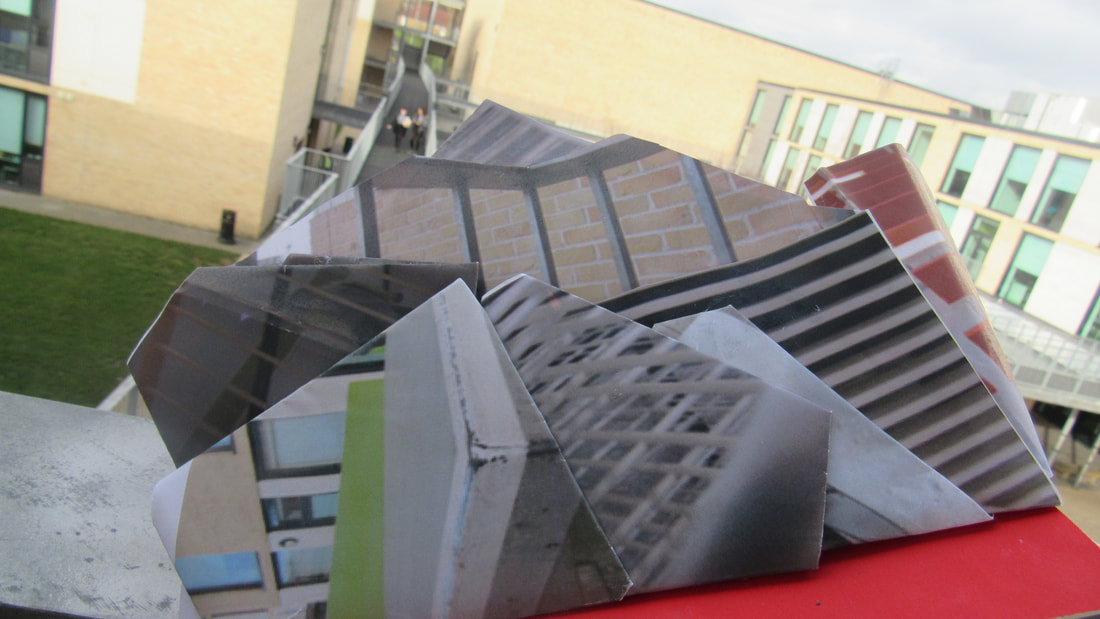
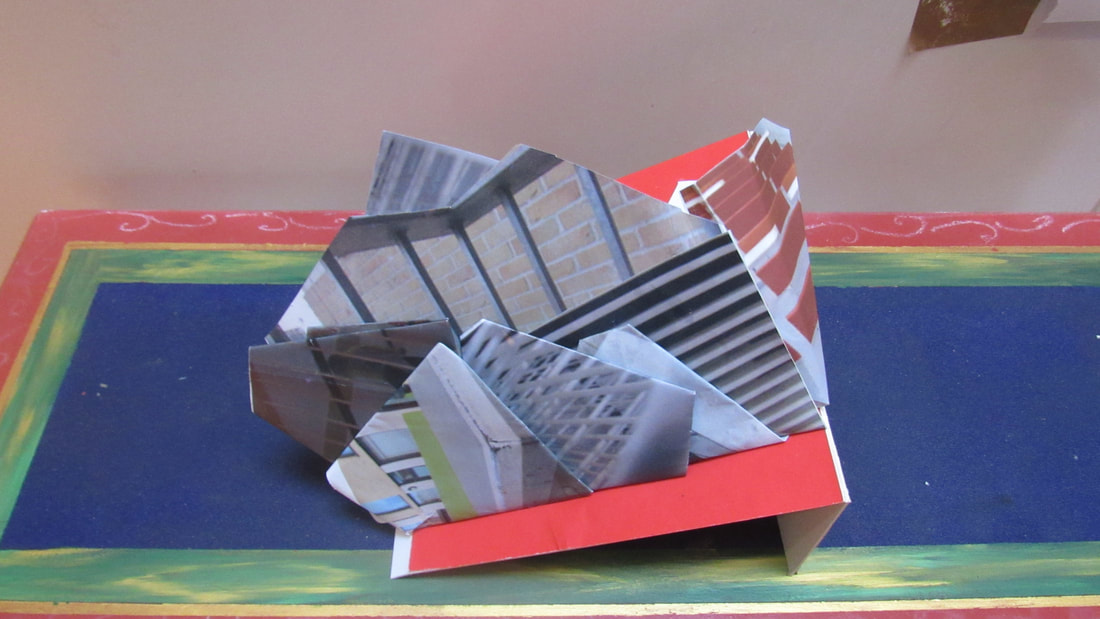
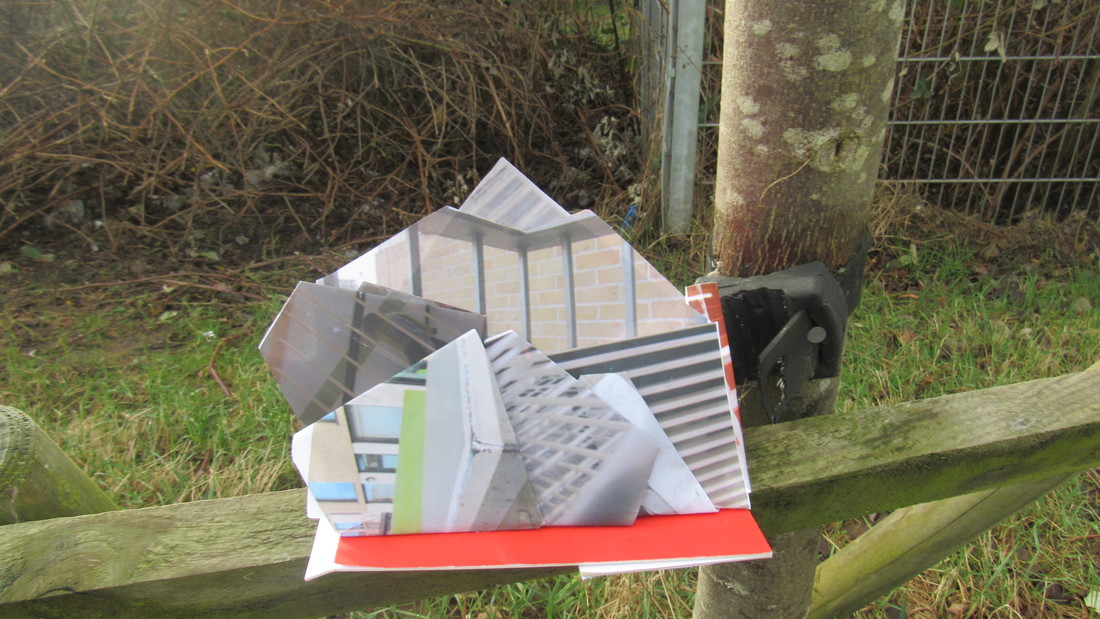
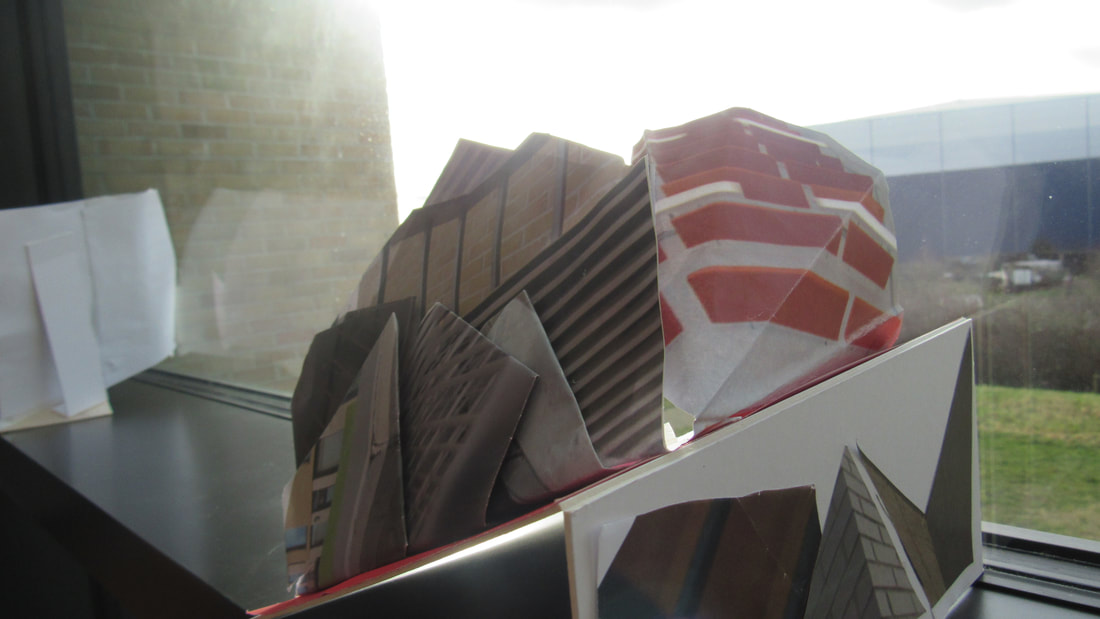
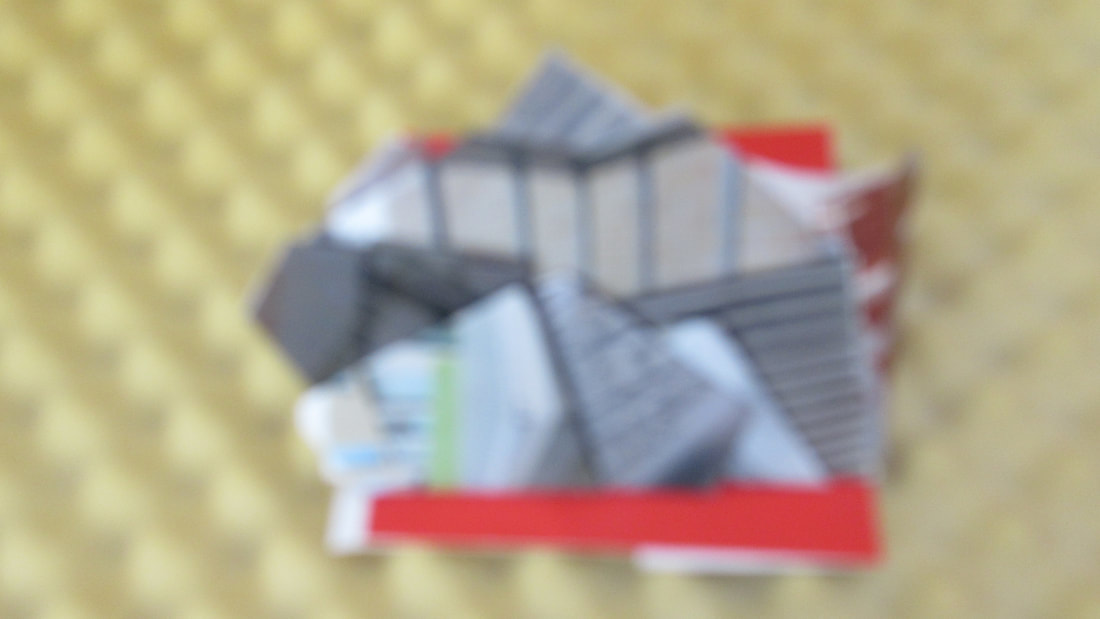
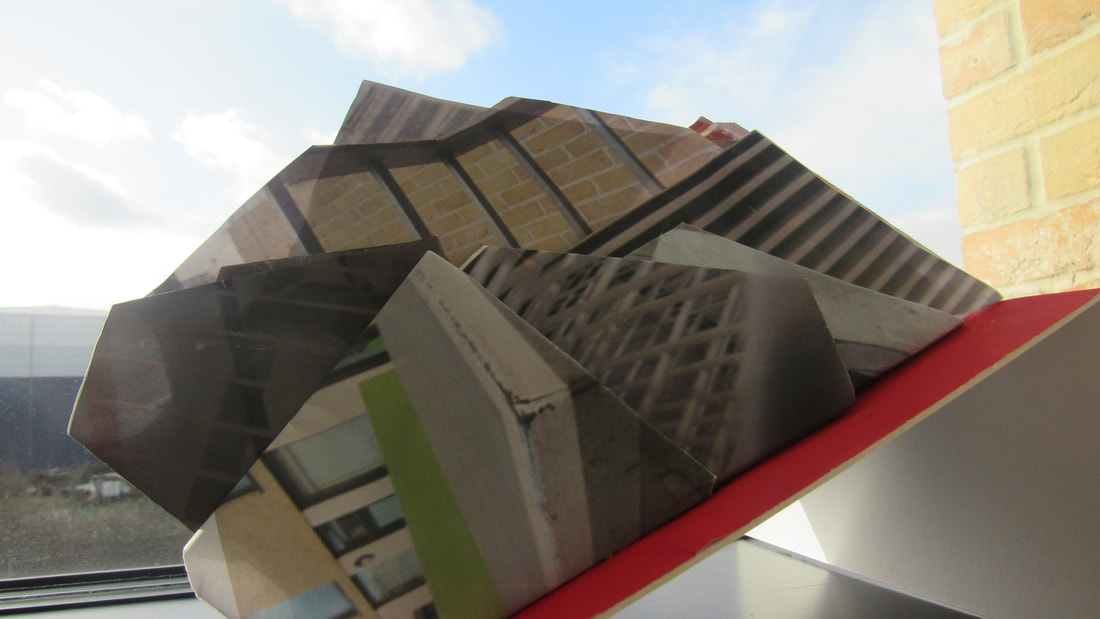
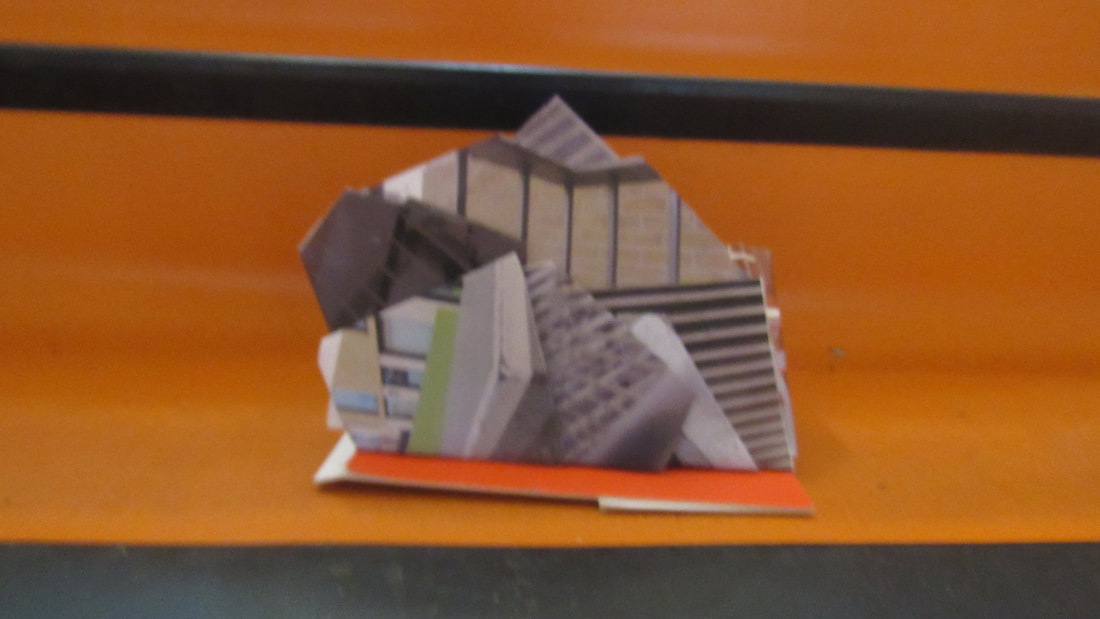
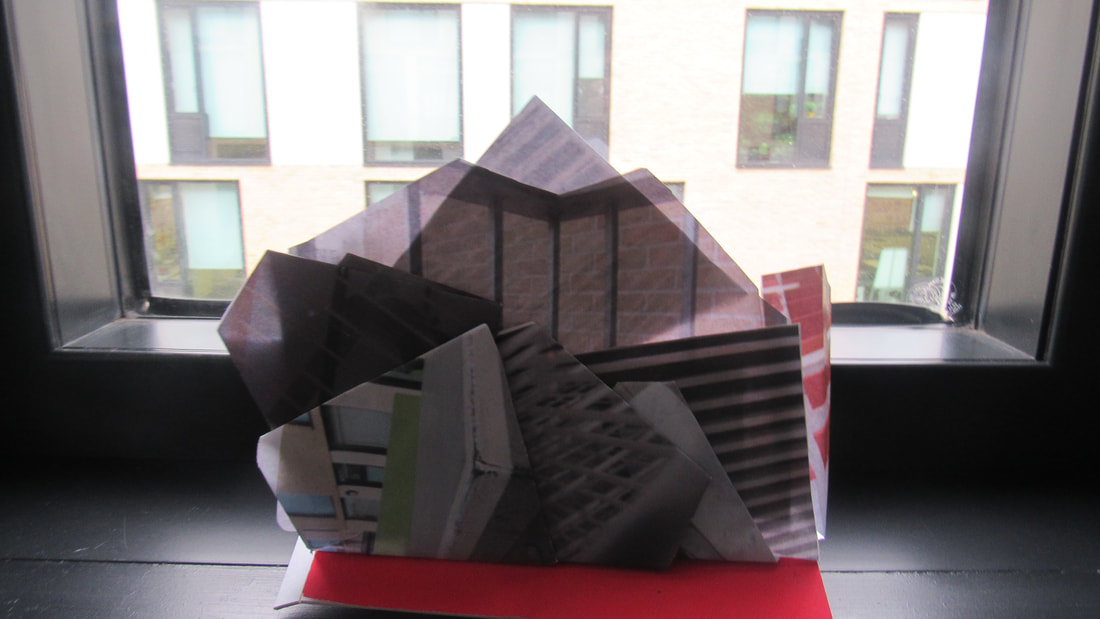
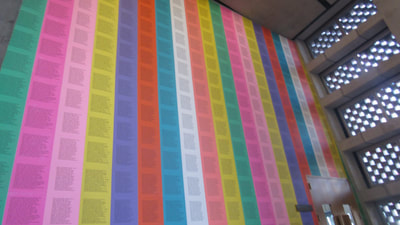
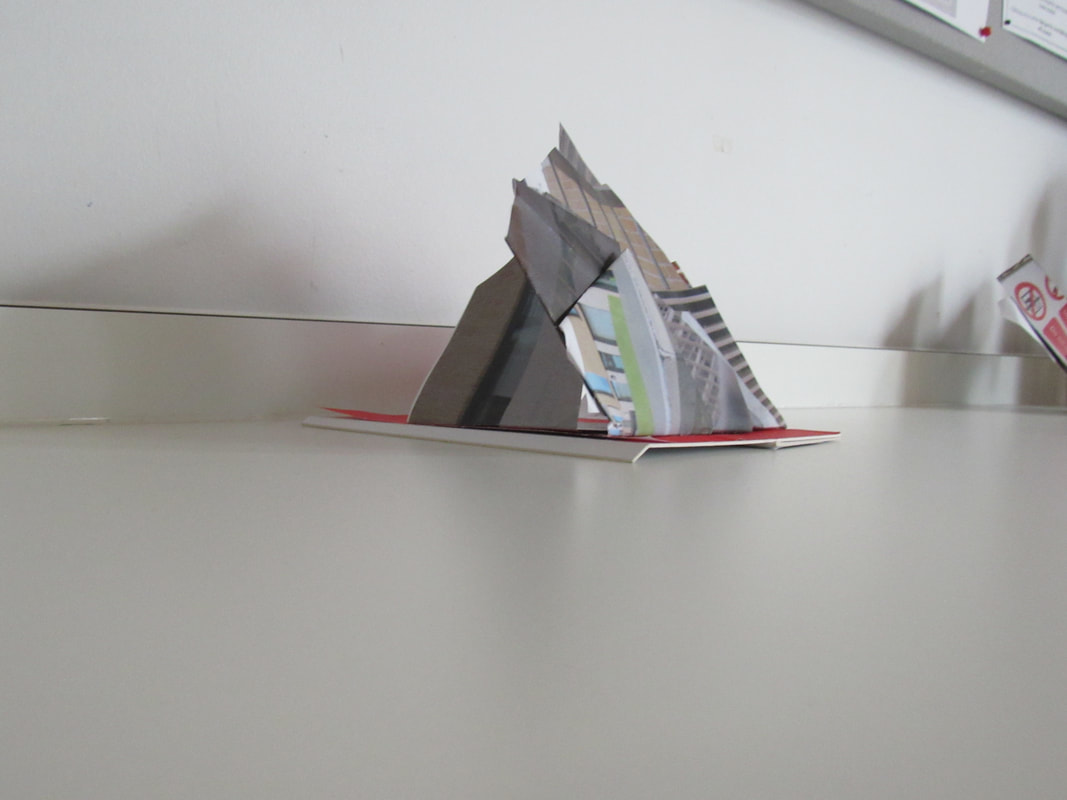
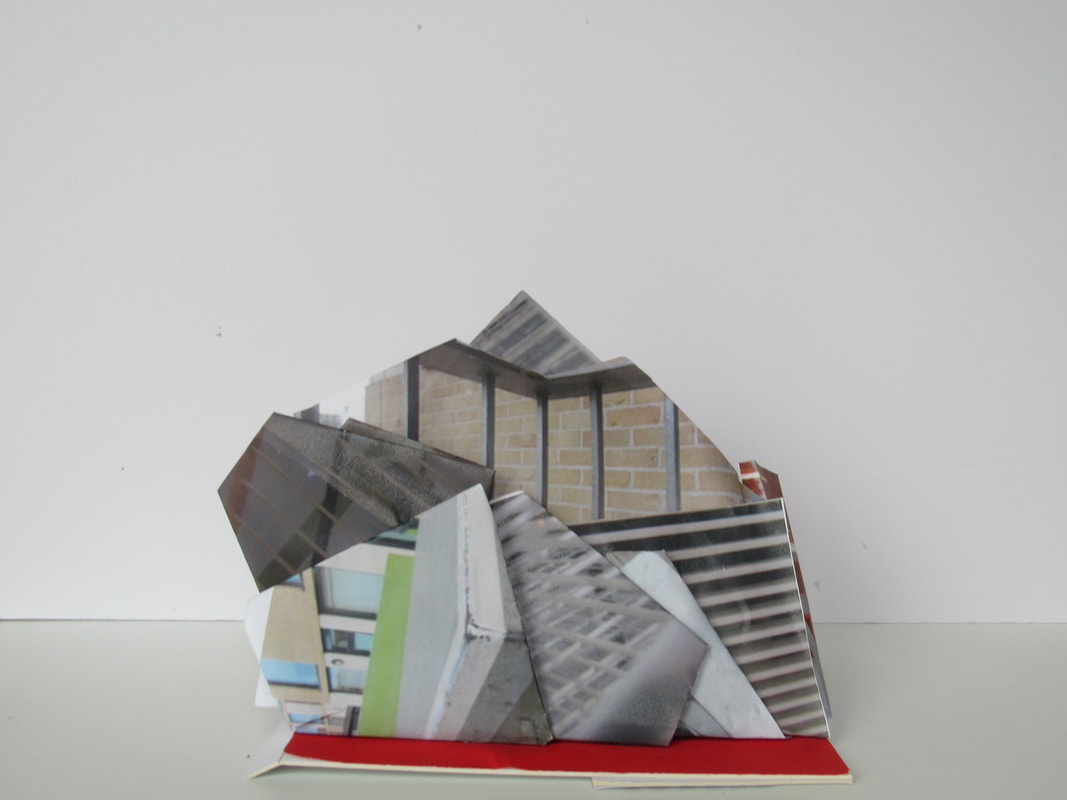
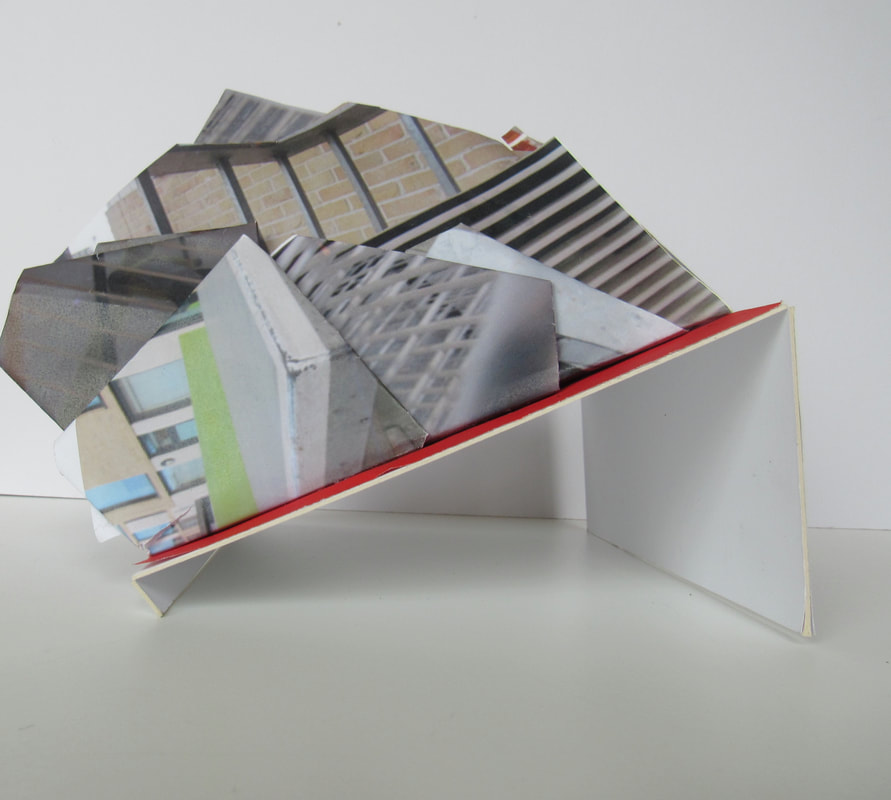
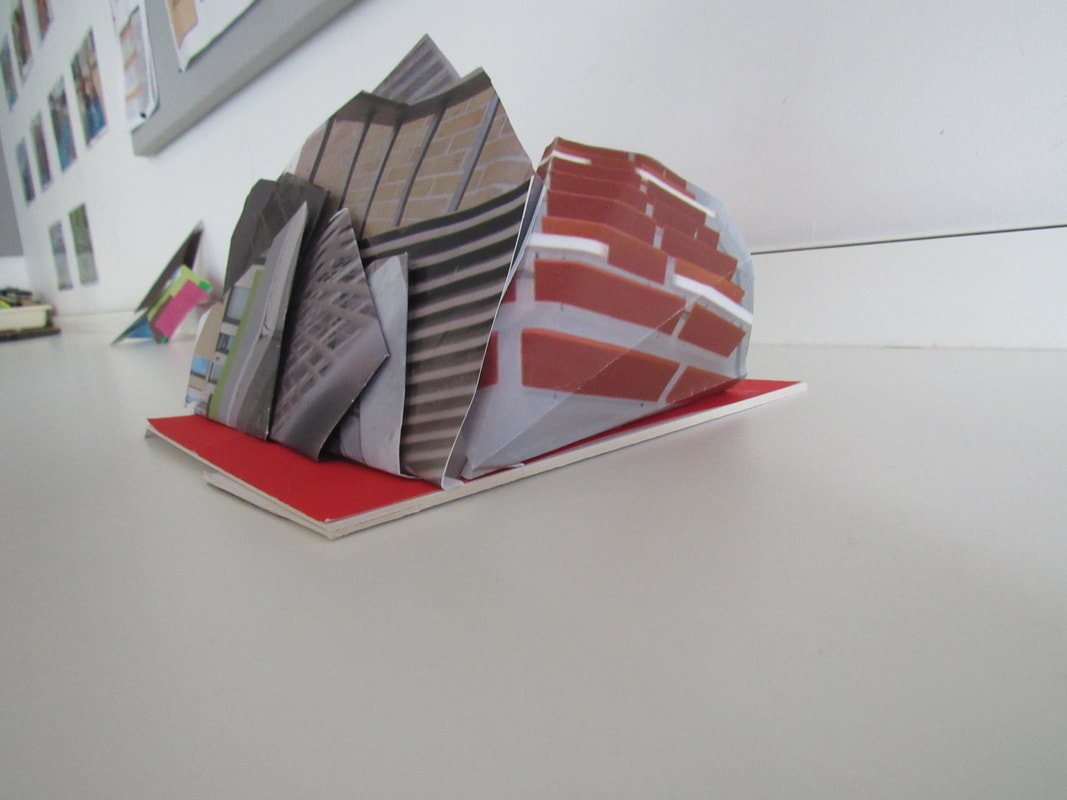
In this project we to create an concertina or accordion containing 10+ images of edges they must also be inspired by the artist we chose to do (William Eggleston or Dolores Marat) but in my case i have chosen Dolores Marat.My running theme was edges in my home environment and i had taken all types of edges e.g. curved,line edges. I think it may be important that pictures have to be in focus but at the same time i think this is wrong; images may purposely be out of focus i know this because some of Dolores Marat's images are blurry i also so did this in some of my photos on purpose. I do also believe that images have to be framed well so the person who is viewing your work can see your main focus this is important as if it was not framed well it may look a bit messy.
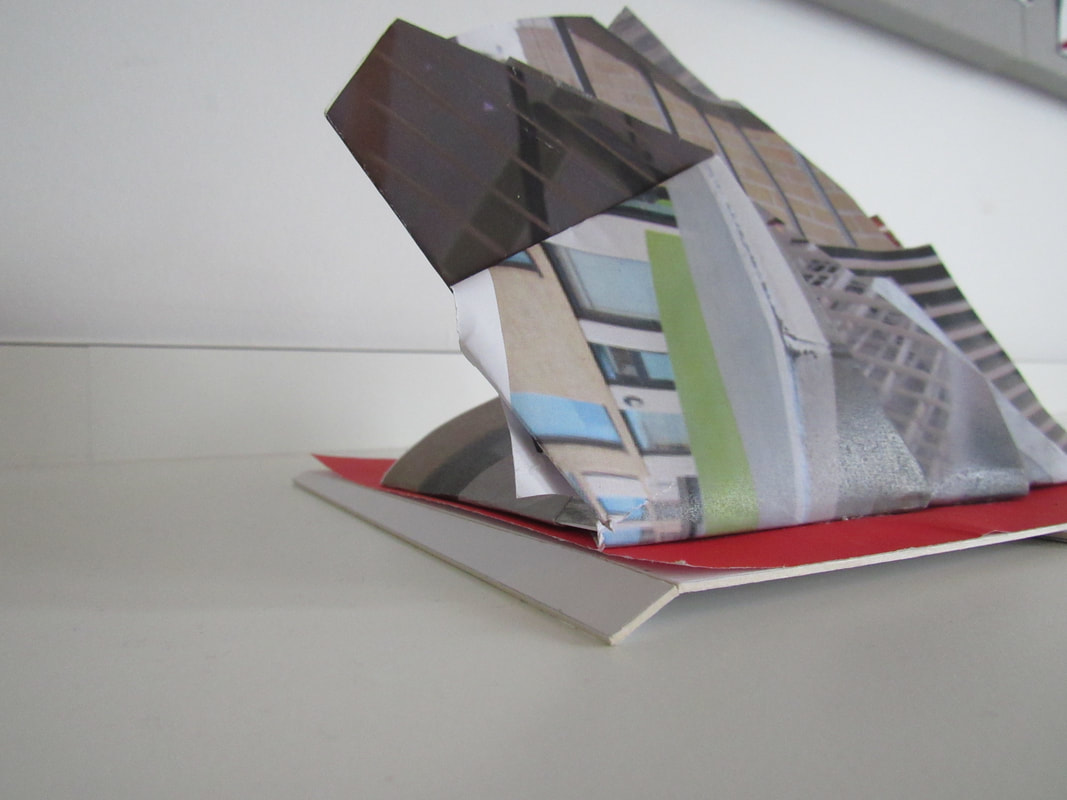
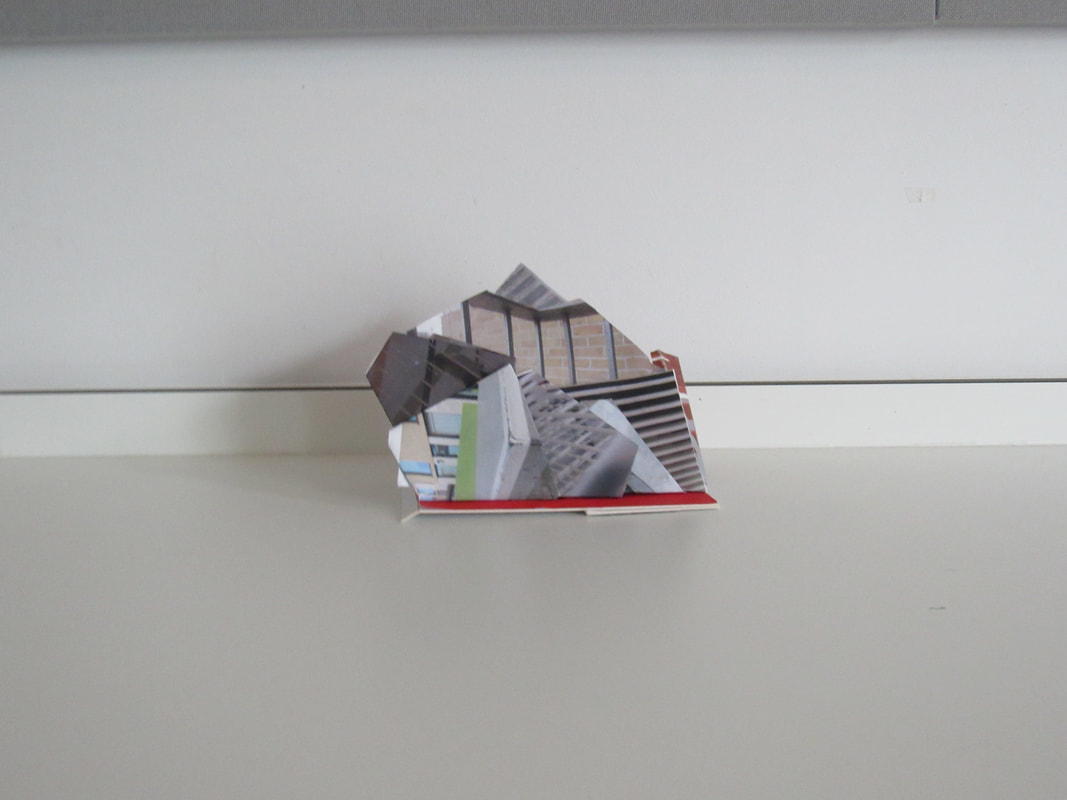
Now as i was thinking of ideas for my accordion book it came to mind that the newspaper idea for a book was brilliant. I then thought i would stand out more if it looked different. When i finished folding the accordion book i noticed it was very fragile So i then added a layer of light blue foam on top of the of the cover to make it more sturdy and less fragile. I then continued to decorate with newspaper. Finding images was okay as i am used to my home so i could see edges almost straight away.
Now as i was thinking of ideas for my accordion book it came to mind that the newspaper idea for a book was brilliant. I then thought i would stand out more if it looked different. When i finished folding the accordion book i noticed it was very fragile So i then added a layer of light blue foam on top of the of the cover to make it more sturdy and less fragile. I then continued to decorate with newspaper. Finding images was okay as i am used to my home so i could see edges almost straight away.
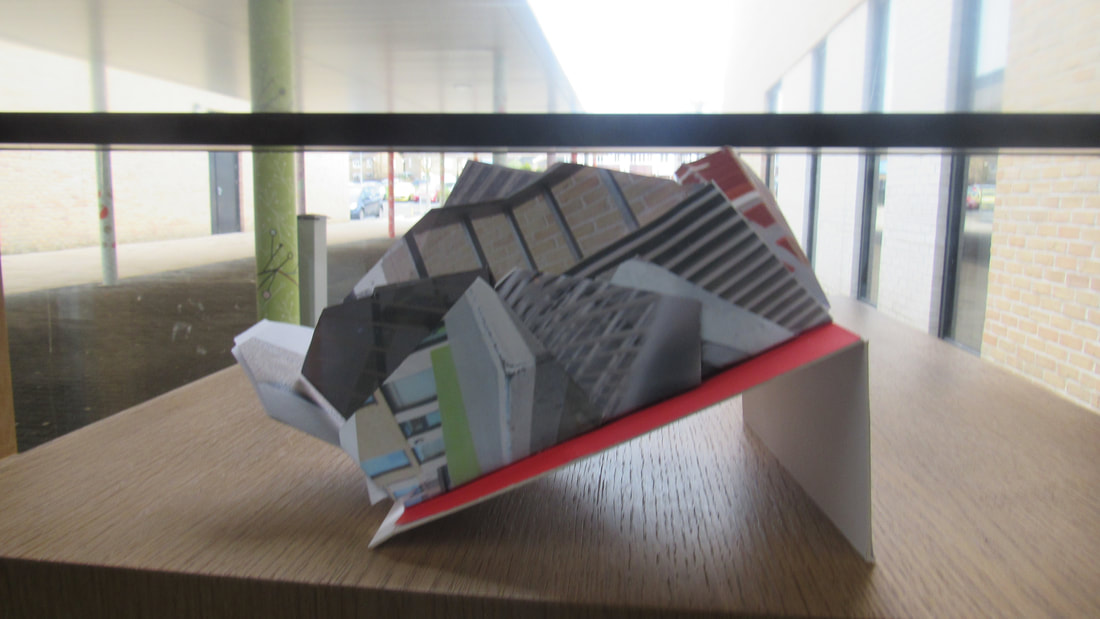
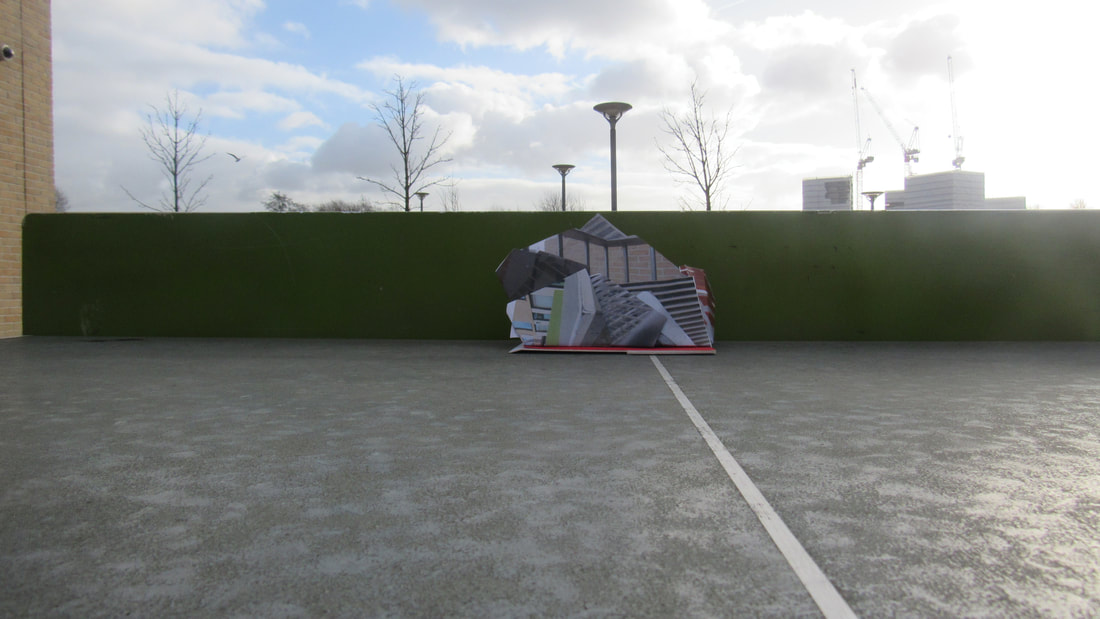
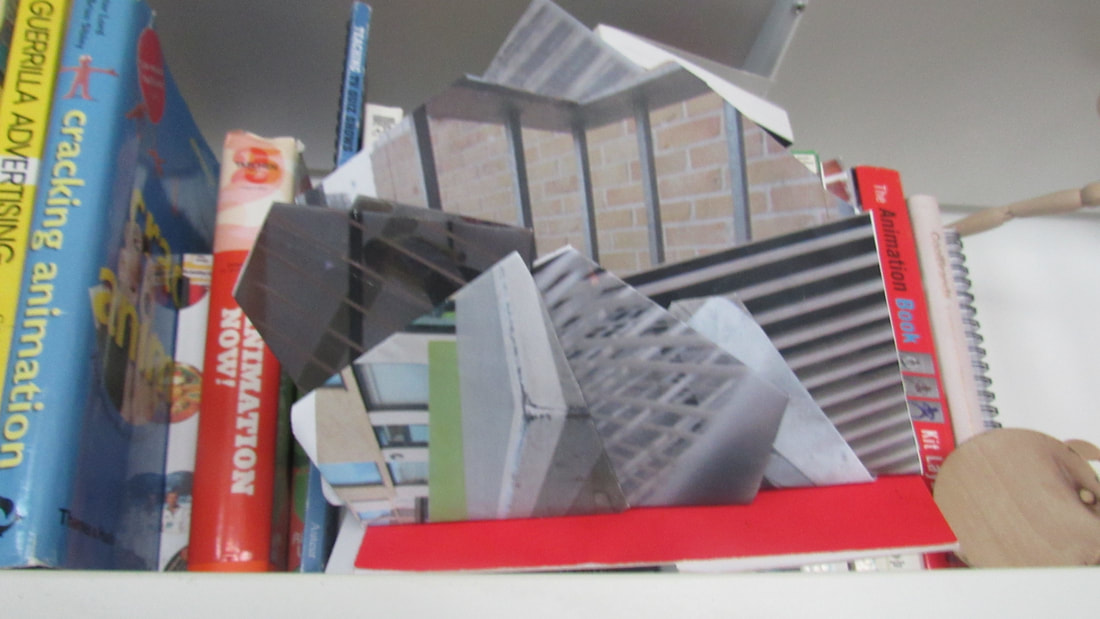
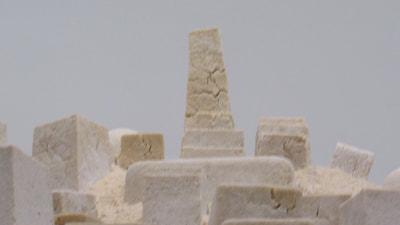
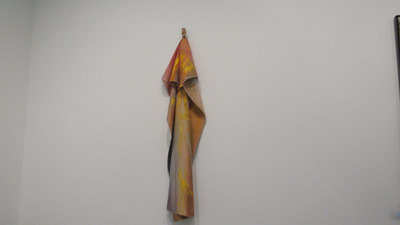
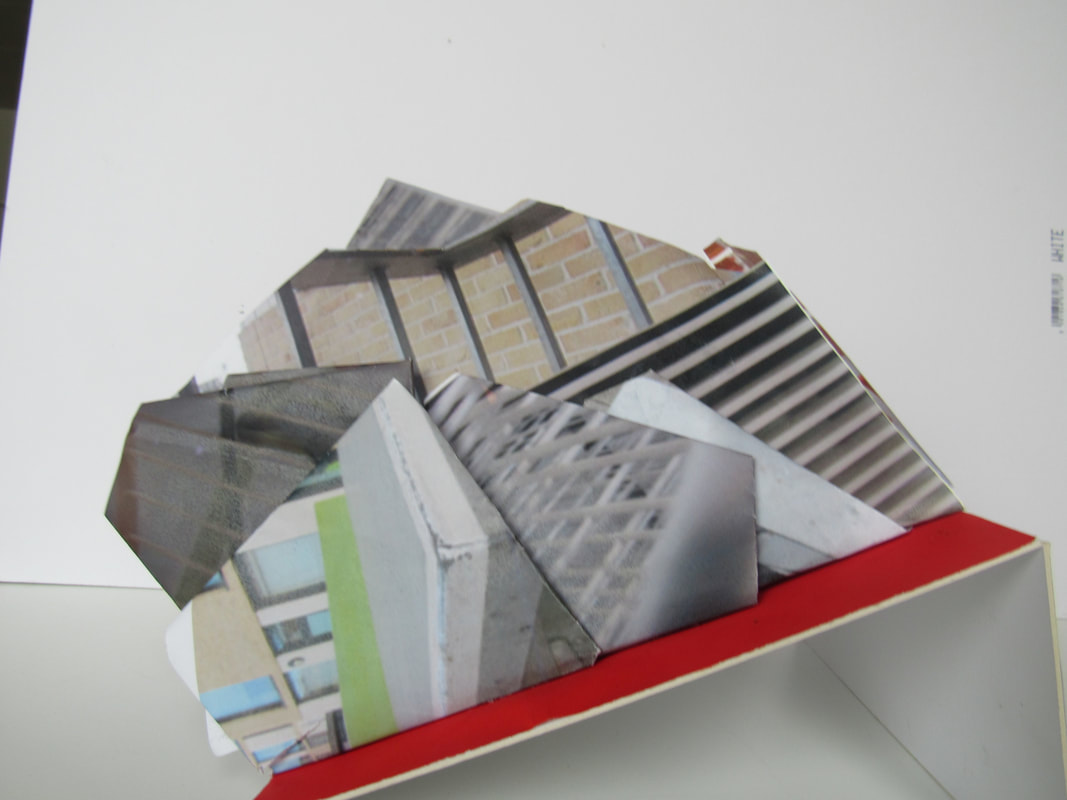
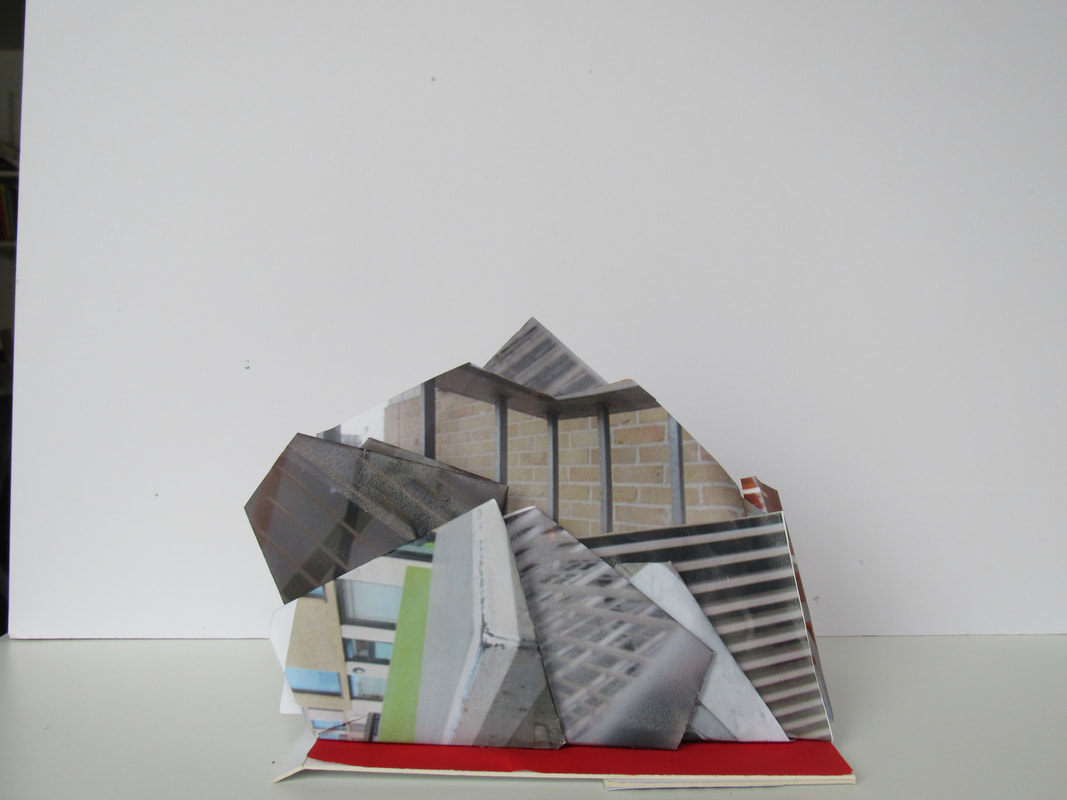
sculpture evaluation
In todays task we had to make a 3D sculpture by folding colourful 2D paper into a 3D sculpture and then after we had to take 20
images of different angles and edges from a different perspective and different locations each time. At the beginning we was given
a post it note with our main themes on it and my main theme was colour so therefore i had to make it very colourful.
i approached this objective by over lapping the colours so there is no trace of the plain black paperand i also found photographing
my sculpture a bit tricky location wise but a bit easier finding new sides and new perspectives. The way i focused on my framing was that i put my main focus in the centre so it does not look to messy. Some thing i would do different is the way i have folded the pieces of edges. The images i thought were successful where the ones that had everything needed in the image making it successful
these were the colour,shape,lines,
WWW: the images where very good
EBI: i could of folded the pieces of paper more neater
i have chosen these images for the next task as i think they look really cool and i think they would make a really nice sculpture
i also think they will standout each and everyone of them i also like the fact none of them are the same
i also think they will standout each and everyone of them i also like the fact none of them are the same


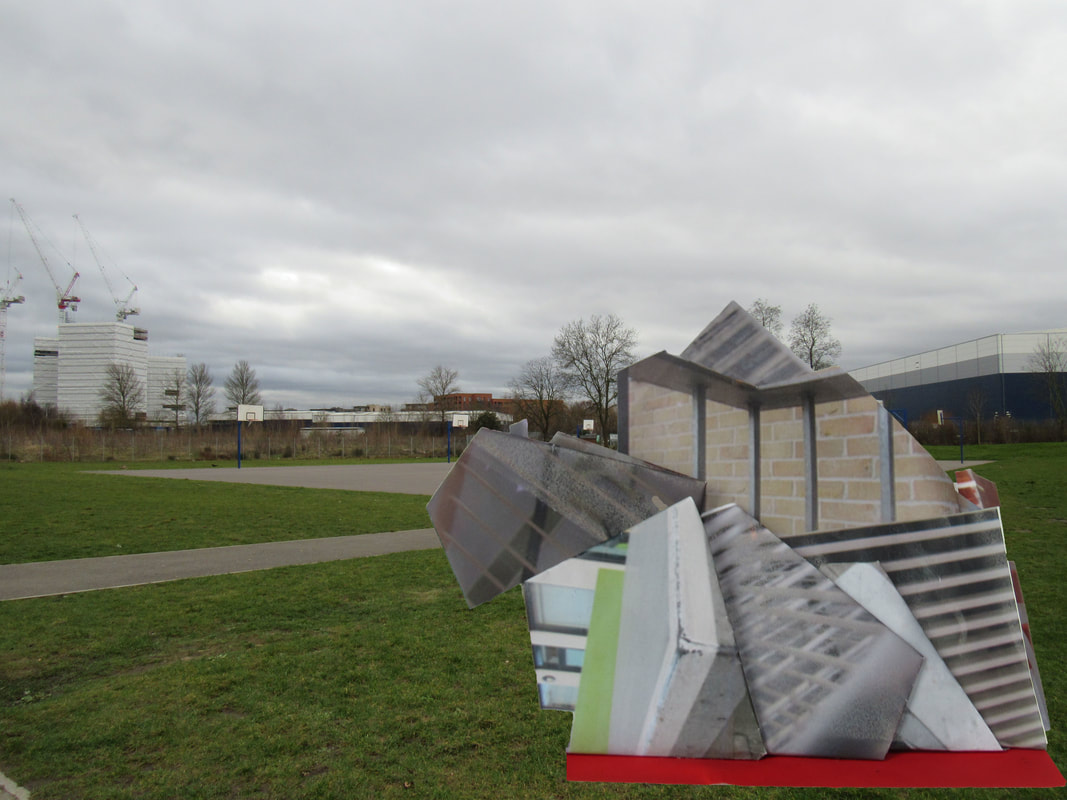
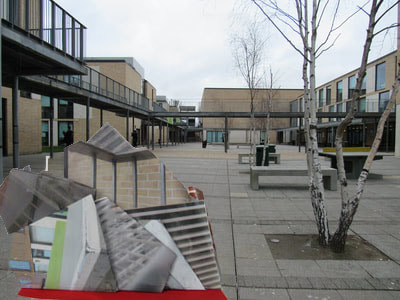
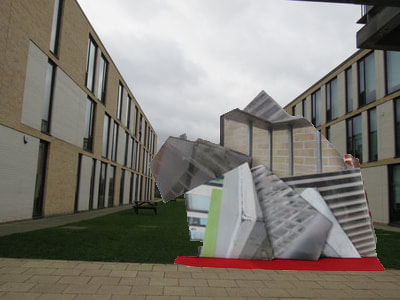
sculptures
Trip to Tate Mordern images

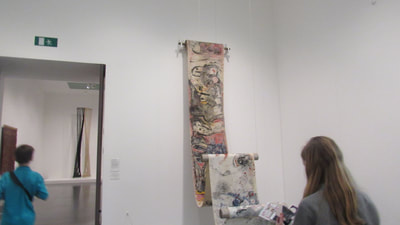
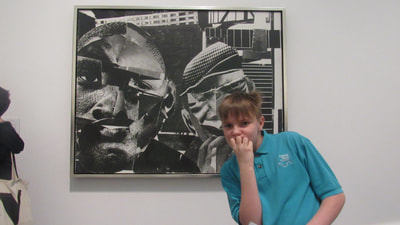
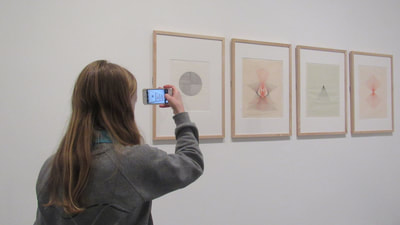
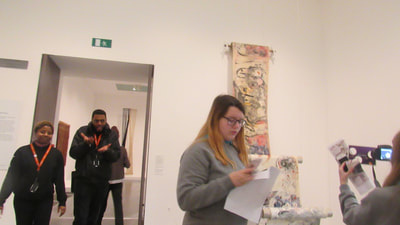

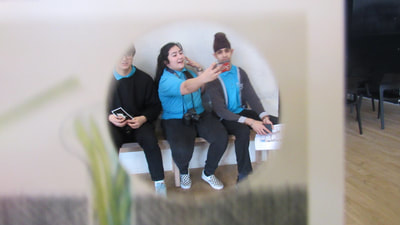
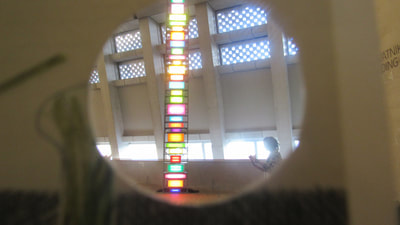
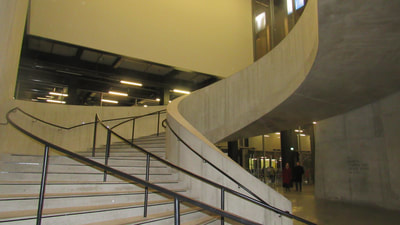
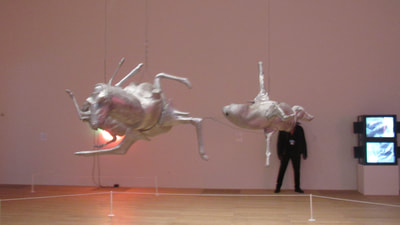
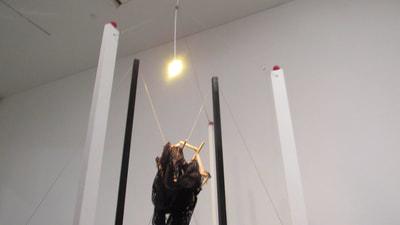

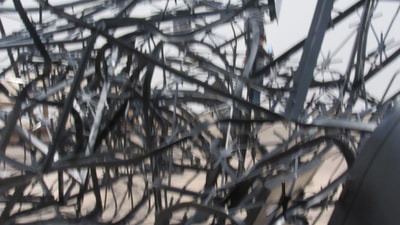
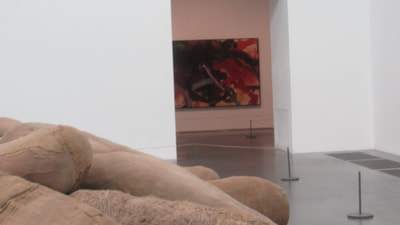
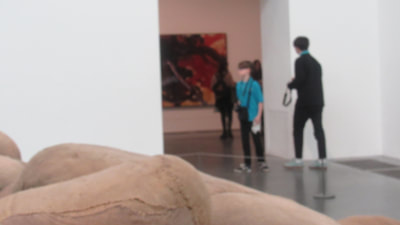
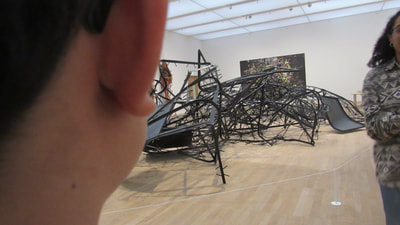
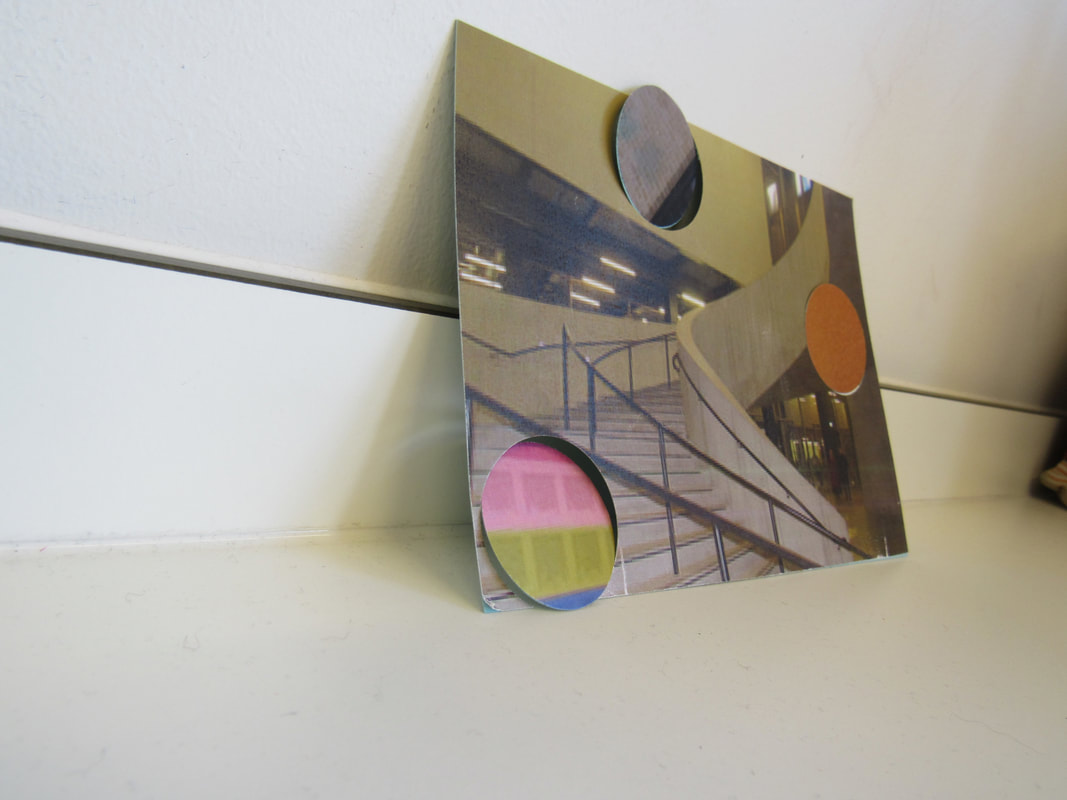
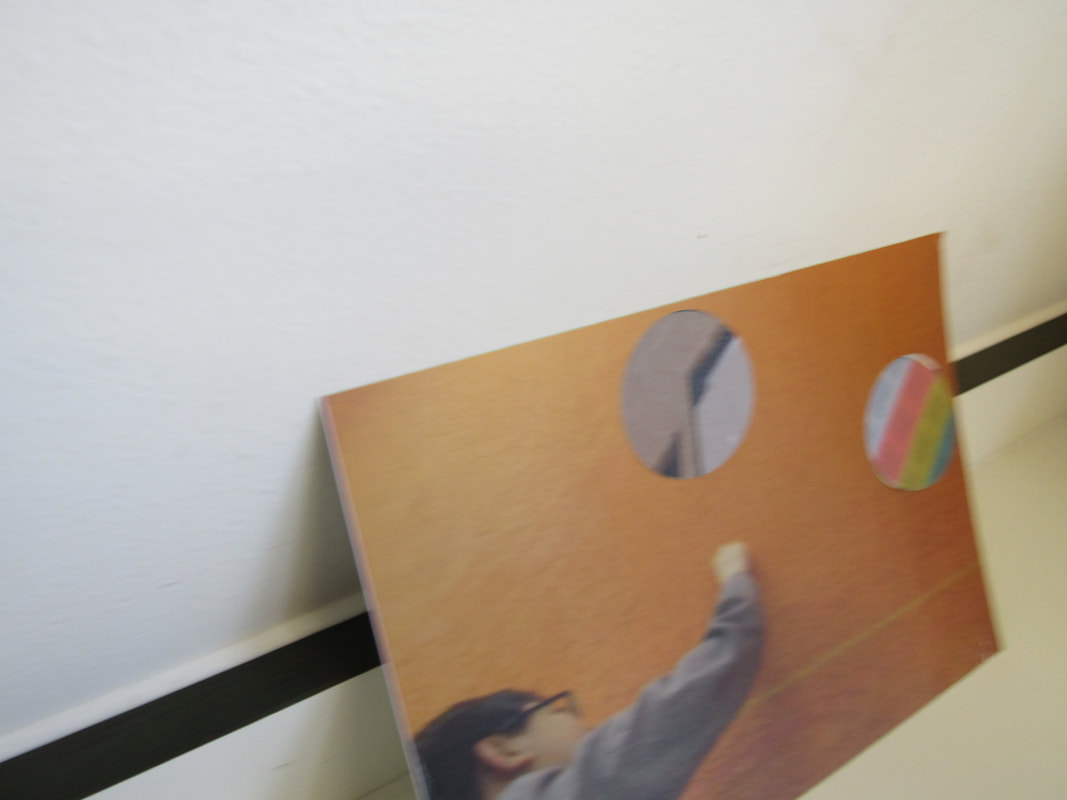
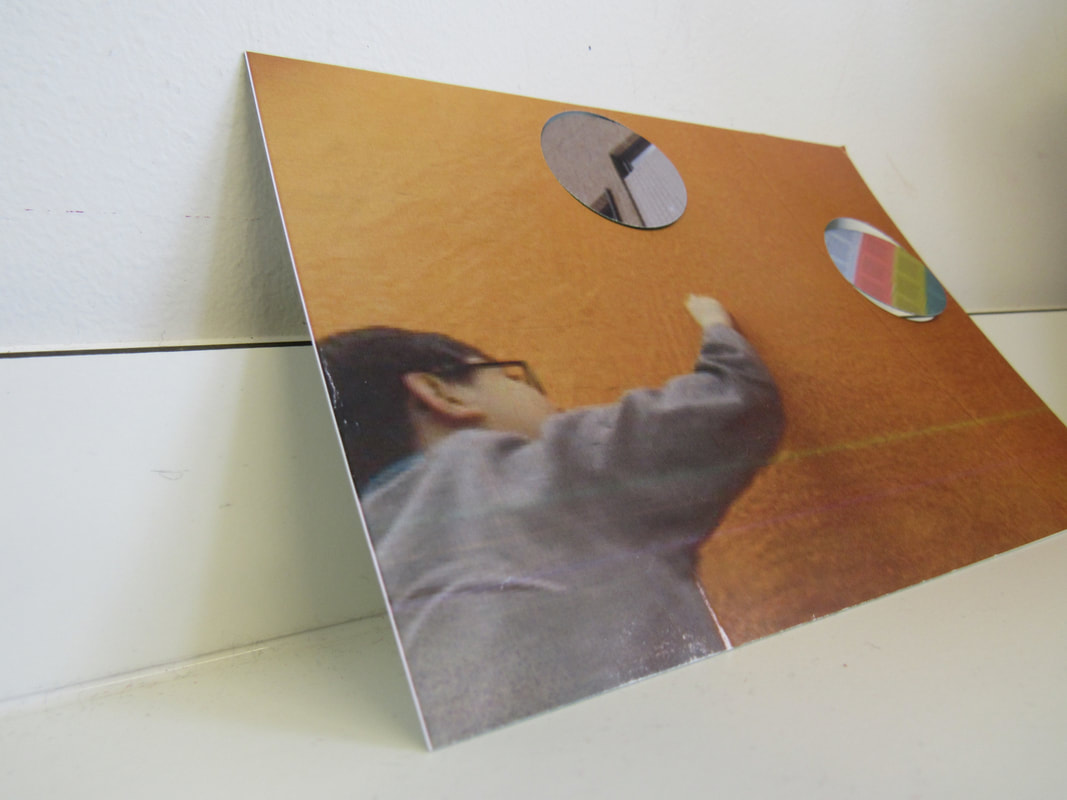
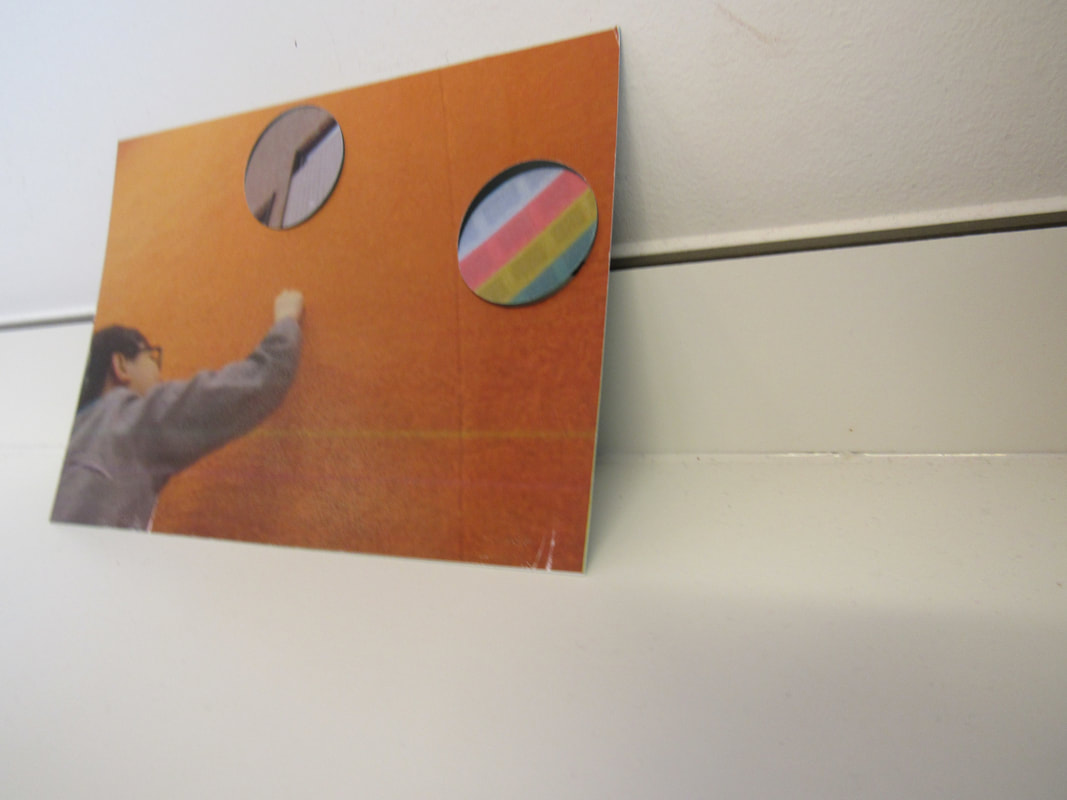
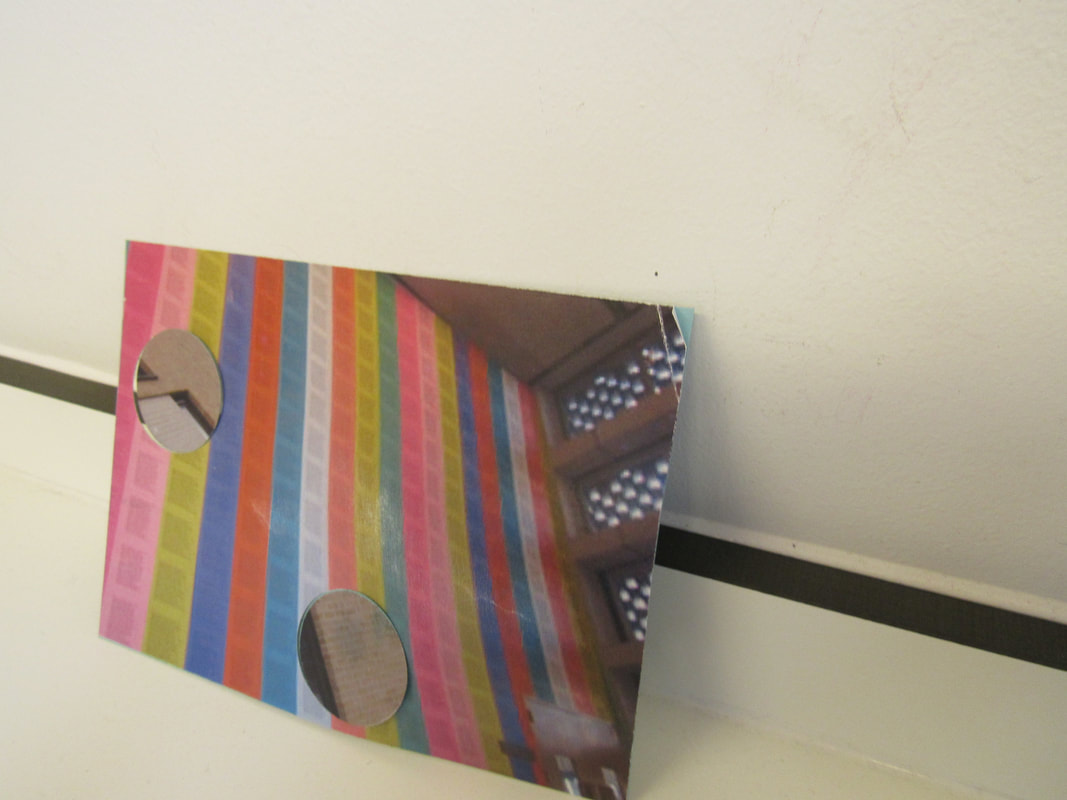
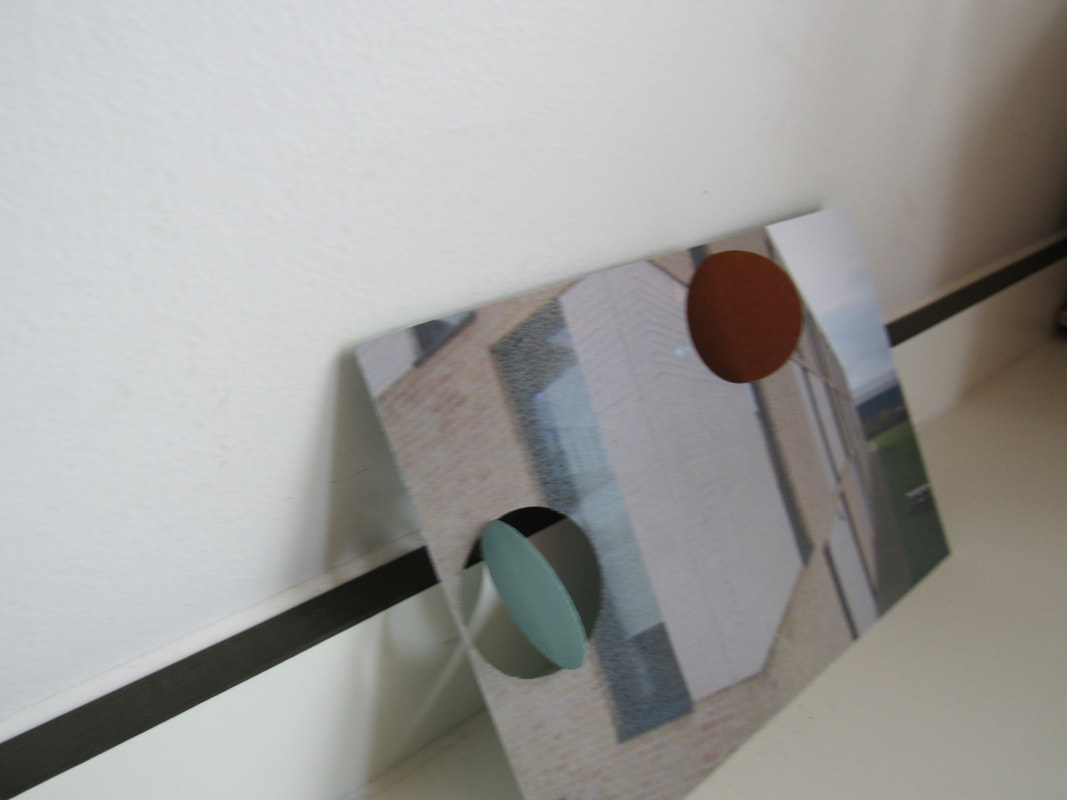
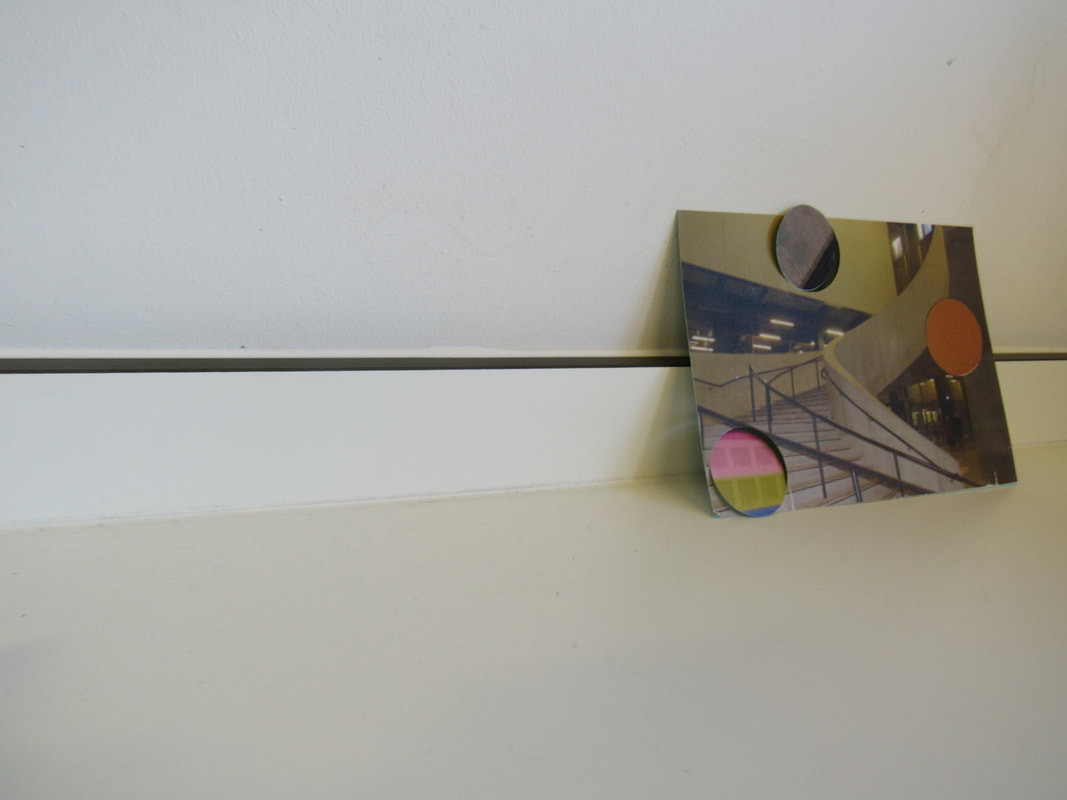
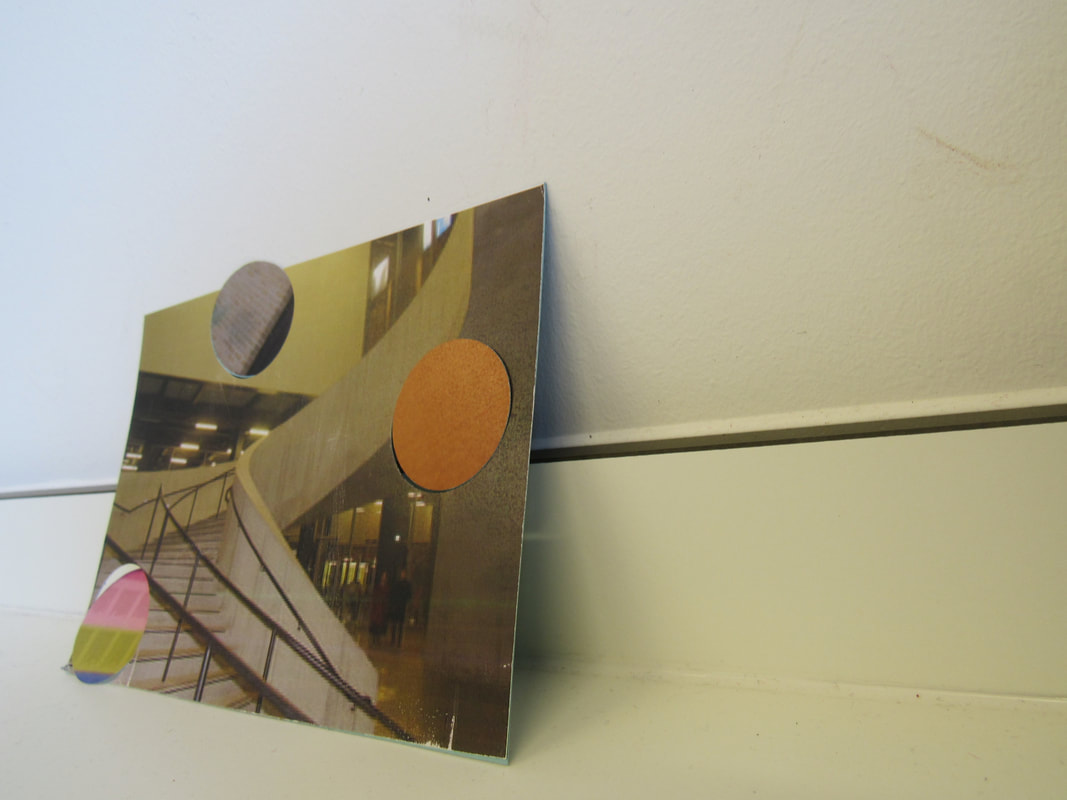
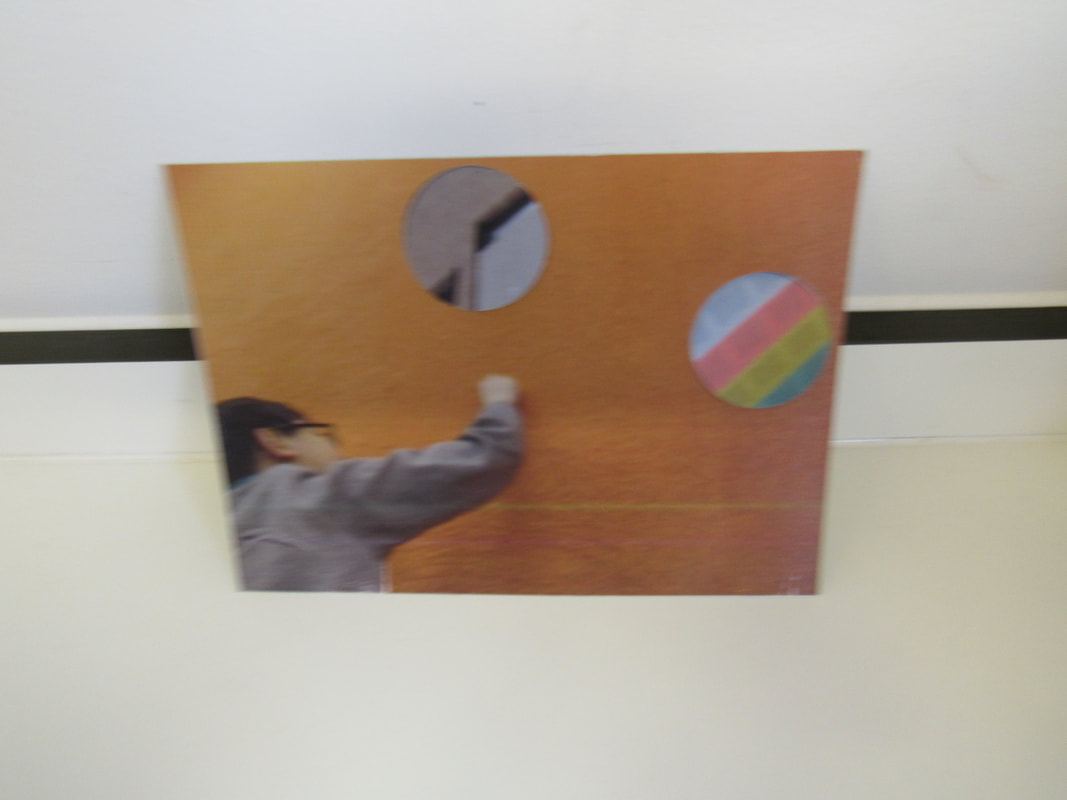
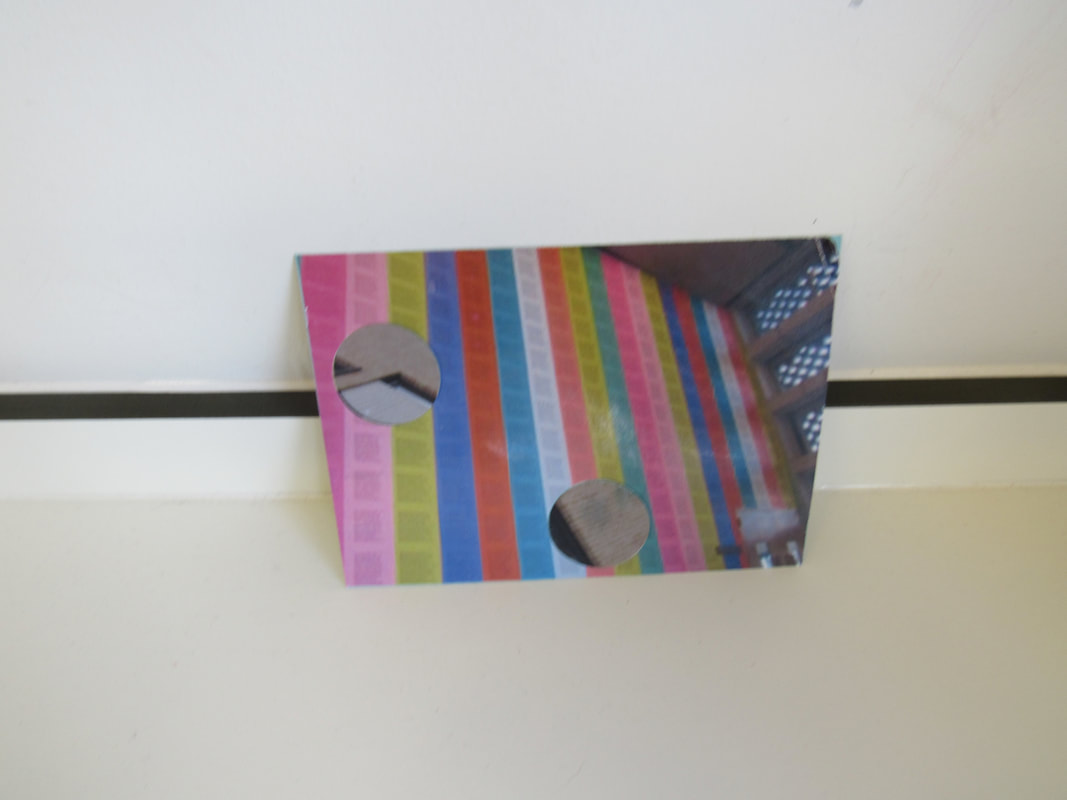
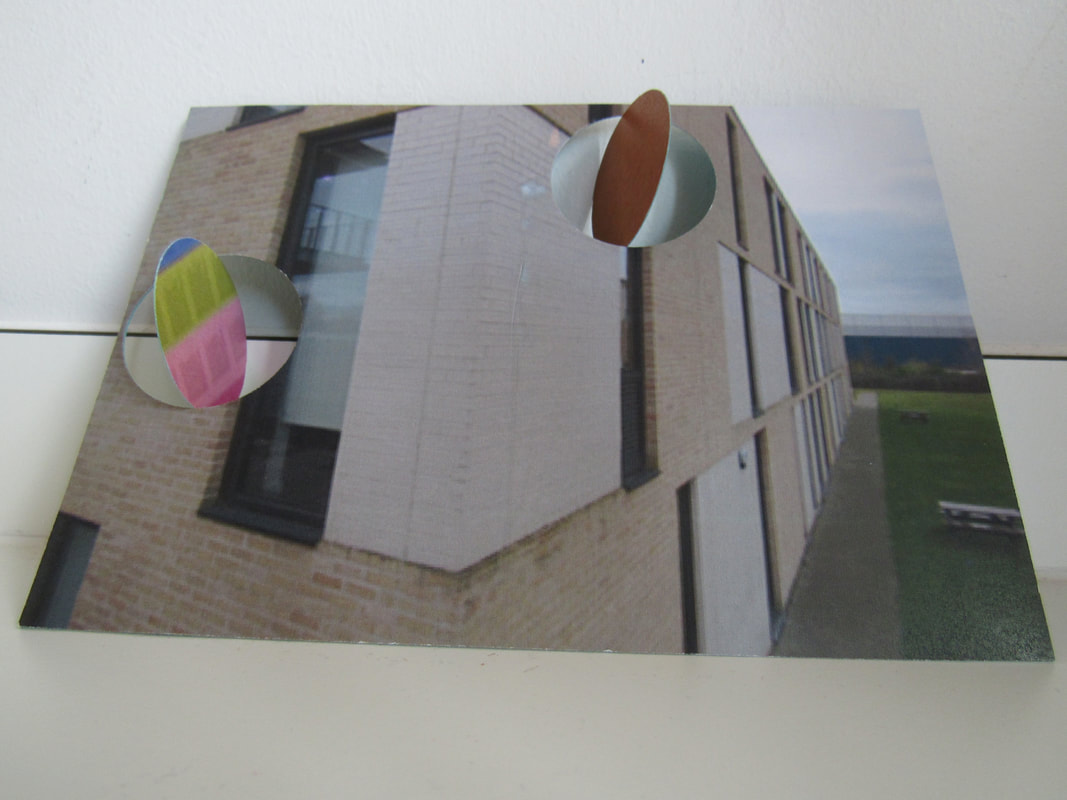
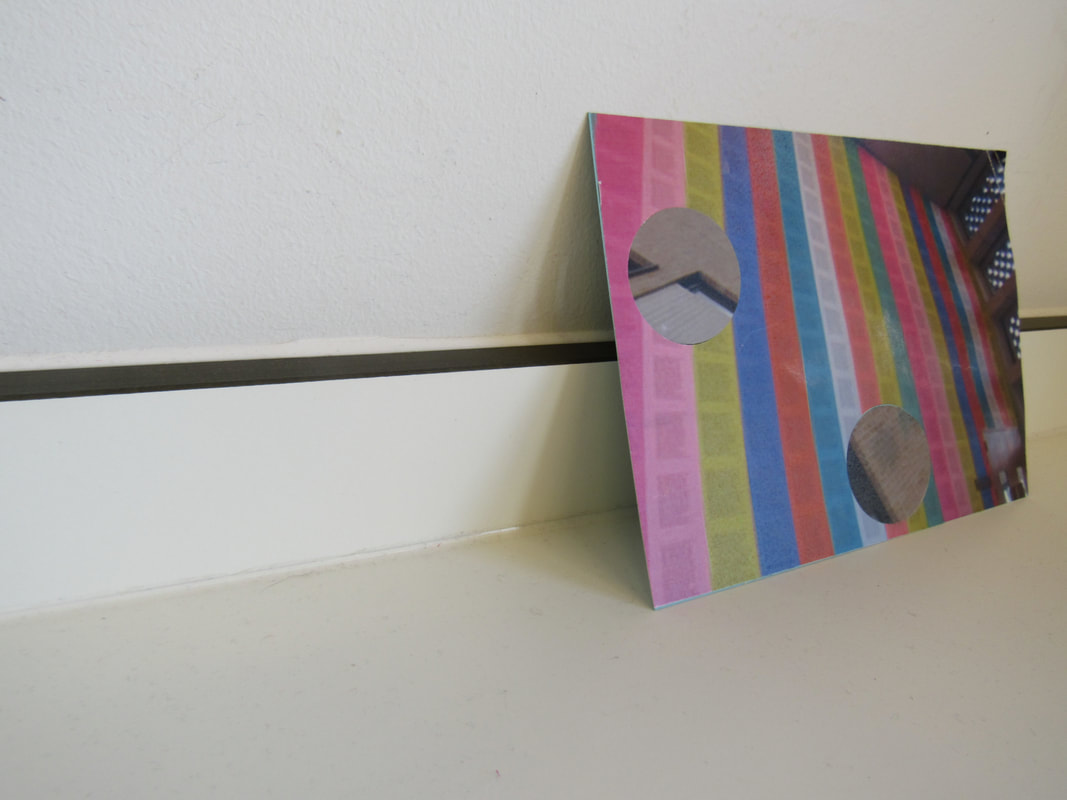
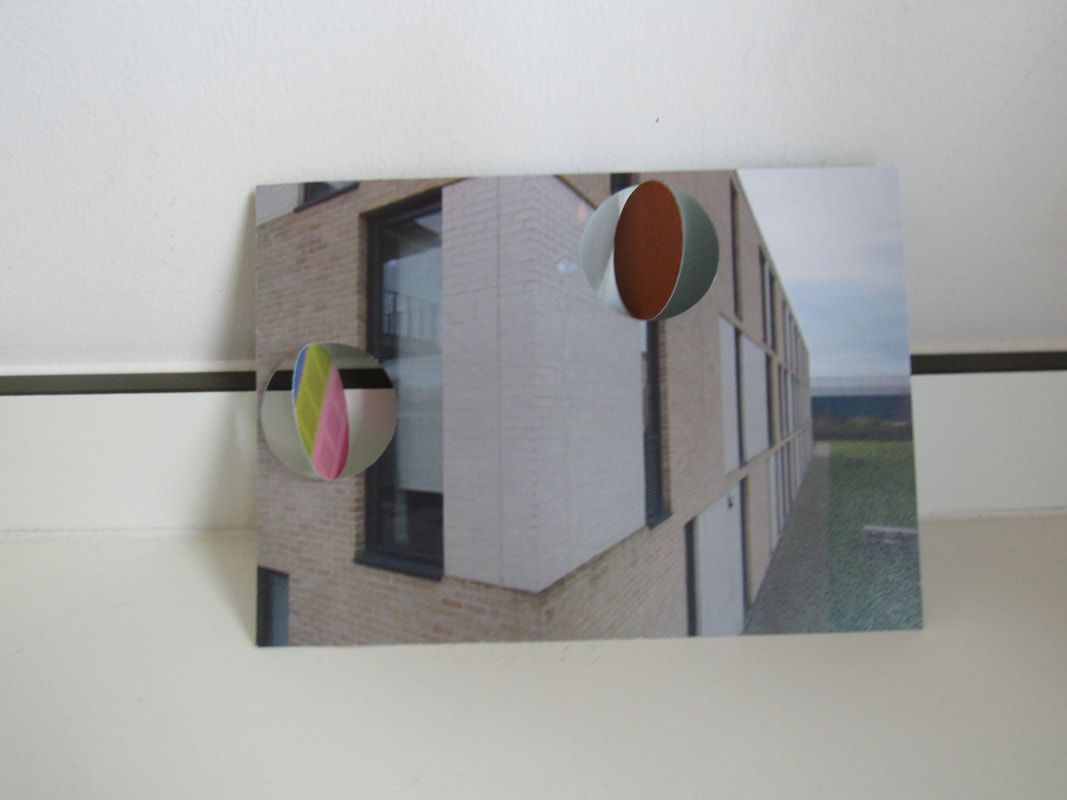
Today we had a trip to the Tate Modern i found the whole trip really interesting and felt really inspired by other peoples work and took pictures of them but it wasn't random some where part of the 2 activities we had to do we were given 2 sheets one with challenges and a postcard with holes in it so you can really see your main focus point i felt like the most successful image was the colourful neon tower one as it had colour,lines and everything the one i identify with is the one with the horses everywhere as i feel it is quite weird and i feel like i am too.
Background upload landscape

white background
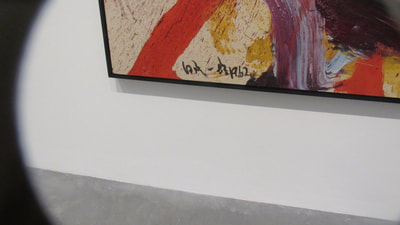
Finished Product
Evaluation -
WWW: What i think went well was my choice of location to put my sculpture in and i also think the making of the sculpture
went really well. We had to take 10 background image and then 10 images of my sculpture.
EBI: i got used to using photoshop and editing as i find it a very confusing application but if i was better at doing it my results would be better
went really well. We had to take 10 background image and then 10 images of my sculpture.
EBI: i got used to using photoshop and editing as i find it a very confusing application but if i was better at doing it my results would be better
PhotoScupture -


Evaluation -
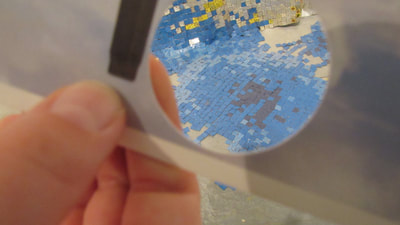
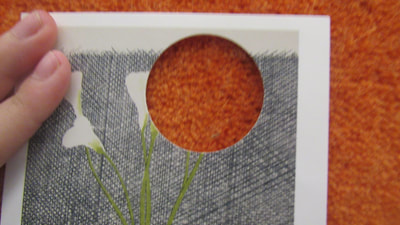
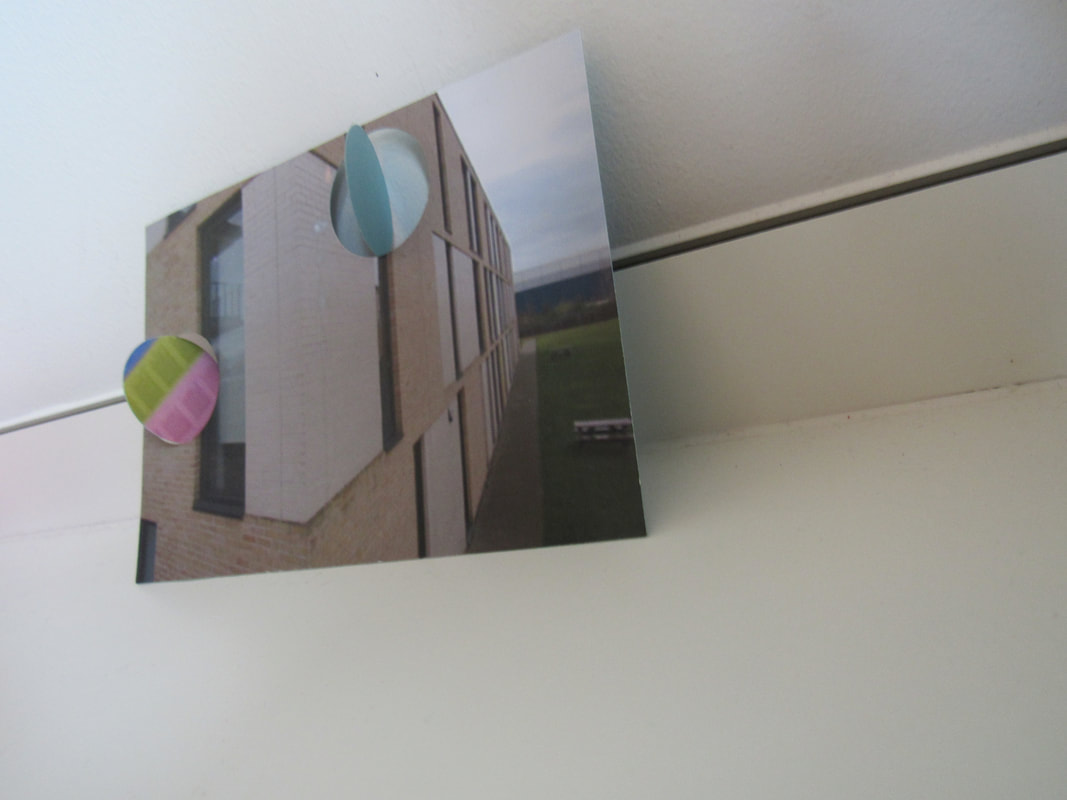
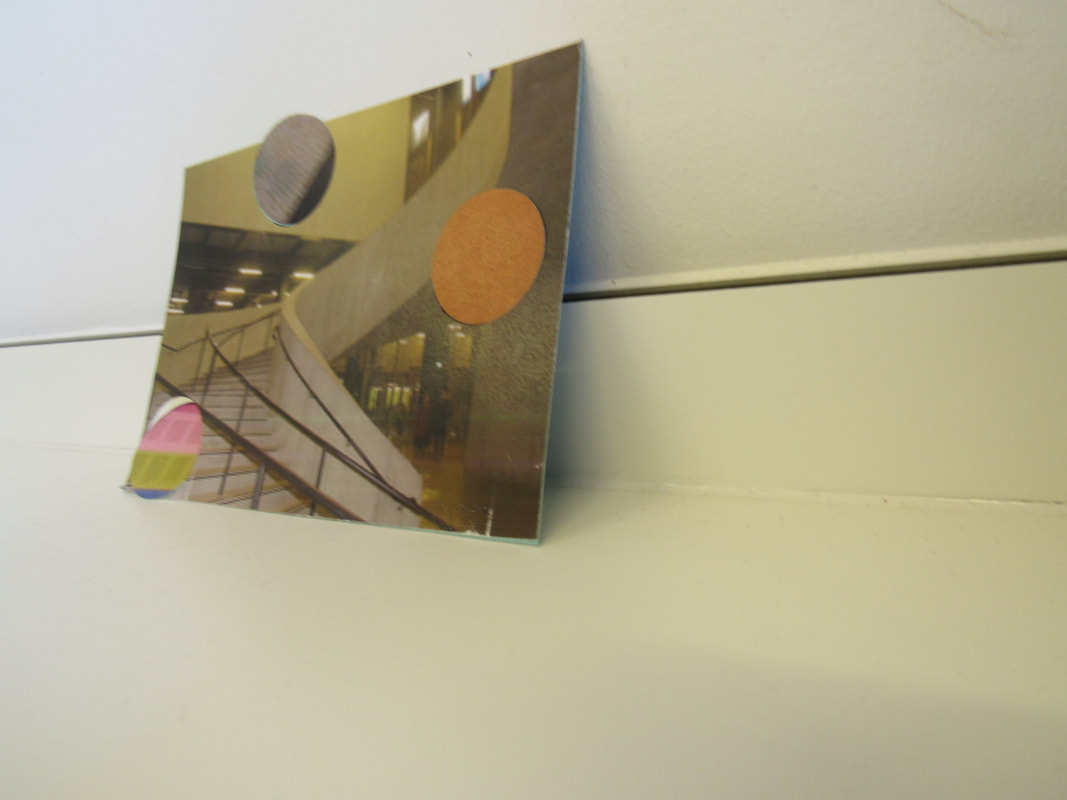
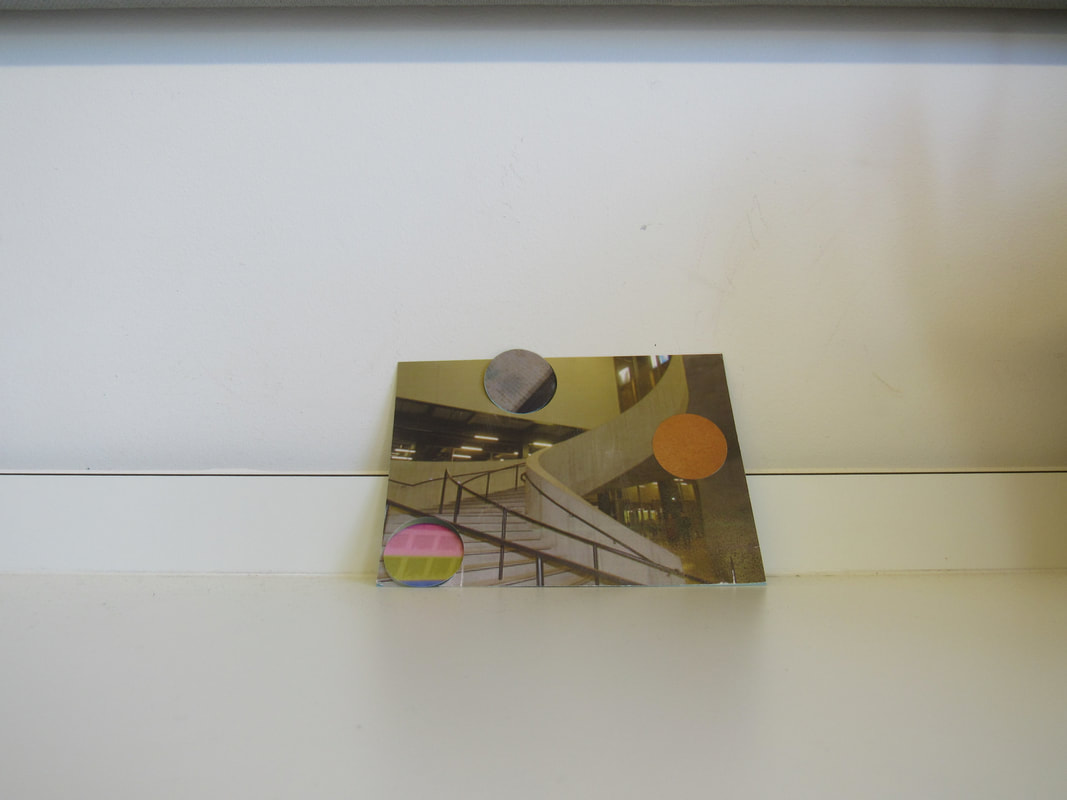
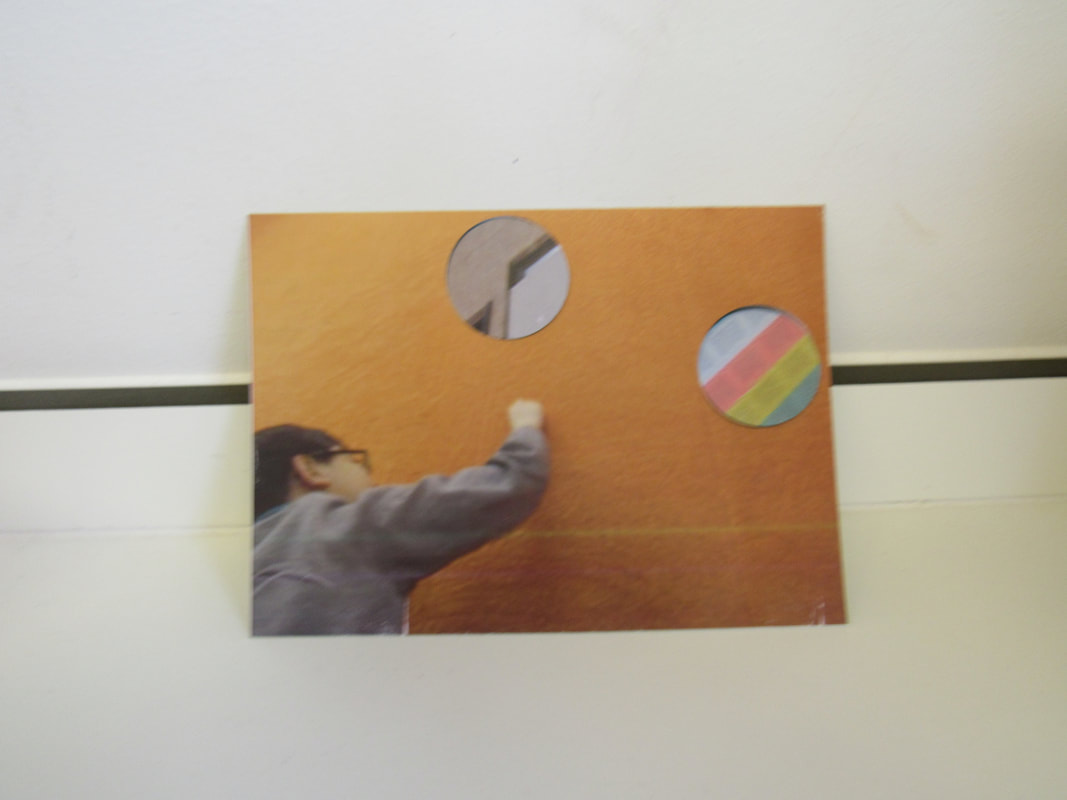
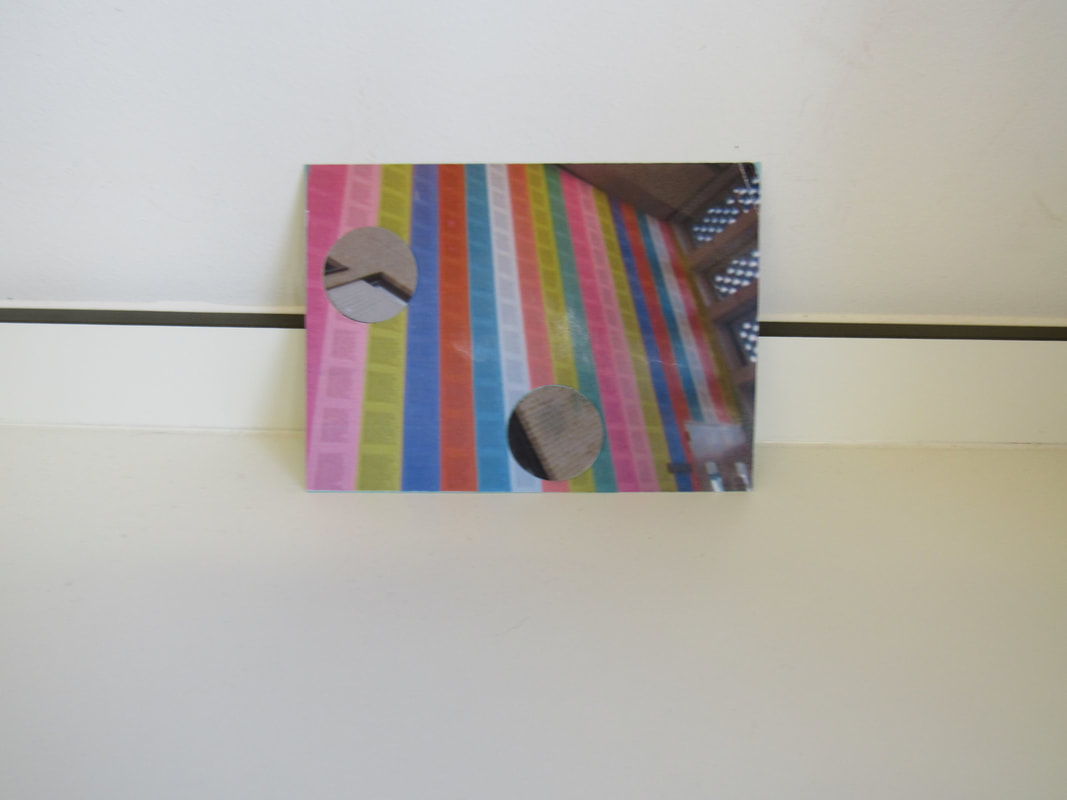
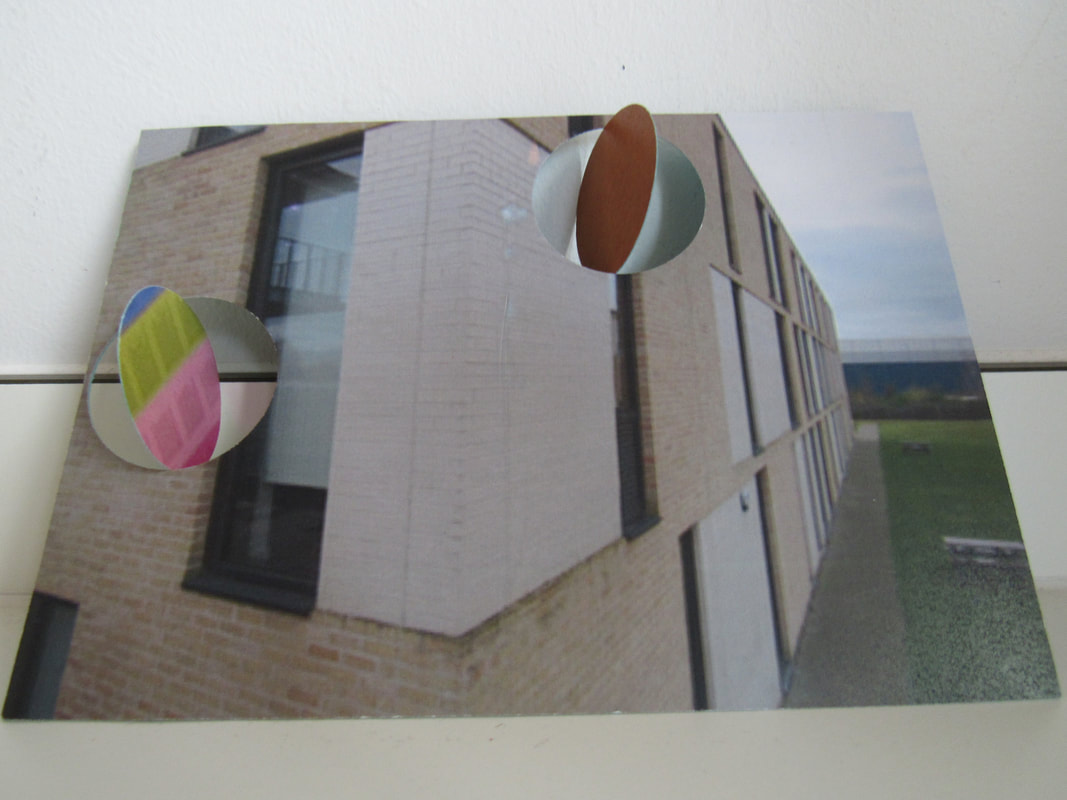
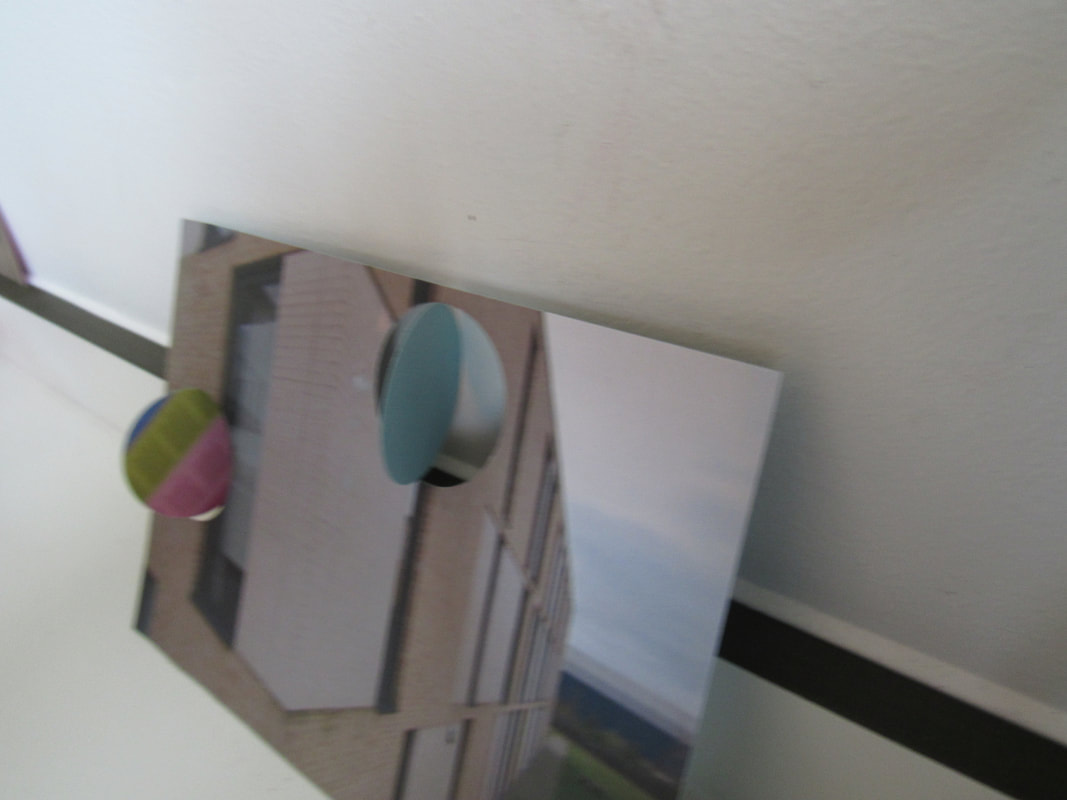
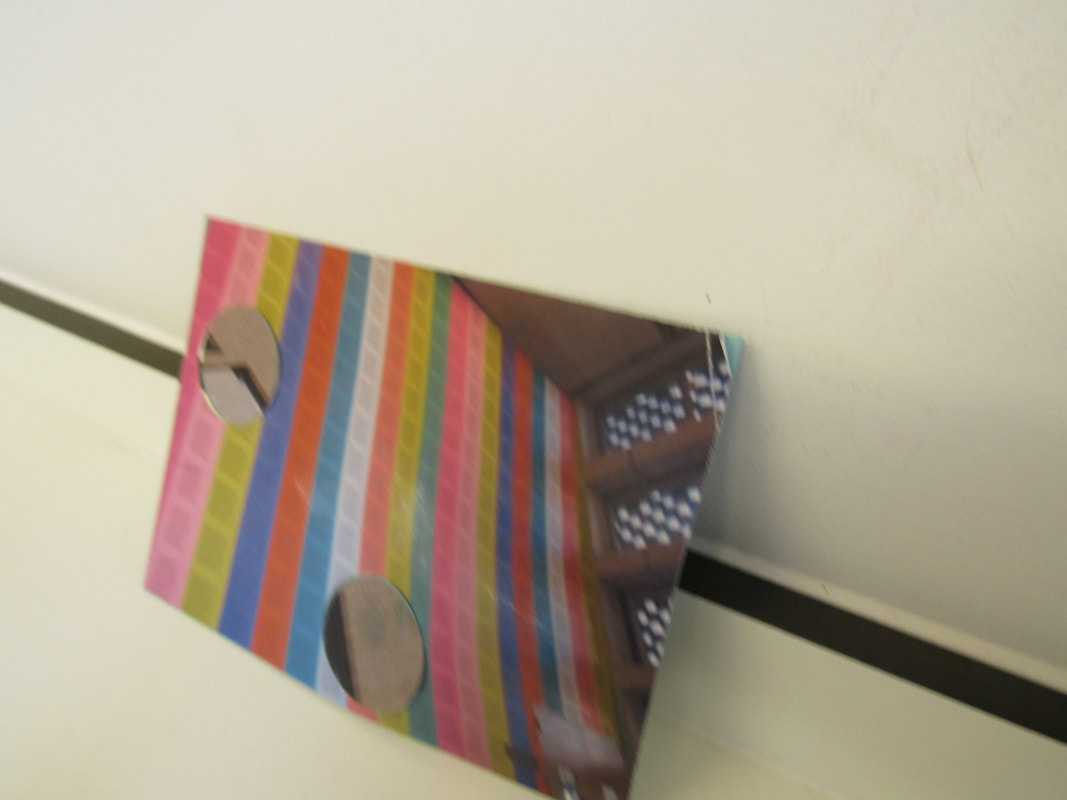
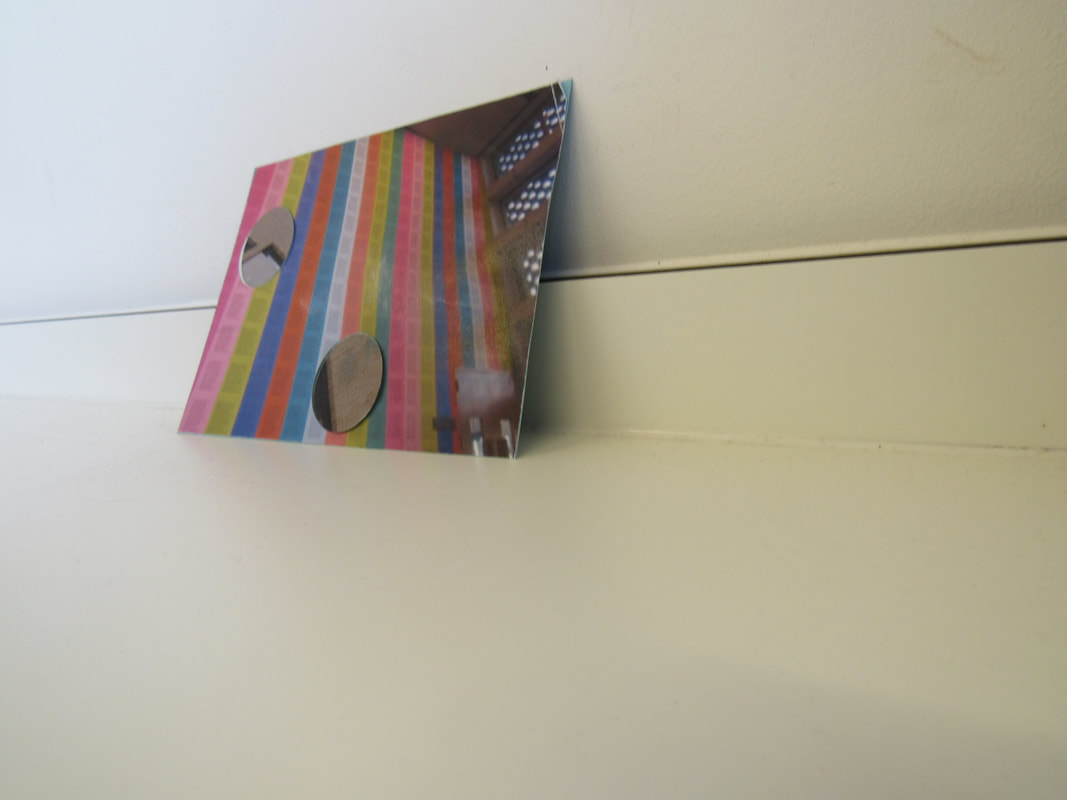
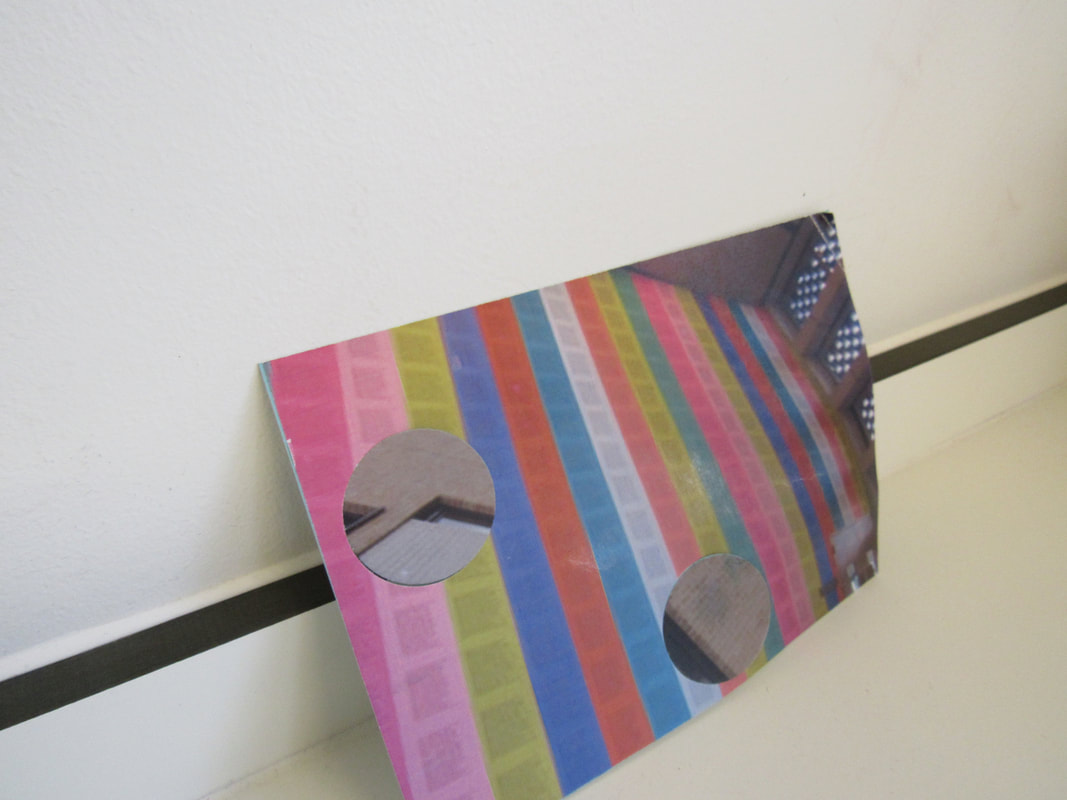
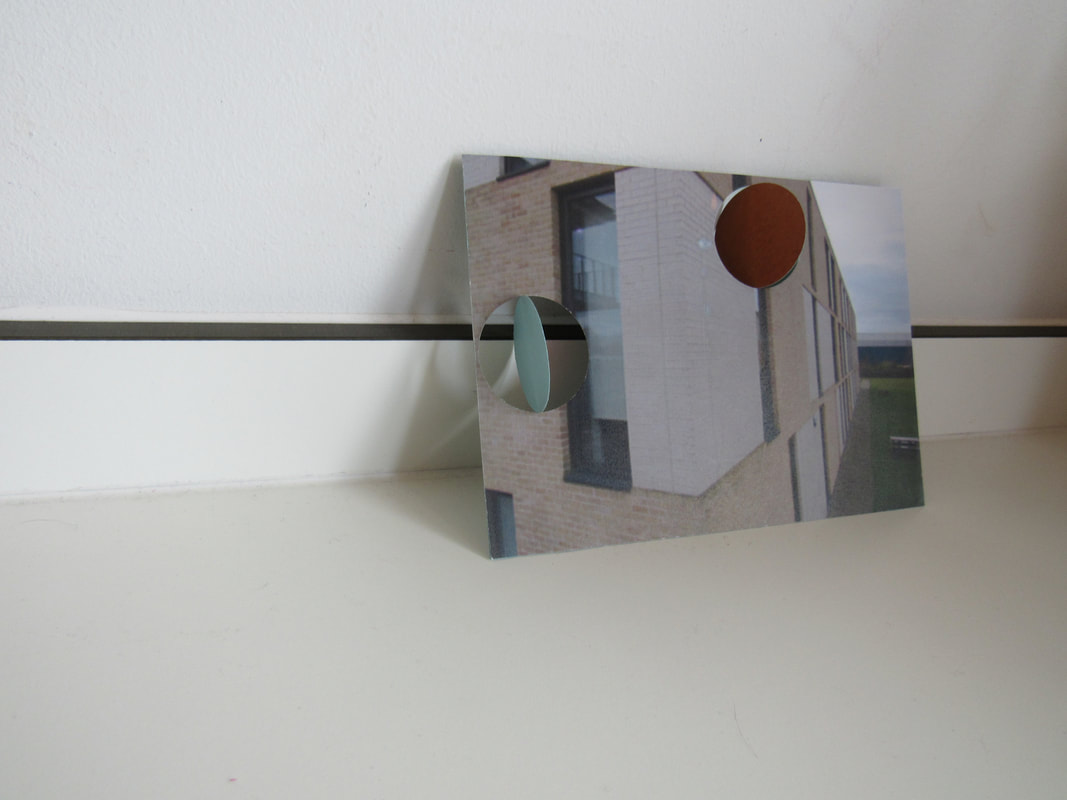
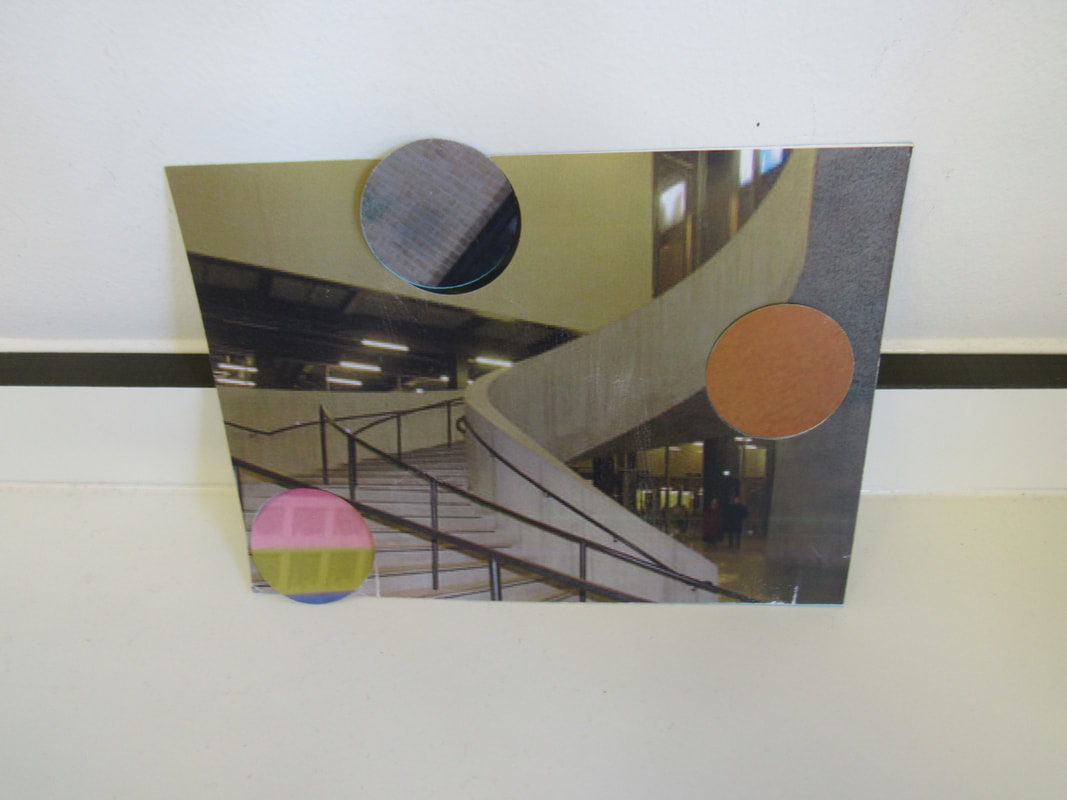
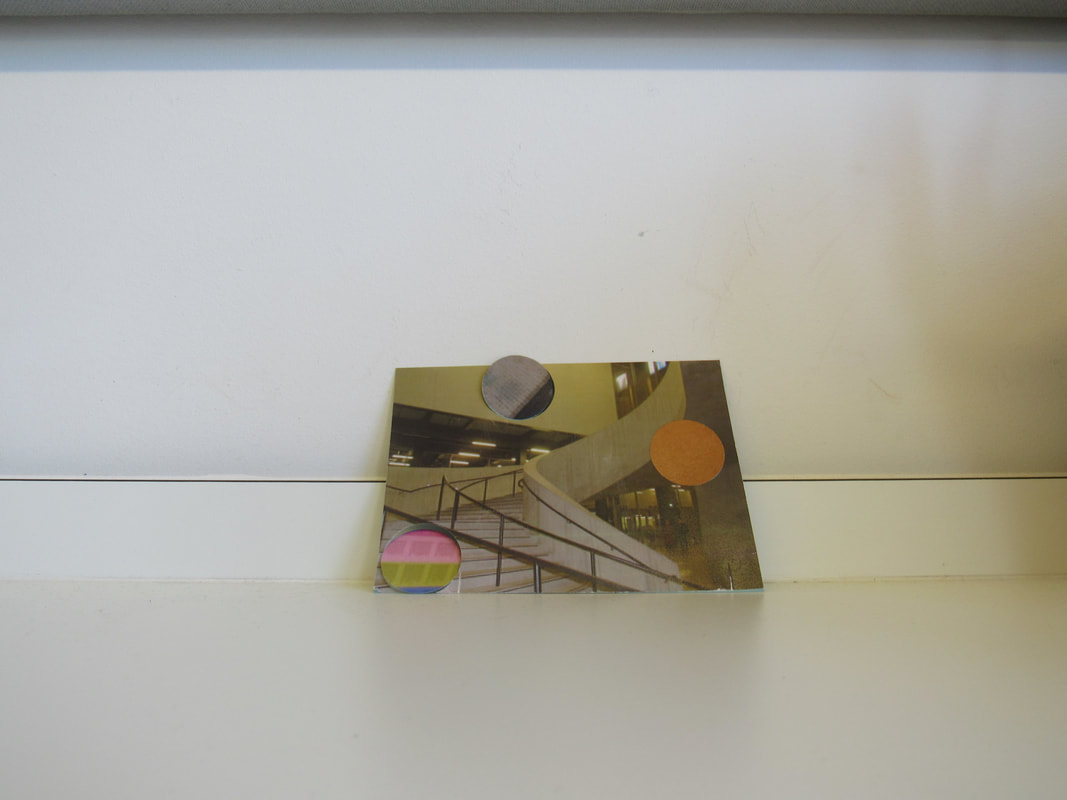
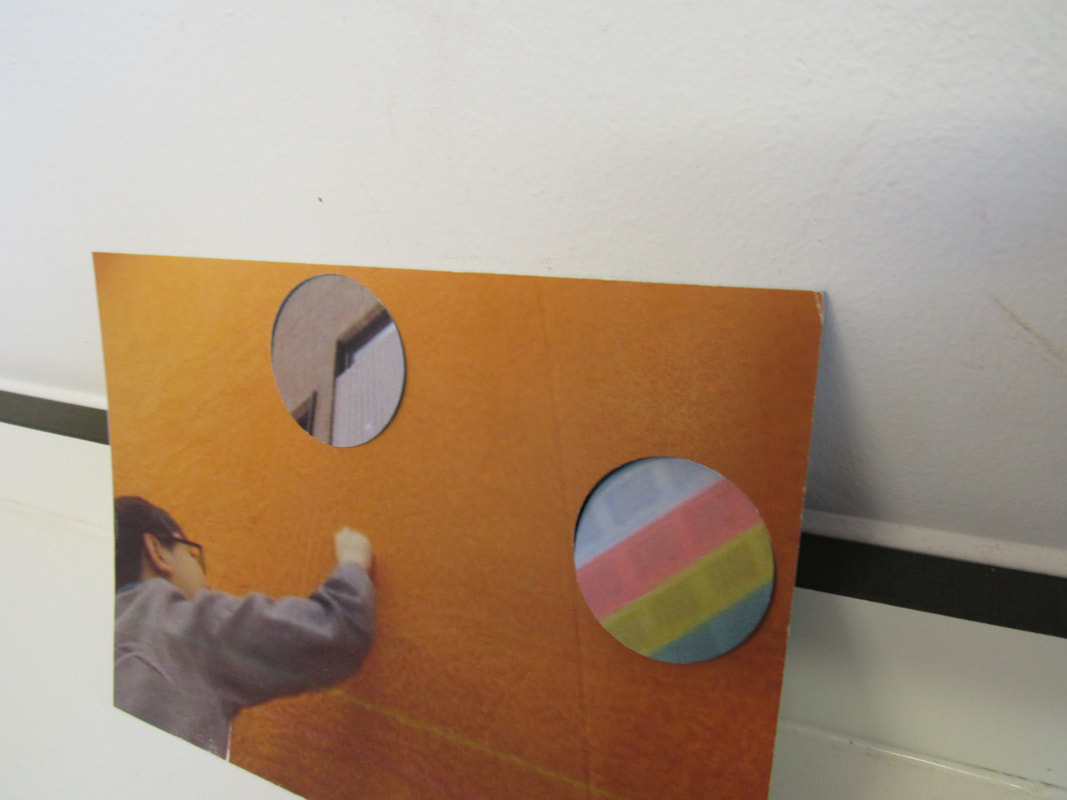
In this task we had to finish our post cards and take 8 images of each postcard sculpture
also in this task a came across great difficulty in cutting a medium sized circle with the cutter so i had to resort to the smaller sized cutter which had a nice clean cut and an excellent finish.
www: what i think went well was how i took my images from different angle of perspectives
Ebi: i did different shape cut outs which would of made them more intresting
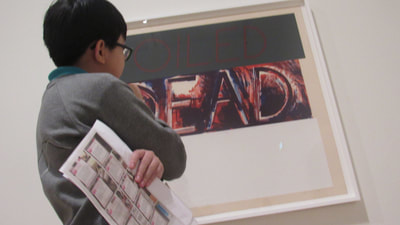
Final Piece -
inverted versions
final piece evaluation
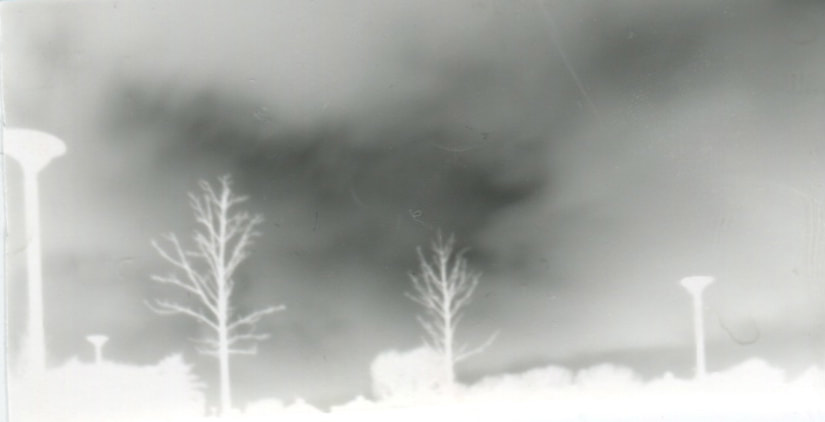
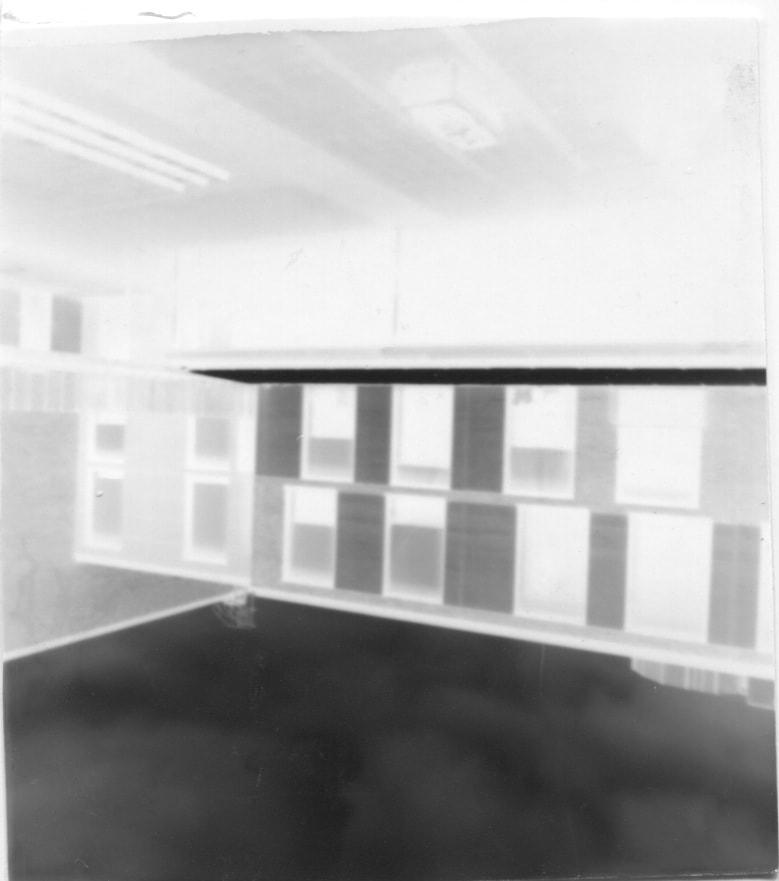
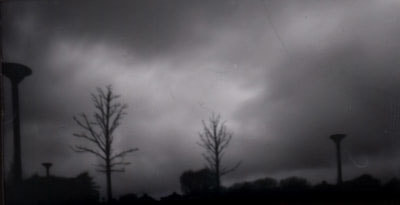
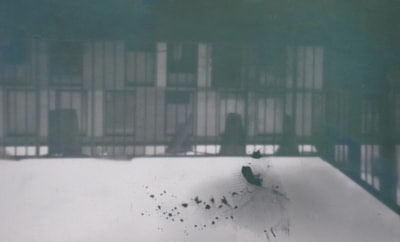
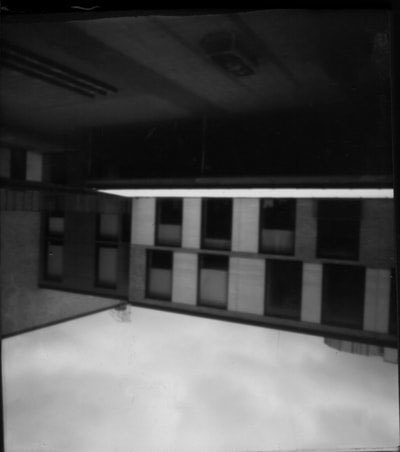
For my Final Piece i had decided to do pinhole cameras as that is what i felt like i was best at during my time doing GCSE photography so far.
when executing this task i struggled at the beginning as we hadn't did it in awhile, but after a few attempts i gotten used to it and amazing results soon followed.
it taken me 2-3 lessons to get the hang of it again.
once i was happy with my outcomes i decided to make a handmade paper photo book
so i looked up some tutorials on how to make one so i can use it for this project.
i then stuck all my pinhole images in my hand made photo book.
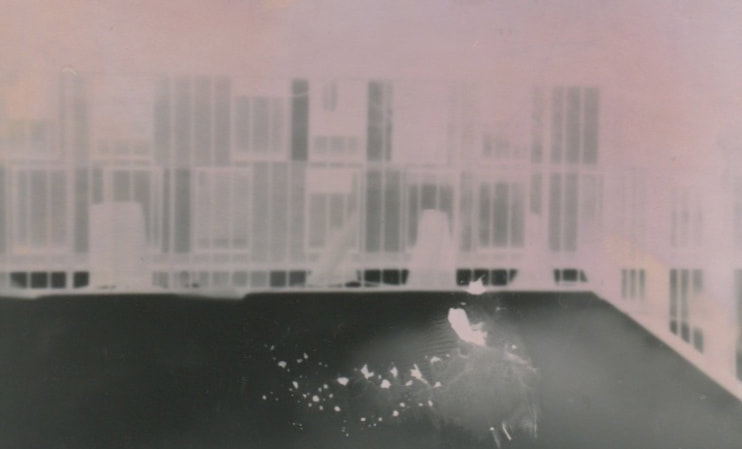
To make my final piece a bit more interesting i decided to use photoshop and invert my images. When using the application i felt really confused at the start but after some help
i got used to it and my images turned out even better
WWW: how my work turned out.
EBI: if i had more time to perfect my work so it would be even better.
when executing this task i struggled at the beginning as we hadn't did it in awhile, but after a few attempts i gotten used to it and amazing results soon followed.
it taken me 2-3 lessons to get the hang of it again.
once i was happy with my outcomes i decided to make a handmade paper photo book
so i looked up some tutorials on how to make one so i can use it for this project.
i then stuck all my pinhole images in my hand made photo book.
To make my final piece a bit more interesting i decided to use photoshop and invert my images. When using the application i felt really confused at the start but after some help
i got used to it and my images turned out even better
WWW: how my work turned out.
EBI: if i had more time to perfect my work so it would be even better.
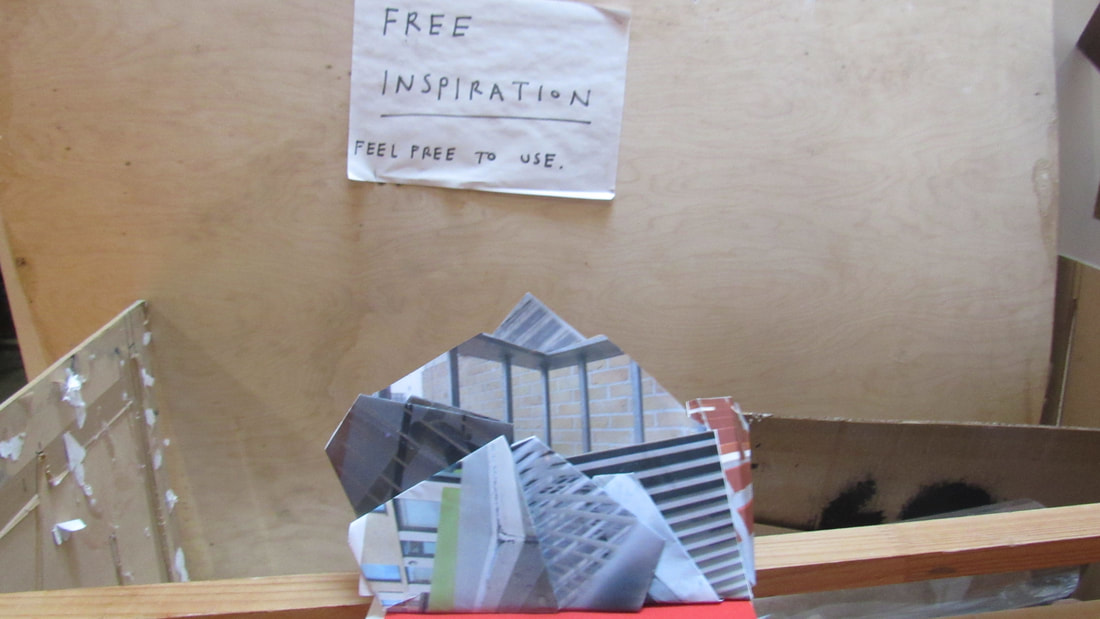
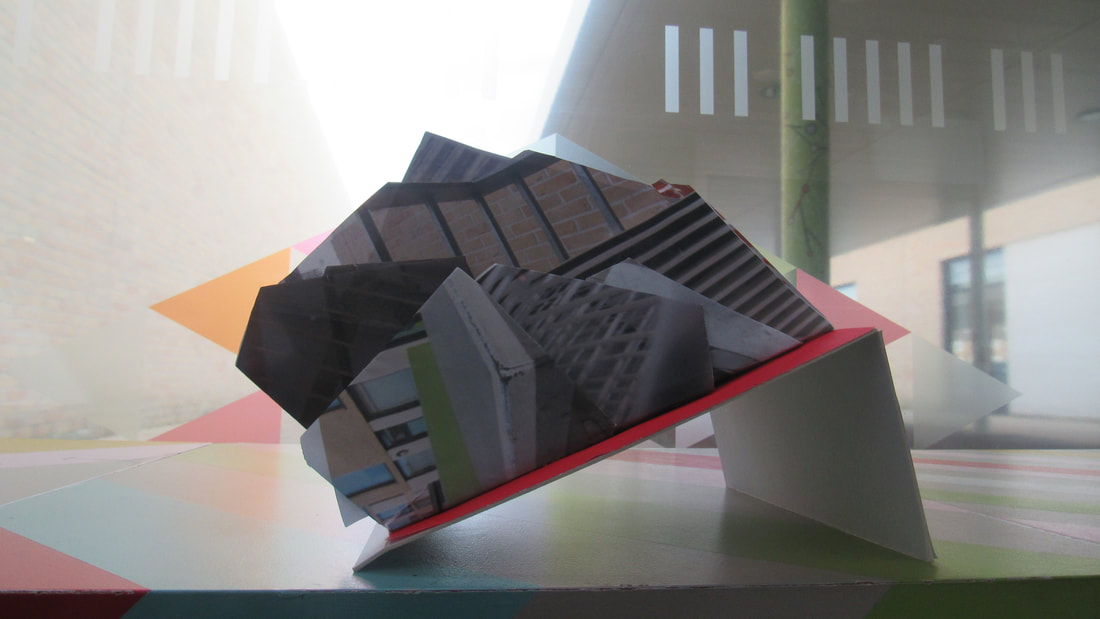
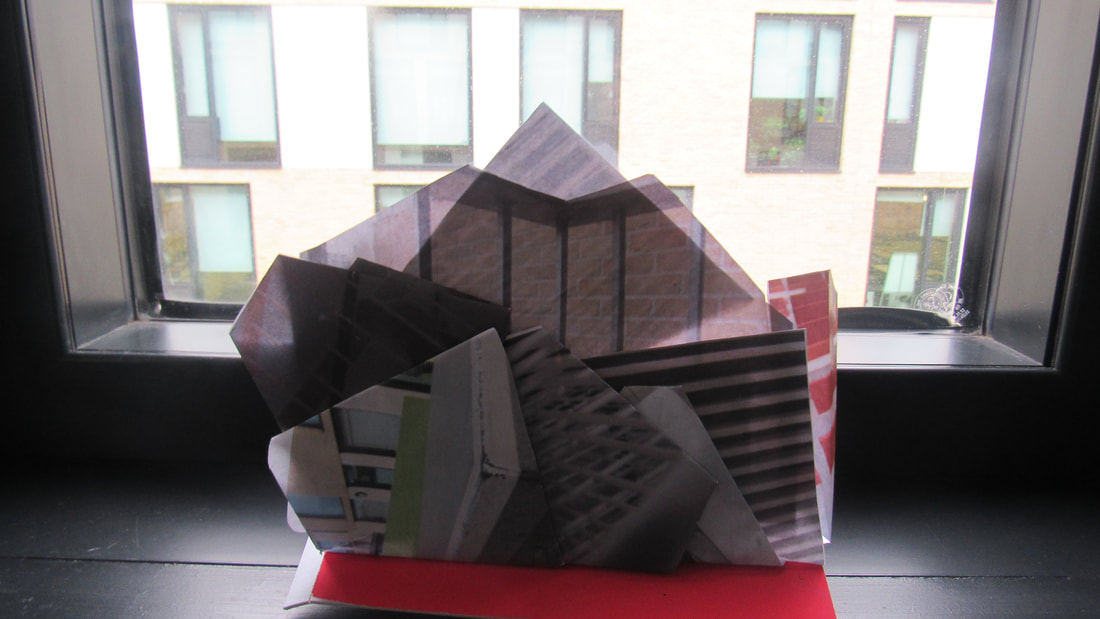
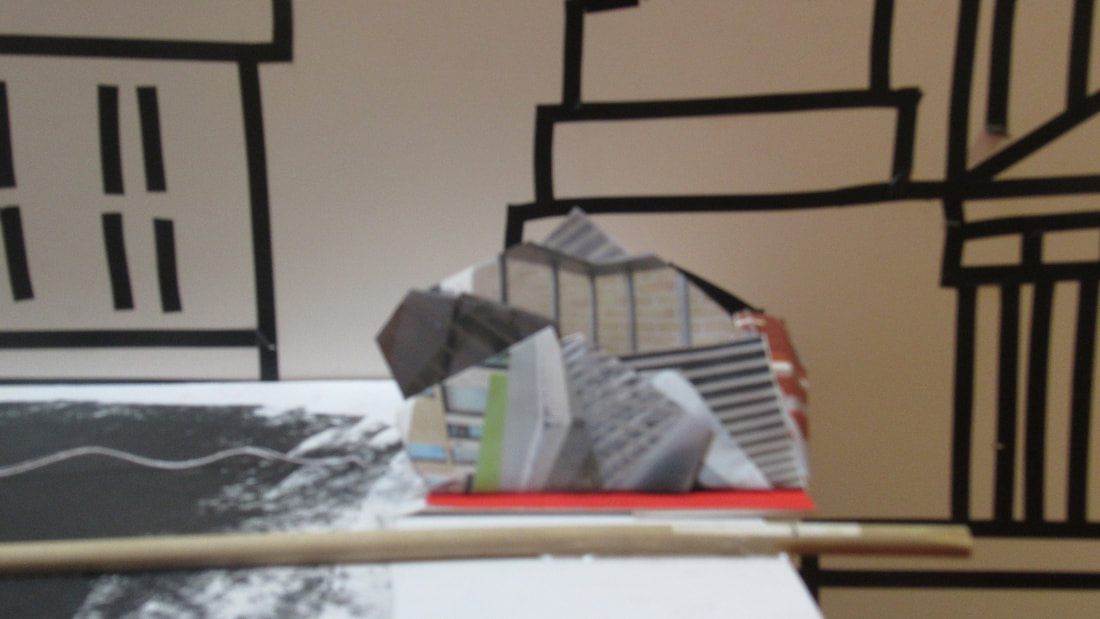
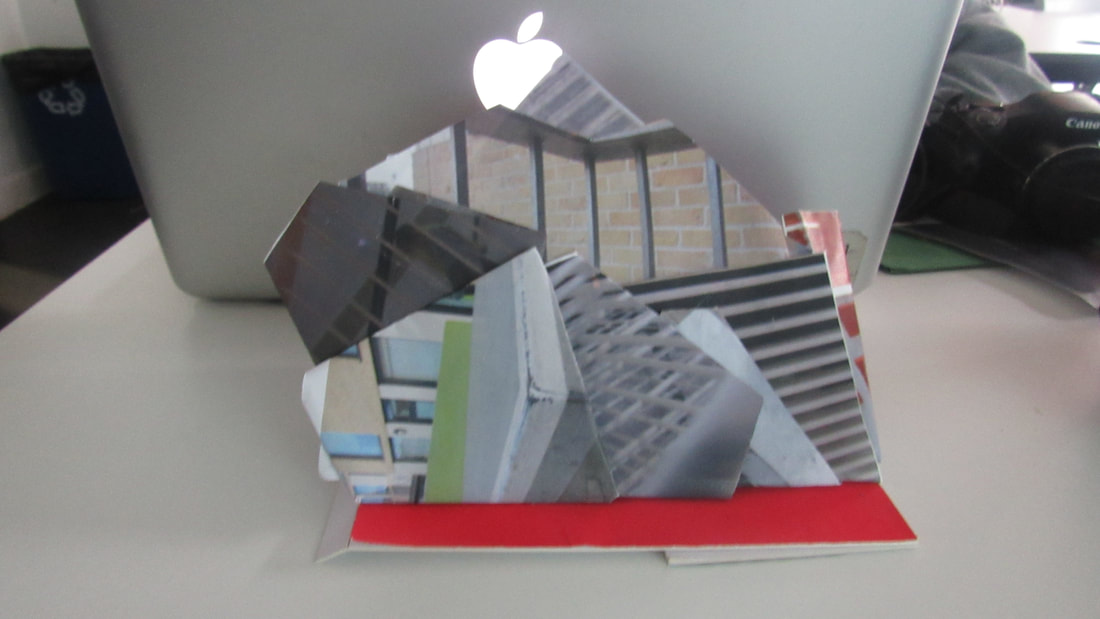
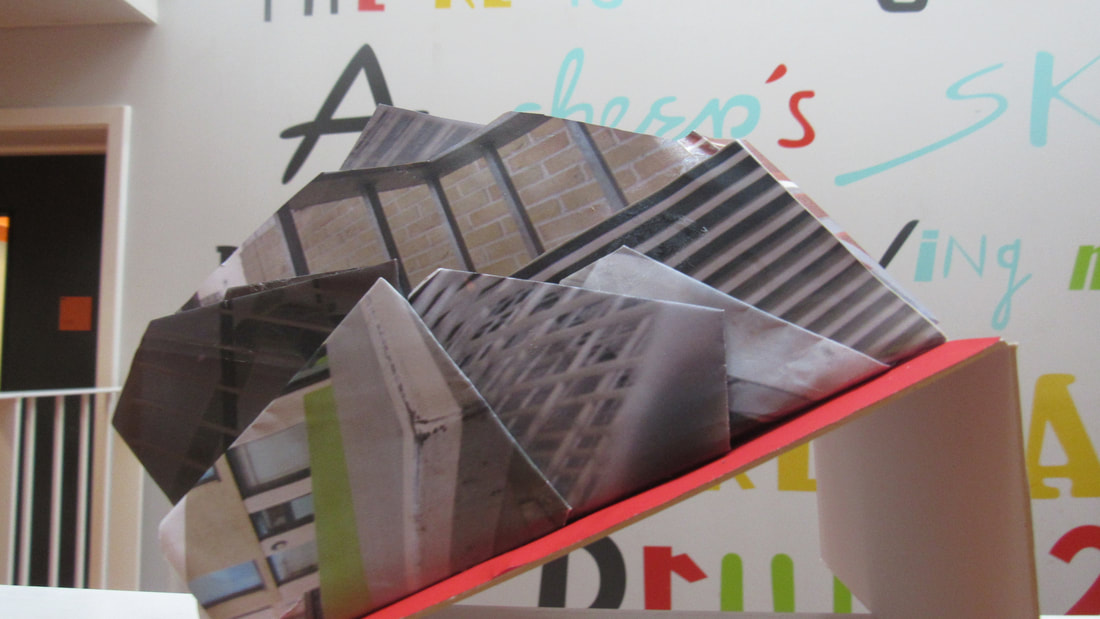
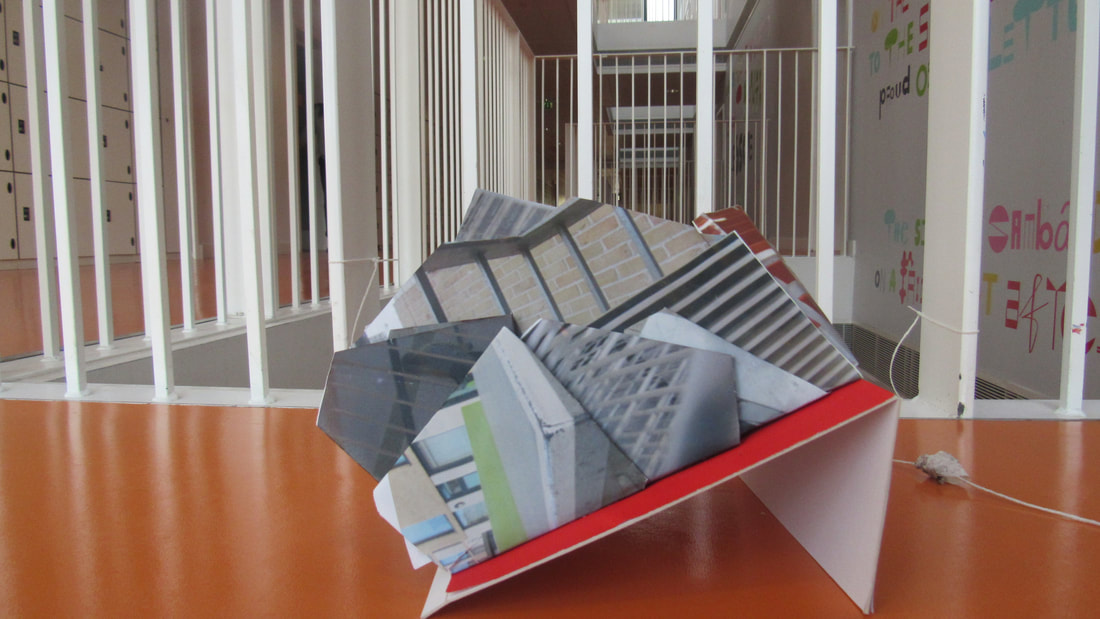
Photo book - front
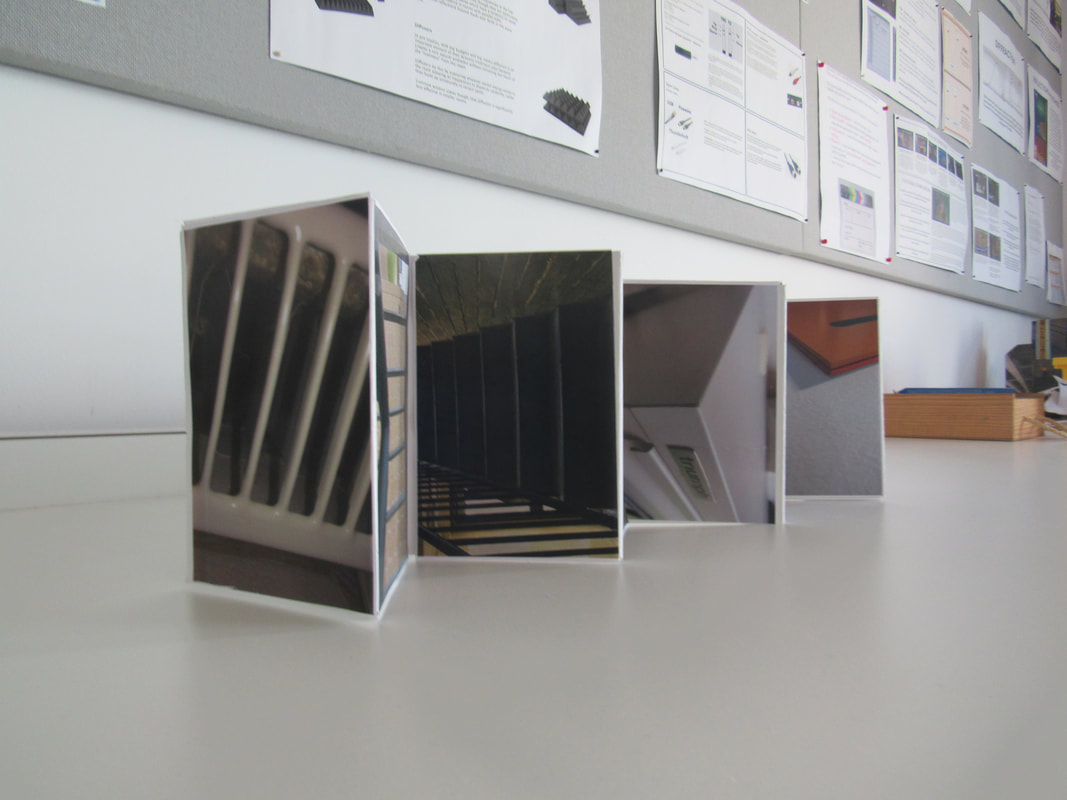
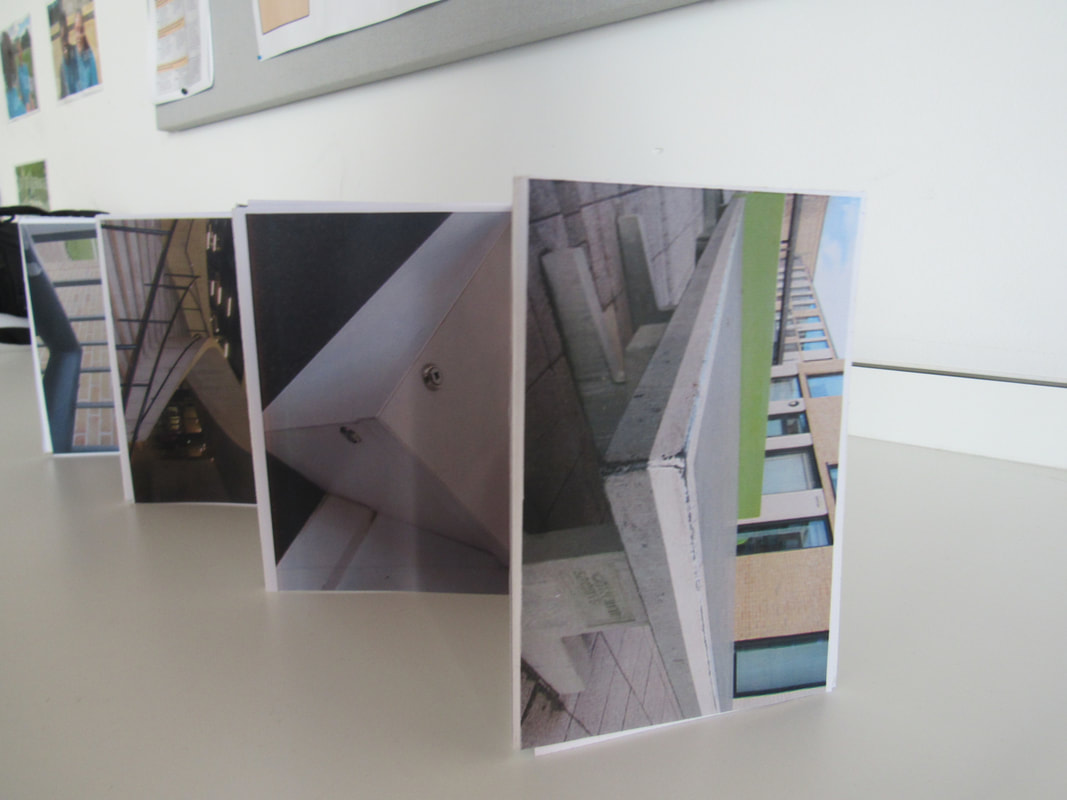
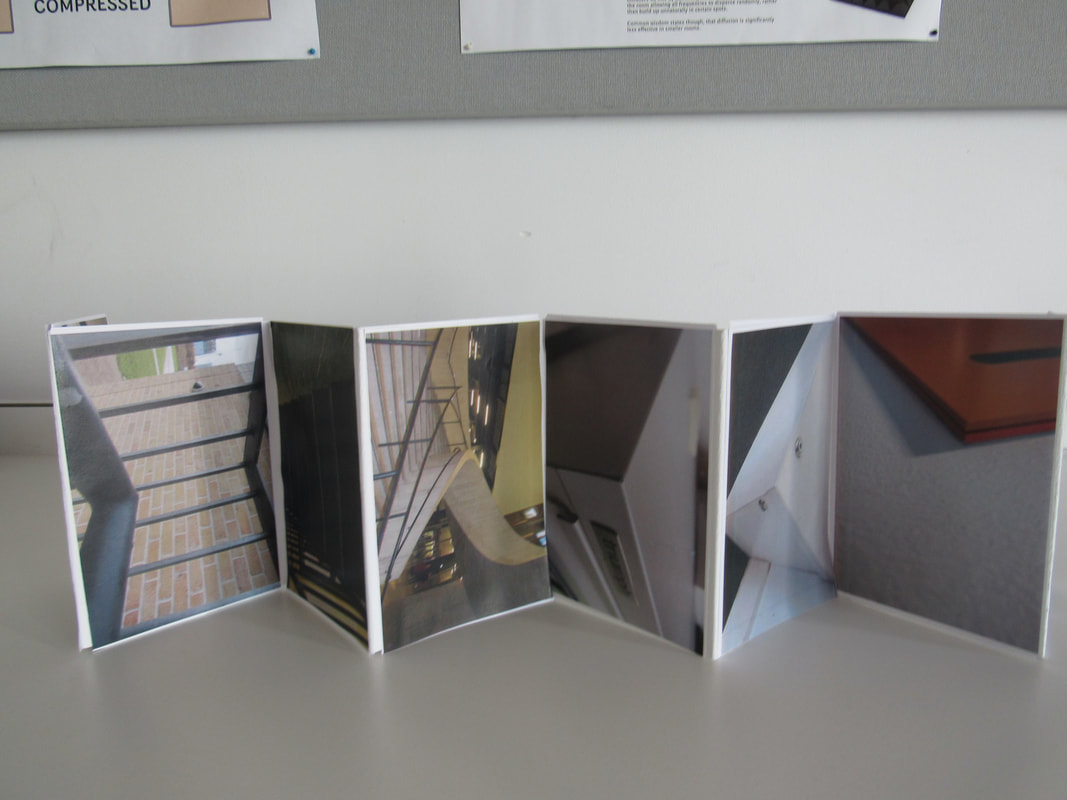
Photo book - back
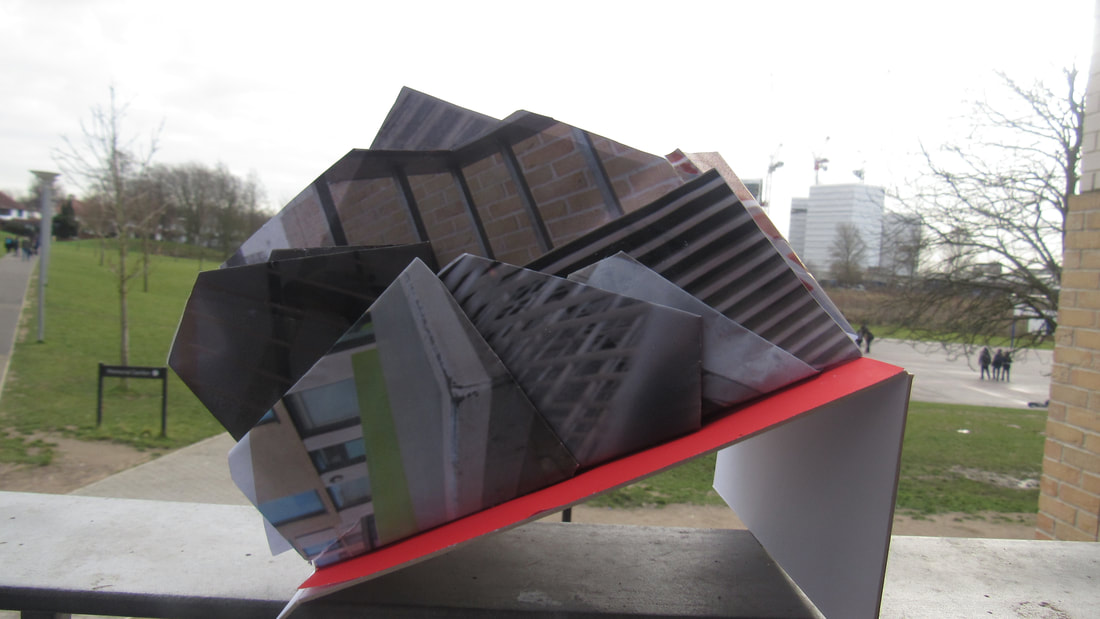
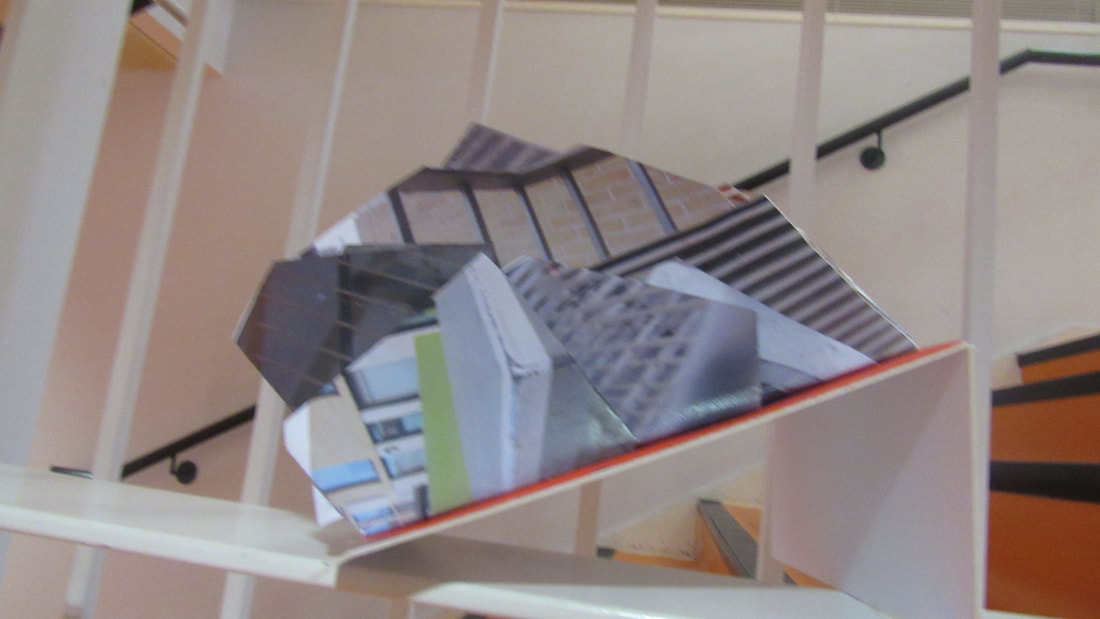
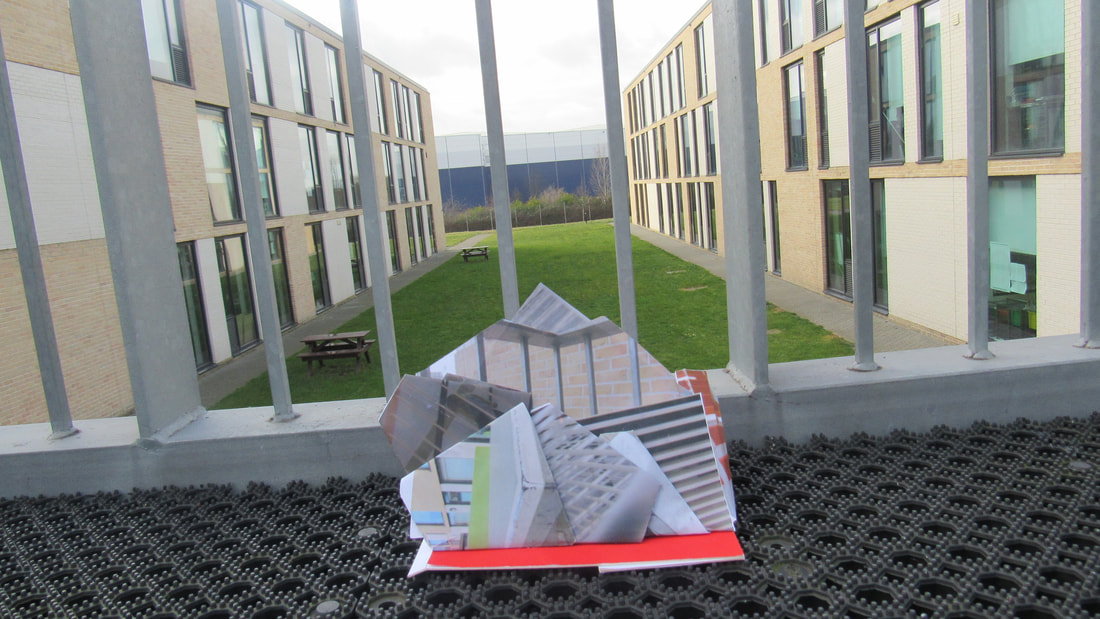
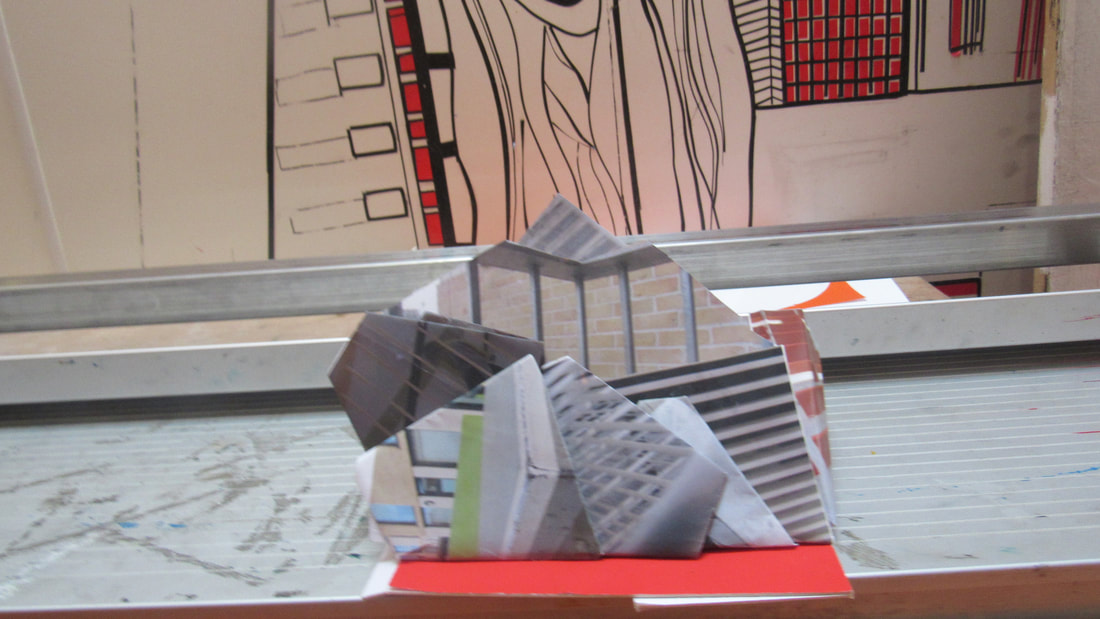
Evaluation
One of the homework's was to make a photo book of edges first of all this is not my original photo book as i had to restart my old one had a foam cover and was made from bits of newspaper but my new one look more plain and a lot more neater.
i found printing the images a bit difficult as some images didn't come out as well as i wanted it too and also trimming it was hard as i wanted it a neat as possible.
So instead of foam and newspaper i used a hard sturdy white card so it was more sturdy than flimsy. which made it easier to handle instead of having to take really close care because on how fragile it was.
WWW: the making and sticking of the actual photo book
EBI: If i had more updated images as i had to use some older images from earlier when i only understood Edges a little bit than now.
